Here I’m demonstrating how to decorate sugar cookies. I’ll walk you through 4 simple and approachable techniques that are a great place to start if you’re new to cookie decorating. If you’re intimidated or nervous about making royal icing and trying your hand at creating festively decorated cookies, this post and video tutorial are for you.

While I love a good baking challenge, when it comes to decorating baked goods, I like to keep things simple. Much like the Piping Tips 101 tutorial I did for 5 basic (yet beautiful) ways to pipe frosting onto cupcakes, think of this as your Sugar Cookie Decorating 101 course.
Use These Decorating Techniques on Any Cut-Out Cookies
The cookies you see here are my classic sugar cookies. These cookies, with their irresistible buttery vanilla flavor and soft, thick centers, are a wonderful base for decorating with icing. They hold their shape when baking and have a flat surface that’s perfect for decorating.
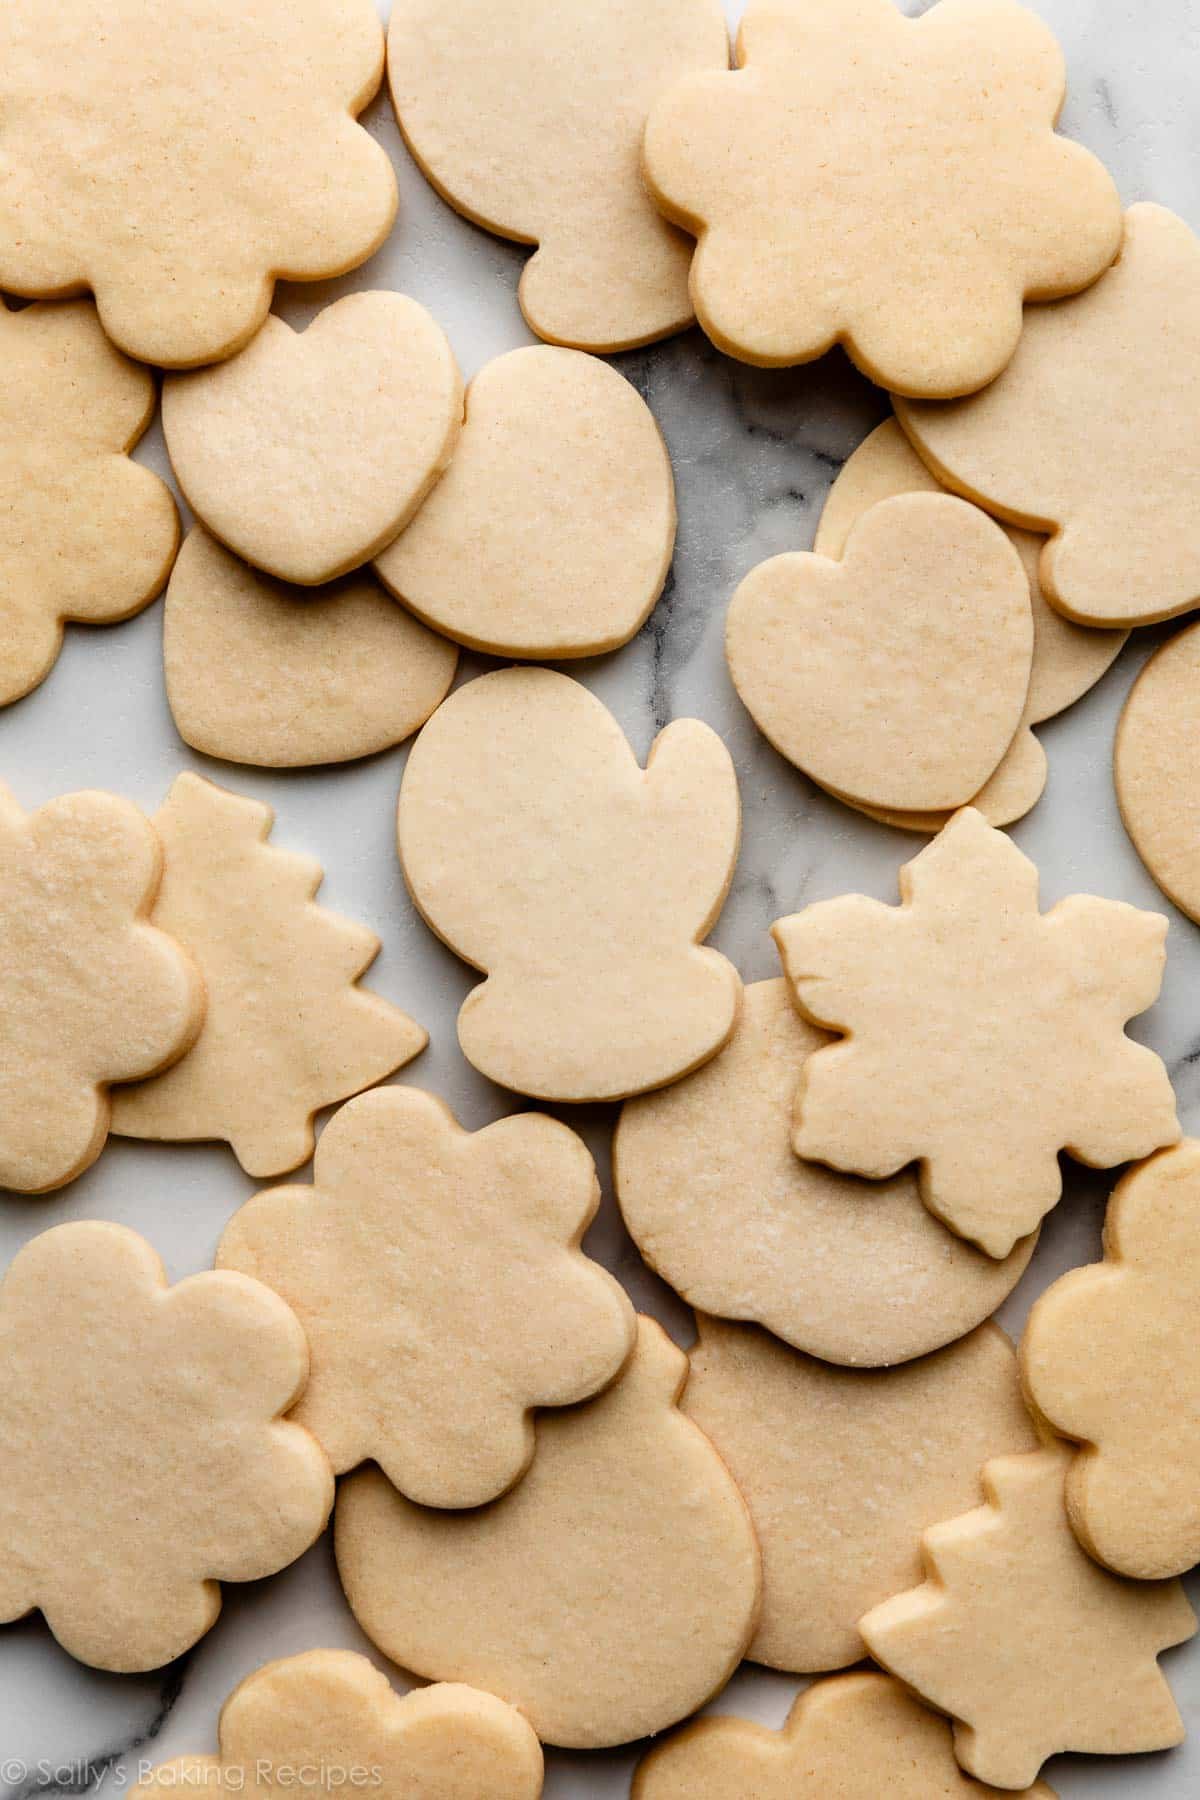
These cookie decorating techniques can all be used on other types of cut-out cookies, too:
Now Let’s Talk About Royal Icing
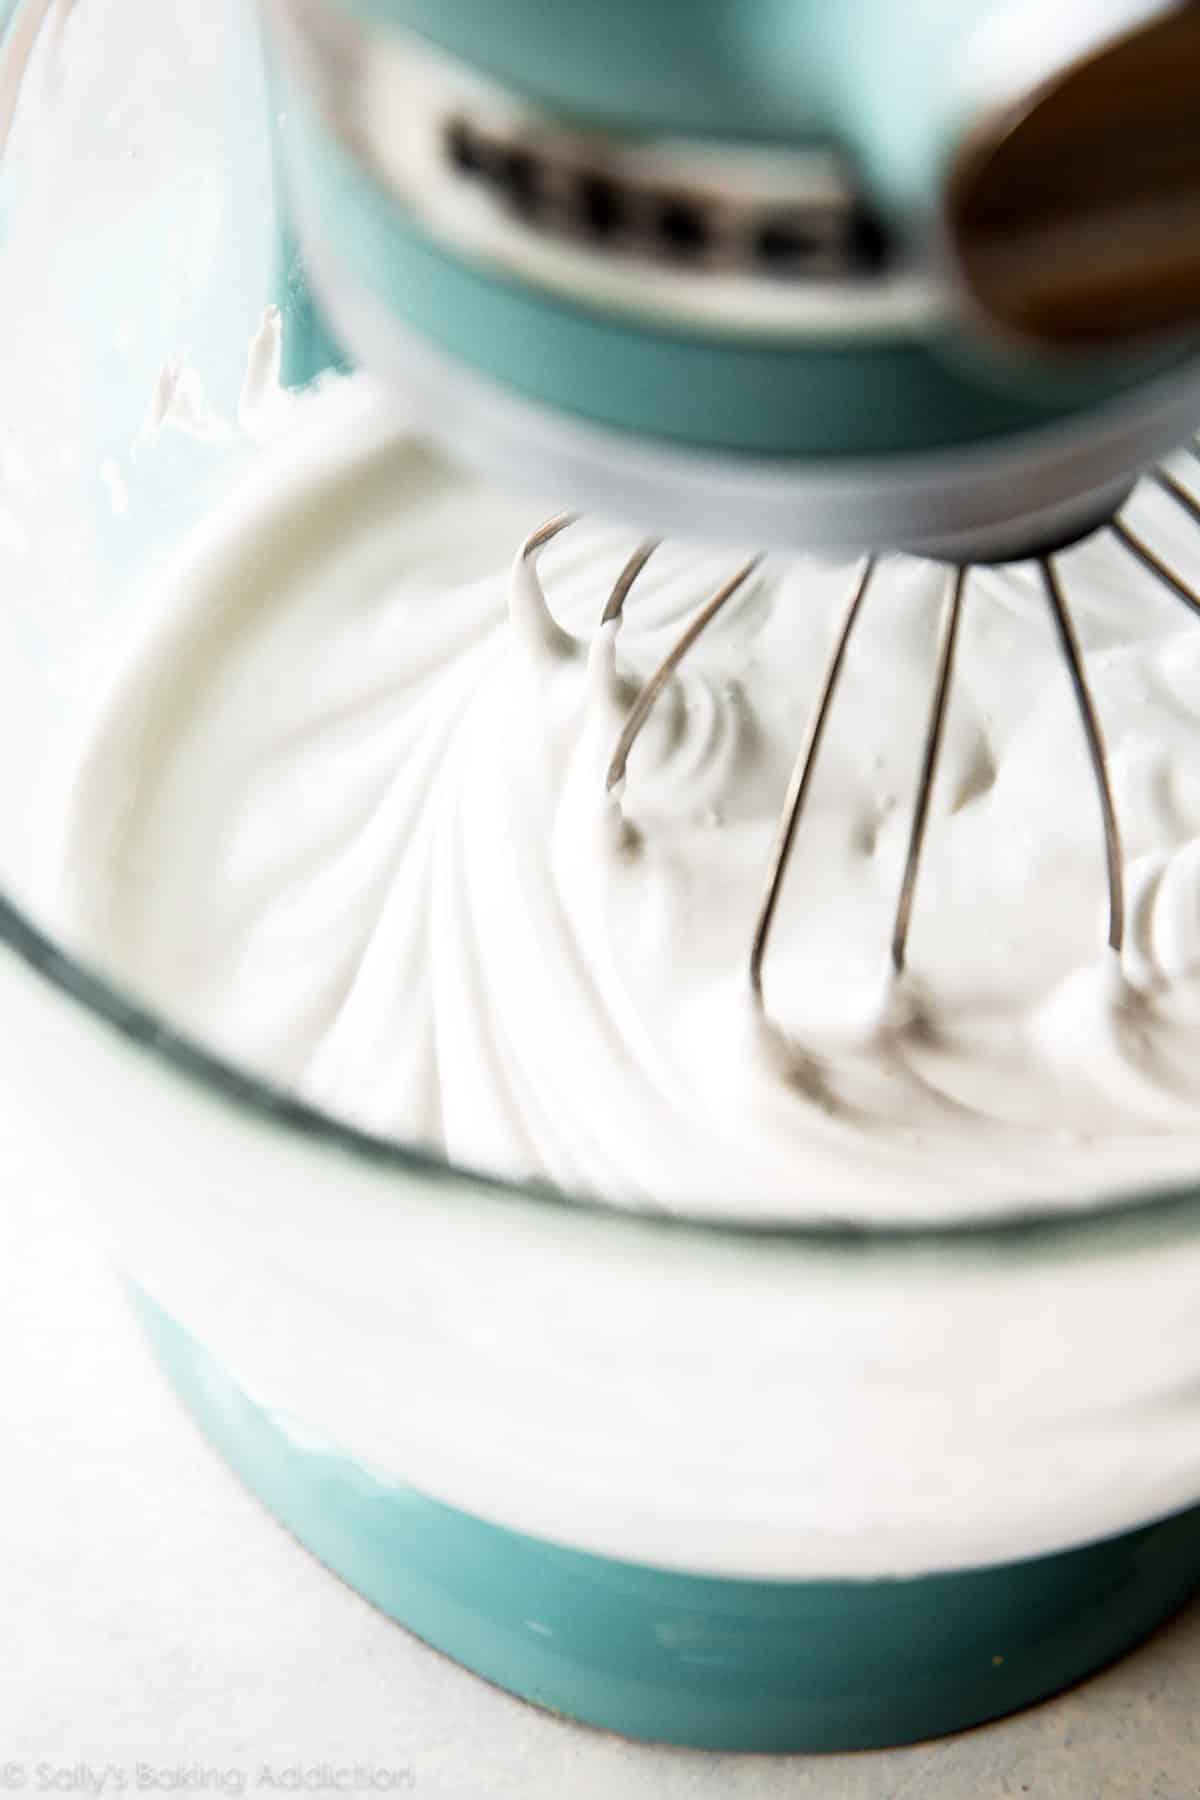
I have a separate post all about royal icing with lots of tips on how to make it, but I’ve also included a printable recipe card below. Royal icing is my preferred sugar cookie icing because it’s easy to work with, dries within 1–2 hours, and doesn’t harden into cement (it’s on the softer side!).
I especially love this particular royal icing because you can use it for both outlining and flooding your cookies.
It’s made with meringue powder, which takes the place of the raw egg whites found in traditional royal icing recipes. You can find meringue powder in some baking aisles, most craft stores with a baking section, and online; one container should last you a long time.
Royal Icing Alternative: Glaze Icing
If you’d prefer to go with something that’s a little easier to make, try my easy cookie icing. This opaque glaze-like icing doesn’t set/dry as quickly as royal icing (it takes about 24 hours) and it’s not ideal for piping sharp detail. That being said, sometimes it’s just the more convenient option!
Tint the Icing and Fill Your Piping Bags
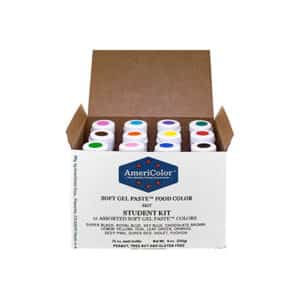
You can keep the icing white or tint the icing with gel food coloring. To color it, divide it into small bowls. Add gel food coloring to each bowl and mix well.
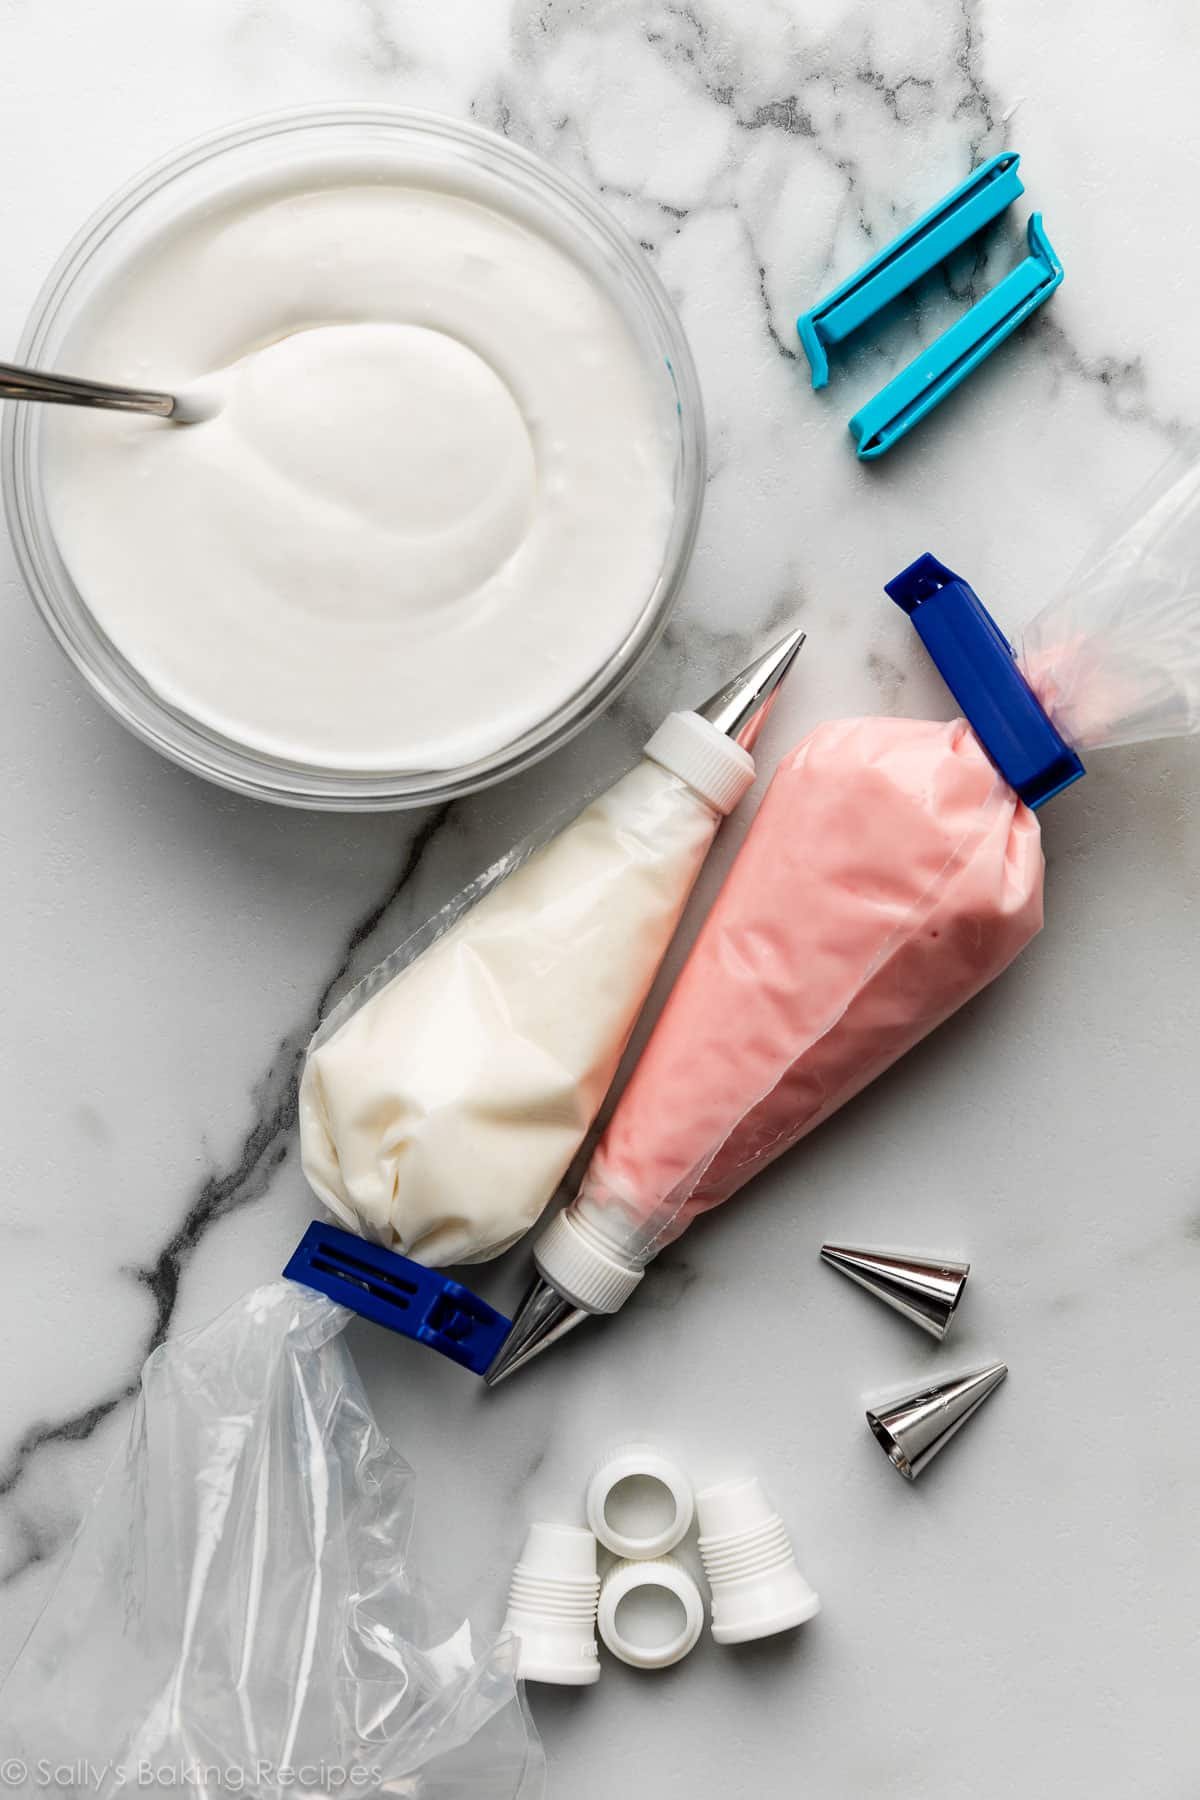
Grab a piping bag for each color of icing. Fit each with a coupler and piping tip. I typically use Wilton piping tip #4 for both outlining and flooding the cookie with icing. This is a wonderful basic piping tip to have in your collection. When I’m using multiple colors with the same piping tip, I always use couplers. This makes it easy to swap piping tips among the different colored bags of icing. Spoon the icing into the piping bag.
- Clips: I use these clips to secure the end of the piping bag, so the icing doesn’t leak out the end of the bag.
Now let me show you how to decorate sugar cookies with 4 simple techniques.
1. Flooding Icing: Piping a Single Layer of Icing
Let’s start with the most basic technique: decorating with a single layer of icing.
First, pipe an outline all around your cookie. Then fill in the center of the outline—this is called “flooding.” Go ahead and add some sprinkles while the icing is still wet, as pictured on the snowflake- and candy cane-shaped cookies below.


2. Piping Two Layers of Royal Icing
The next method is a double layer of icing, which means you pipe and flood the cookies and let that layer of icing set, and then go back later to pipe some details on top. Polka dots, stripes, swirls, or writing will stand out beautifully with this method. You can switch icing colors and/or piping tips for a finer detail.
Start by piping and flooding the cookie with a layer of icing, just like we did before. Let that set for 1–2 hours, and then you can pipe on a second layer of icing details once the first layer has dried. Again, you can speed up the drying time by placing the iced cookies in the refrigerator.
To add some swirls on top of the pictured heart cookies, I switched piping tips from the Wilton #4 to the smaller Wilton #2. A smaller tip will pipe a more defined and detailed design.

3. How to Pipe Icing in Defined Sections
I love this look, because if you are only using one color, it gives the icing some dimension. And if you’re using multiple colors, this method keeps the colors from bleeding together.
Start with one color, and pipe every other section or area of your cookie, then let it set before you pipe the remaining sections/areas. For the pumpkin cookies, I outline and flood the center, and then the two sides, leaving space between each section. Let the icing dry for at least 30 minutes.
Once the icing is semi-set, you can go ahead and fill the remaining sections with icing.


This “defined sections” method takes a little more time, but if you’re decorating a lot of cookies, you may find that by the time you finish piping the first sections on all the cookies, the icing will have set enough to start piping on the remaining sections.
4. Piping in Sections + Sprinkle Dip
This technique gives the cookie that same sectioned look as above, but you don’t have to wait 30 minutes for the first section to set.
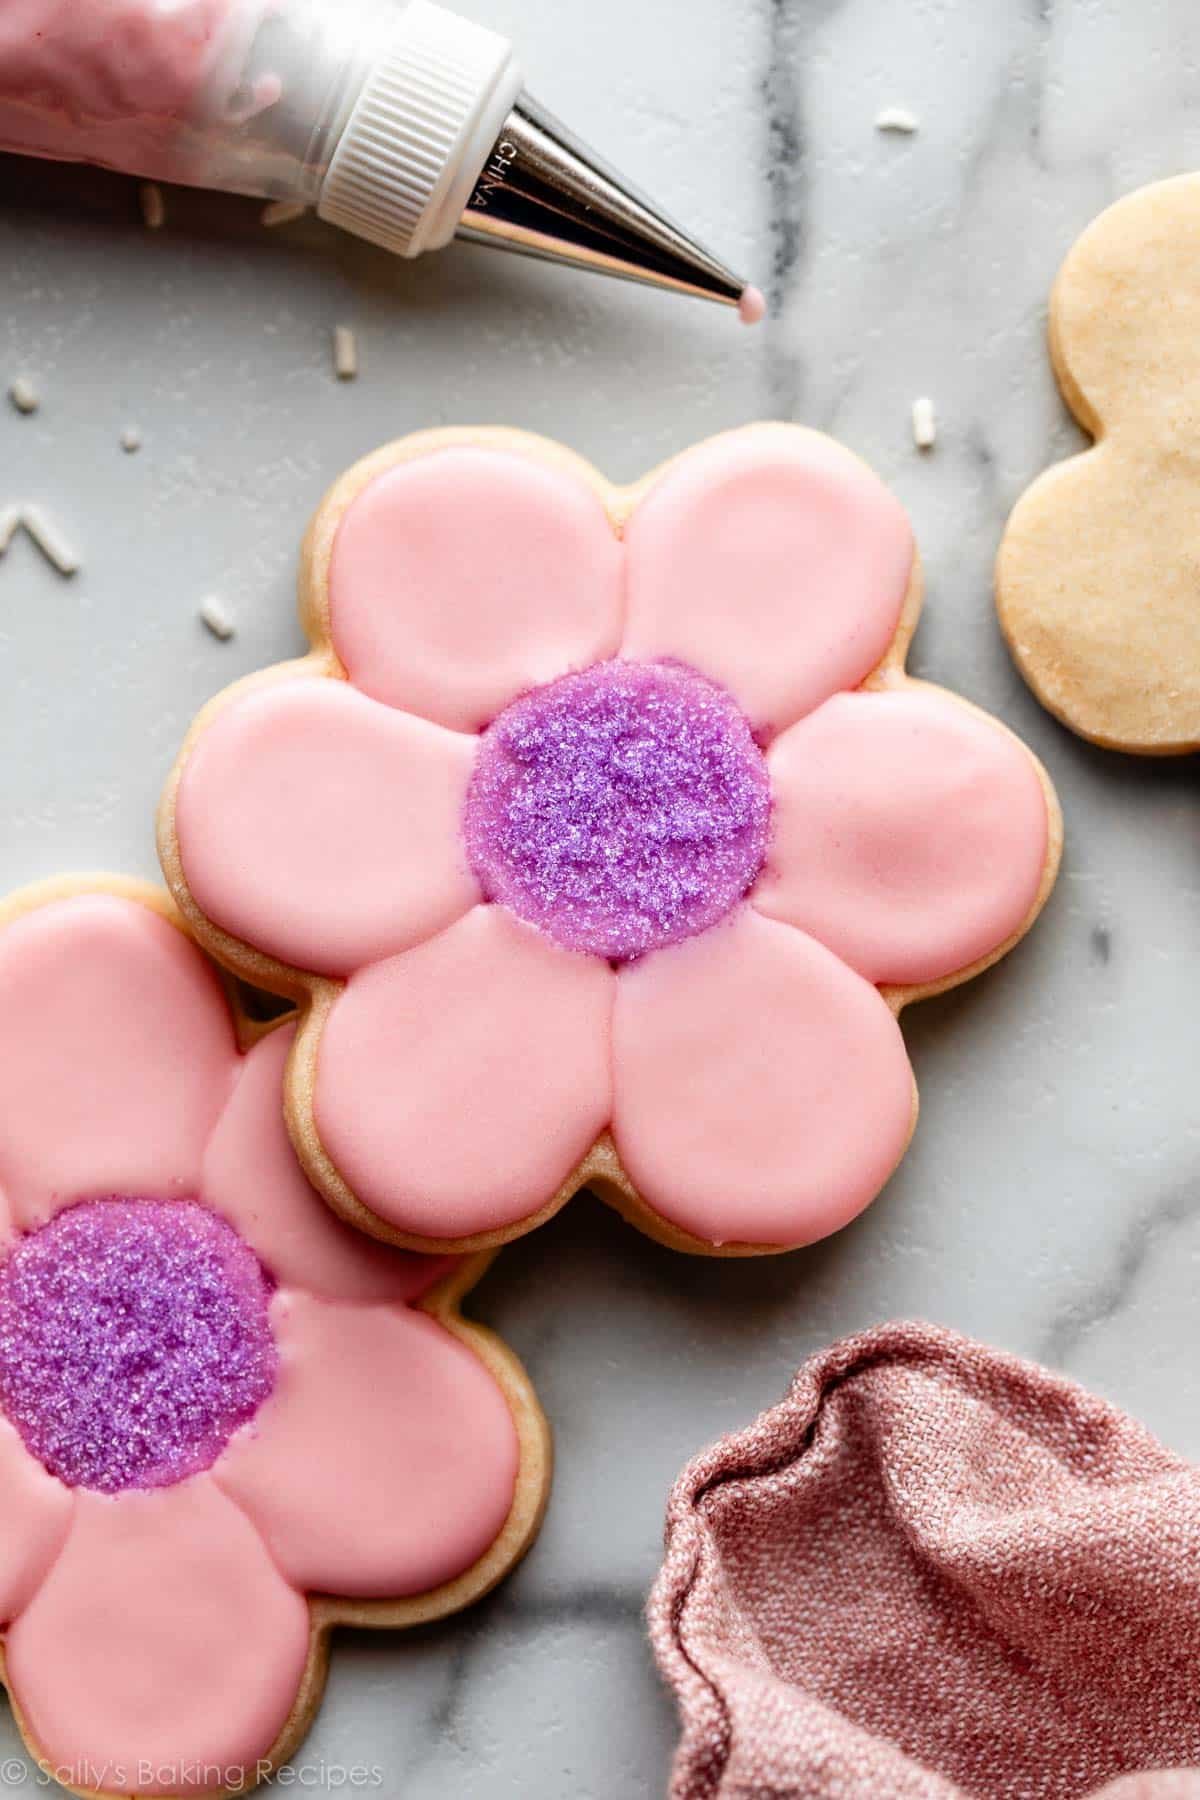
Start by piping on the section you want to cover with sprinkles or sparkling sugar. Dip the cookie into the sprinkles, so that they completely coat the icing. Then pipe on your remaining sections. Again, you can switch colors here if you’d like, and you don’t have to worry about the colors bleeding together because the first color was covered in sprinkles.

For the flower cookies below, I used a combination of both techniques #3 and #4: I piped the circle in the center first, and then dipped it in sprinkles. Then I piped on every other petal, and let those set before going back and piping on the remaining petals.

Make sure to watch the video tutorial below to see me demonstrate all of these techniques. I hope this post and video helps you overcome any fears you may have about cookie decorating, because even simple techniques can make for beautiful cookies. Just take your time and have fun with it!
Cookie Decorating Tools
Rolling Pin

11-Piece Cookie Cutter Set
Half Sheet Pan
Silicone Baking Mats
Meringue Powder
Gel Paste Food Coloring

Piping Tip #4

Piping Tip #2
Disposable Piping Bags
Reusable Piping Bags
Couplers
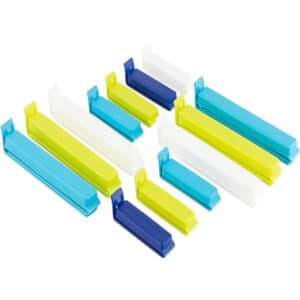
Bag Clips
Decorating Inspiration
Now you’re ready to host a Cookie Decorating Day! 😉
Print
4 Easy Ways to Decorate Sugar Cookies
- Prep Time: 5 minutes
- Cook Time: 0 minutes
- Total Time: 5 minutes
- Yield: 3 cups for 2 dozen cookies
- Category: Dessert
- Cuisine: American
Description
Here is my classic easy royal icing made with meringue powder, plus various ways to use it for decorating cookies. You can use this traditional royal icing for both flooding and outlining your cookies. Make sure to watch the video tutorial below to see me demonstrate the decorating techniques.
Ingredients
Cookies
- 1 batch sugar cookies, baked & cooled
Royal Icing
- 4 cups (480g) confectioners’ sugar, sifted (I use and recommend Domino brand)
- 3 Tablespoons meringue powder (not plain egg white powder)
- 9–10 Tablespoons room-temperature water
- optional for decorating: gel food coloring (I love this food coloring kit)
Instructions
- Have your sugar cookies baked and cooled. You can use this recipe, or your favorite recipe for sugar cookies. This icing is enough to ice 2 dozen cookies.
- Make the Icing: Pour sifted confectioners’ sugar, meringue powder, and 9 Tablespoons of water into a large bowl. Using a hand mixer or a stand mixer fitted with a whisk attachment, beat icing ingredients together on high speed for 1.5–2 minutes. When lifting the whisk up off the icing, the icing should drizzle down and smooth out within 5–10 seconds. If it’s too thick, beat in more water 1 Tablespoon at a time. I usually need 10 Tablespoons, but on particularly dry days, I use up to 12–14 Tablespoons. Keep in mind that the longer you beat the royal icing, the thicker it becomes. If your royal icing is too thin, just keep beating it to introduce more air, OR you can add more sifted confectioners’ sugar. See this video if you need a visual.
- Color the Icing: If you’d like to tint the icing, divide it into separate bowls for each color, or tint the entire batch one color. A little gel food coloring goes a long way, so use a toothpick to dot the gel into the icing. Stir it in, and then add more to deepen the color if desired. Keep in mind that the more you stir, the thicker the icing becomes. If needed, stir in a few drops of water to maintain the target consistency.
- Fill the Pastry Bag: Fit a pastry bag with a small round piping tip (and use a coupler if you plan to switch icing colors and/or piping tips), such as Wilton piping tip #4. Fill the bag with icing, making sure to leave a few inches of space at the top of the bag. Twist to seal or use a clip.
- Decorate Your Cookies using any of the following methods, then continue to step 10.
- Easy Flooding: Using a small round piping tip such as Wilton piping tip #4, pipe an outline of icing all around your cookie. Then fill in the center of the outline with more icing. If desired, you can add some sprinkles while the icing is still wet.
- Two Layers of Icing: Start by piping and flooding the cookie with a layer of icing, just as described above. Let that set for 1–2 hours, and then pipe on a second layer of icing details once the first layer has dried, such as swirls, handwriting, dots, and other designs. A smaller piping tip, such as Wilton piping tip #2, is ideal for intricate designs/details. Let the icing set again before you stack and store the cookies.
- Piping Defined Sections: This look gives the icing decoration some dimension. Also, if you’re using multiple colors, this method keeps the colors from bleeding together. Start with one color, and using Wilton piping tip #4, pipe every other section or area of your cookie, then let it set before you pipe the remaining sections/areas. For the pictured pumpkin and tree cookies, I outline and flood the center, and then the two sides, leaving space between each section. Let the icing dry for at least 30 minutes, until the icing has begun to set. Once the icing is semi-set, you can go ahead and fill the remaining sections with icing.
- Piping Defined Sections + Sprinkles: This technique gives the cookie that same sectioned look as #3, but you don’t have to wait 30 minutes for the first section to set. Using Wilton piping tip #4, start by piping on the section you want to cover with sprinkles or sparkling sugar. Dip the cookie into the sprinkles, so that they completely coat the icing. Then pipe on your remaining sections.
- Let the Icing Set: When applied to cookies in a thin layer, royal icing completely dries in about 2 hours at room temperature. If icing consistency is too thin and runny, it will take longer to dry. If the icing is applied very thick on cookies, it will also take longer to dry. If you’re layering royal icing onto cookies for specific designs and need it to set quickly, place cookies in the refrigerator to help speed it up.
Notes
- Make Ahead Instructions: You can prepare this royal icing 2–3 days ahead of time. I recommend transferring it to a smaller bowl or container and tightly sealing for up to 3 days in the refrigerator. When you’re ready to use it, let it come to room temperature, then mix it with a whisk a few times, as it may have separated. If it thickened, whisk in a few drops of water.
- Freezing Instructions: Any leftover royal icing can be frozen for up to 2 months. Place leftover royal icing into zip-top freezer bags. If you have more than 1 color, each color should be in its own bag. Before sealing, squeeze as much air out of the bag as possible. Freeze on a flat shelf surface in your freezer. Thaw overnight in the refrigerator and bring to room temperature before using again.
- Freezing Decorated Cookies: Decorated sugar cookies freeze well for up to 3 months. Wait for the icing to set completely before layering between sheets of parchment paper in a freezer-friendly container. Thaw in the refrigerator or at room temperature.
- Keep Royal Icing Moist: When you’re not working directly with the royal icing (for example, you are decorating cookies but you still have some icing left in the bowl that you intend to use next), place a damp paper towel directly on the surface of the royal icing. This prevents it from hardening.
- Special Tools (affiliate links): Electric Mixer (Handheld or Stand Mixer) | Meringue Powder | Gel Food Coloring | Disposable or Reusable Piping Bags | Bag Clips or Ties | Couplers | Wilton Piping Tip #4 | Wilton Piping Tip #2
- Optional Flavors: Feel free to add 1/2 teaspoon of your favorite flavored extract, such as lemon, orange, maple, peppermint, etc. when you add the water. Taste after the icing comes together, then beat in more if desired. You can also use 1 teaspoon of vanilla extract.




Thank you for all the tips! I’m excited to try them as holiday cookie season approaches. I am AWFUL with a piping bag, and I use squeeze bottles by sugarbelle to decorate my cookies now. Will that still be ok with your techniques?
Hi Lisa! Yes, you can use those squeeze bottles. I’m familiar with them; I have a couple! The tips are fine enough for these designs.
Just wondering if the icing in the tips can dry out or harden making it difficult or not able to squeeze out icing?
Hi Laurie, if you’re decorating the cookies all at once, the icing shouldn’t harden in the tip. I usually find that it will harden after a couple of hours. If you’ll be decorating over a long period of time, use a coupler so you can remove the tip from the bag, rinse it out, and put it back on the bag.
Hi Sally! I absolutely love your recipes! You are my go to for everything I bake! We always decorate cookies for the holidays. Usually with traditional piping bags, but this year since my grandchildren are young I thought it would be fun for them to color the cookies with edible ink marking pens. Which icing would you say is best for this task?
Hi Lindsey, we’d recommend using royal icing so that it has a harder base than the easy cookie icing. Hope they’re a hit!
The email I received said there is a new video, but there isn’t a video on the post for icing the sugar cookies.
Hi Ann, if you scroll down to the gray recipe box (or use the Jump to Recipe button at the top of the page), you can find the video there after the written instructions.
I love Sally’s sugar cookies. It’s the only recipe I use but no to the royal icing. No one I know likes the taste although it makes a very pretty cookie. I am now. using rolled buttercream it’s a game changer and also taste good
I randomly came across this recipe about 3 years ago when I decided to make cookies to give as Christmas gifts to my co-workers. I had never made sugar cookies from scratch and had definitely never used royal icing or tried decorating cookies before. I followed your recipe for the cookie & royal icing to the letter and they turned out amazing. I was worried about the almond extract, but they gave the cookie a wonderful flavor. I made the cookies again last year and plan on making them again this year for gifts again. I’m so glad I found your site. I plan on making quite a few of your cookies this year.
Dear Sally,
My lovely daughter, Theresa from the UP in Michigan sent me your recipe for our 18 grandchildren.
May I use your gingerbread house recipe for my gingerbread cookies, too? Please, advise.
Thank you for all that you do!
God bless,
Sally C
Hi Sally, we suggest using our favorite gingerbread cookies recipe for cookies instead – they’re softer and definitely a favorite. Let us know how both recipes go for you!
Hi
This recipe and your royal icing recipe is amazing. My question is how to package them. I packaged them into little cellophane bags but found they went more soft and broke easily. Were as ones wrapped in cling film have stayed hard but soft in middle. How long do these last??
I’m based in the uk
Thanks
I’m so glad you enjoy the recipes, Ty! I find that these cookies stay fresh as long as they are covered for at least 5 days. For longer storage can keep them covered in the refrigerator for up to 10 days.
Hi Sally! I loved your live video– thank you for taking the time to do that!! I’m making cookies tonight, but can I wait to decorate them until tomorrow? Do they have to be iced fresh out of the oven? Thanks so much for your tips!!
I want to use this recipe ASAP – I have one question. I’m in the UK and was wondering if the oven temperature is for a fan assisted oven or not ? I have two of your books, (so far ) and cant find a reference to this and I’ve read quite a few pages lol
Thanks in advance
Hi Eileen! My recipes are written for conventional ovens. If using convection/fan-assisted I recommend lowering the temperature by 25 degrees. 🙂
I actually made this sugar cookie recipe for Halloween cookies and it was SO much easier to work with this dough than my family recipe – and the flavor (even w/o the almond extract) was better too! So I’ll be using this from now on. Me and the kiddo will be making Christmas sugar cookies in the next few days (these will be our Santa cookies) but I’ll be trying the royal icing for the first time. Hopefully with your instructions it’ll go well! Either way, I’m excited to learn a new frosting technique.
Happy Holidays!
Delicious. Turned these babies into slice and bake, dipped into dark chocolate and sprinkled crushed pistachios. Whhhaaaatttt! Amazing. Thanks Sally.
I made your chocolate sugar cookies today, and they are amazing! They have so much chocolate flavor. Also rolled the dough before chilling as your directions stated, and I’ll never do it any other way! Will have to try your vanilla version soon!
I make these sugar cookies for every holiday and have been using your recipe since 2014!!! They are always such a hit. I always bake one day, and then decorate a day or two later. Can’t wait to get started on these later this upcoming week for Christmas! Happy holidays Sally!
This is THE BEST SUGAR COOKIE recipe. The ingredients are simple and as long as you follow the steps just like she says they will be perfect every time. Don’t screw with the recipe she really has it all figured out.
How does your royal icing taste? I normally use a butter, milk, confectionary sugar frosting style that hardens that tastes great, but I want to try the royal icing, but I’m more concerned with the flavor…
Hi Lynn! It tastes like a meringue cookie. Sweet, for sure. And what I love most is that it doesn’t dry super crunchy and hard like other royal icings.
This is the BEST sugar cookie recipe! I always add the almond I love the flavor it gives the cookies! These are fabulous techniques for decorating sugar cookies, I’m going to try some of these tonight! Also I’m excited about your live later today and plan to catch it live, my alarm is set on my phone!
This is THE sugar cookie recipe. I’ve tried tons and this is the one that I use and recommend to everyone. Most people dismiss the sugar cookies on the Christmas platter. They assume they are just there to be pretty and will be rock hard, flavorless, or both. This recipe always shocks people- they always stop and say.. wow, these are awesome!! I never liked sugar cookies that much until I started making these. Here are a few extra tips from me: definitely use the almond extract and cinnamon. I also like to pop my cookies in the freezer for a few minutes (on the baking sheet) after I cut them, before I bake. I have no idea if I’m just weird, if I read this somewhere or what, but I always end up with razor sharp edges- no fat cookies! Its amazing.. even though the cookies maintain a perfect shape, they are full of flavor and still soft. And they stay soft for days after to enjoy with coffee!! I’ve been using the ‘easy icing’ for the last few years, but I want to give the royal icing another try. With the video, I hope I will finally nail the consistency. So excited to make these on Christmas Eve! Thank you Sally, as always, for your fantastic recipes- and decorating tips!