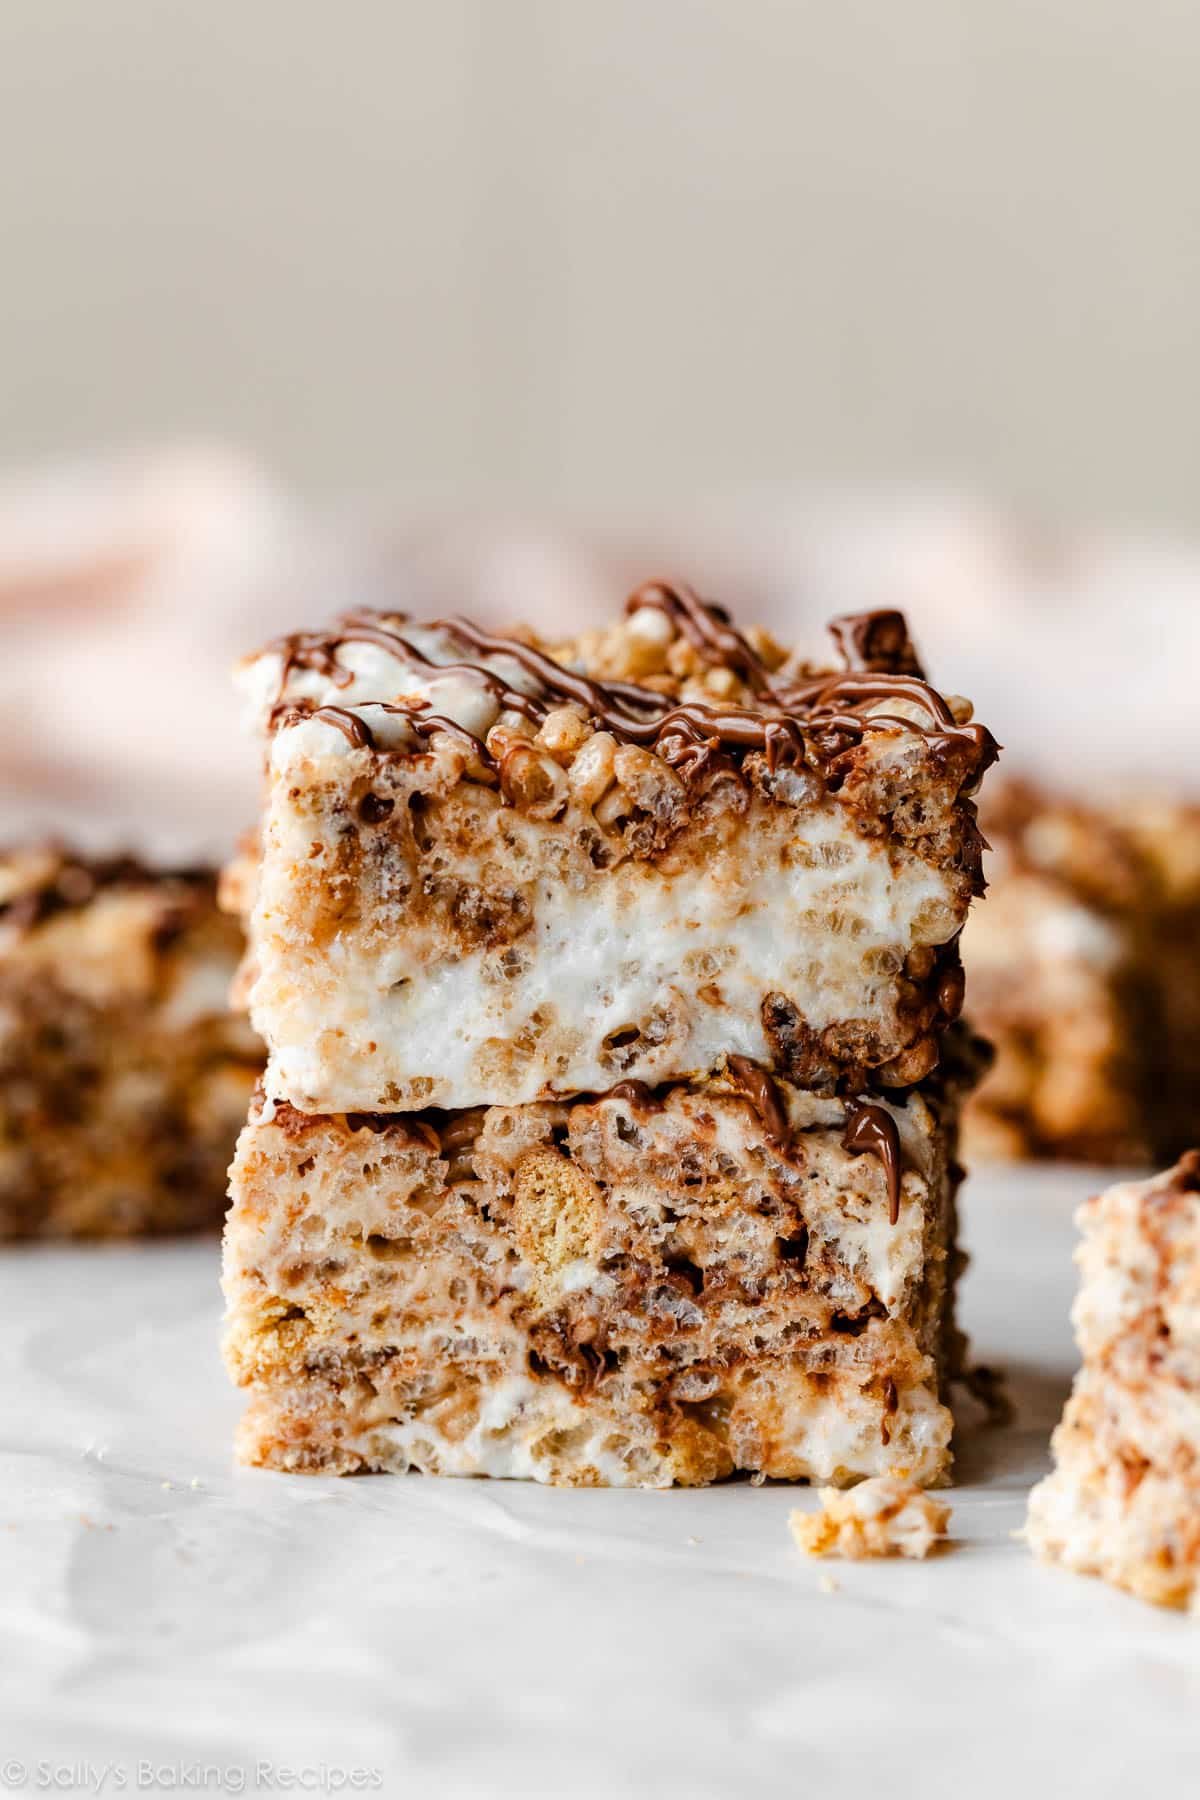
If you like s’mores, you’ll flip for these s’mores rice krispie treats. Toasting half of the marshmallows in the oven first gives these treats that signature campfire-toasted marshmallow flavor you love about s’mores, and stirring in graham cracker and chocolate bar pieces (which get all melty in the gooey marshmallow) gives the ultimate s’mores experience… in rice krispie treat form!
I originally published this recipe in 2012, and have since updated the recipe and photos.
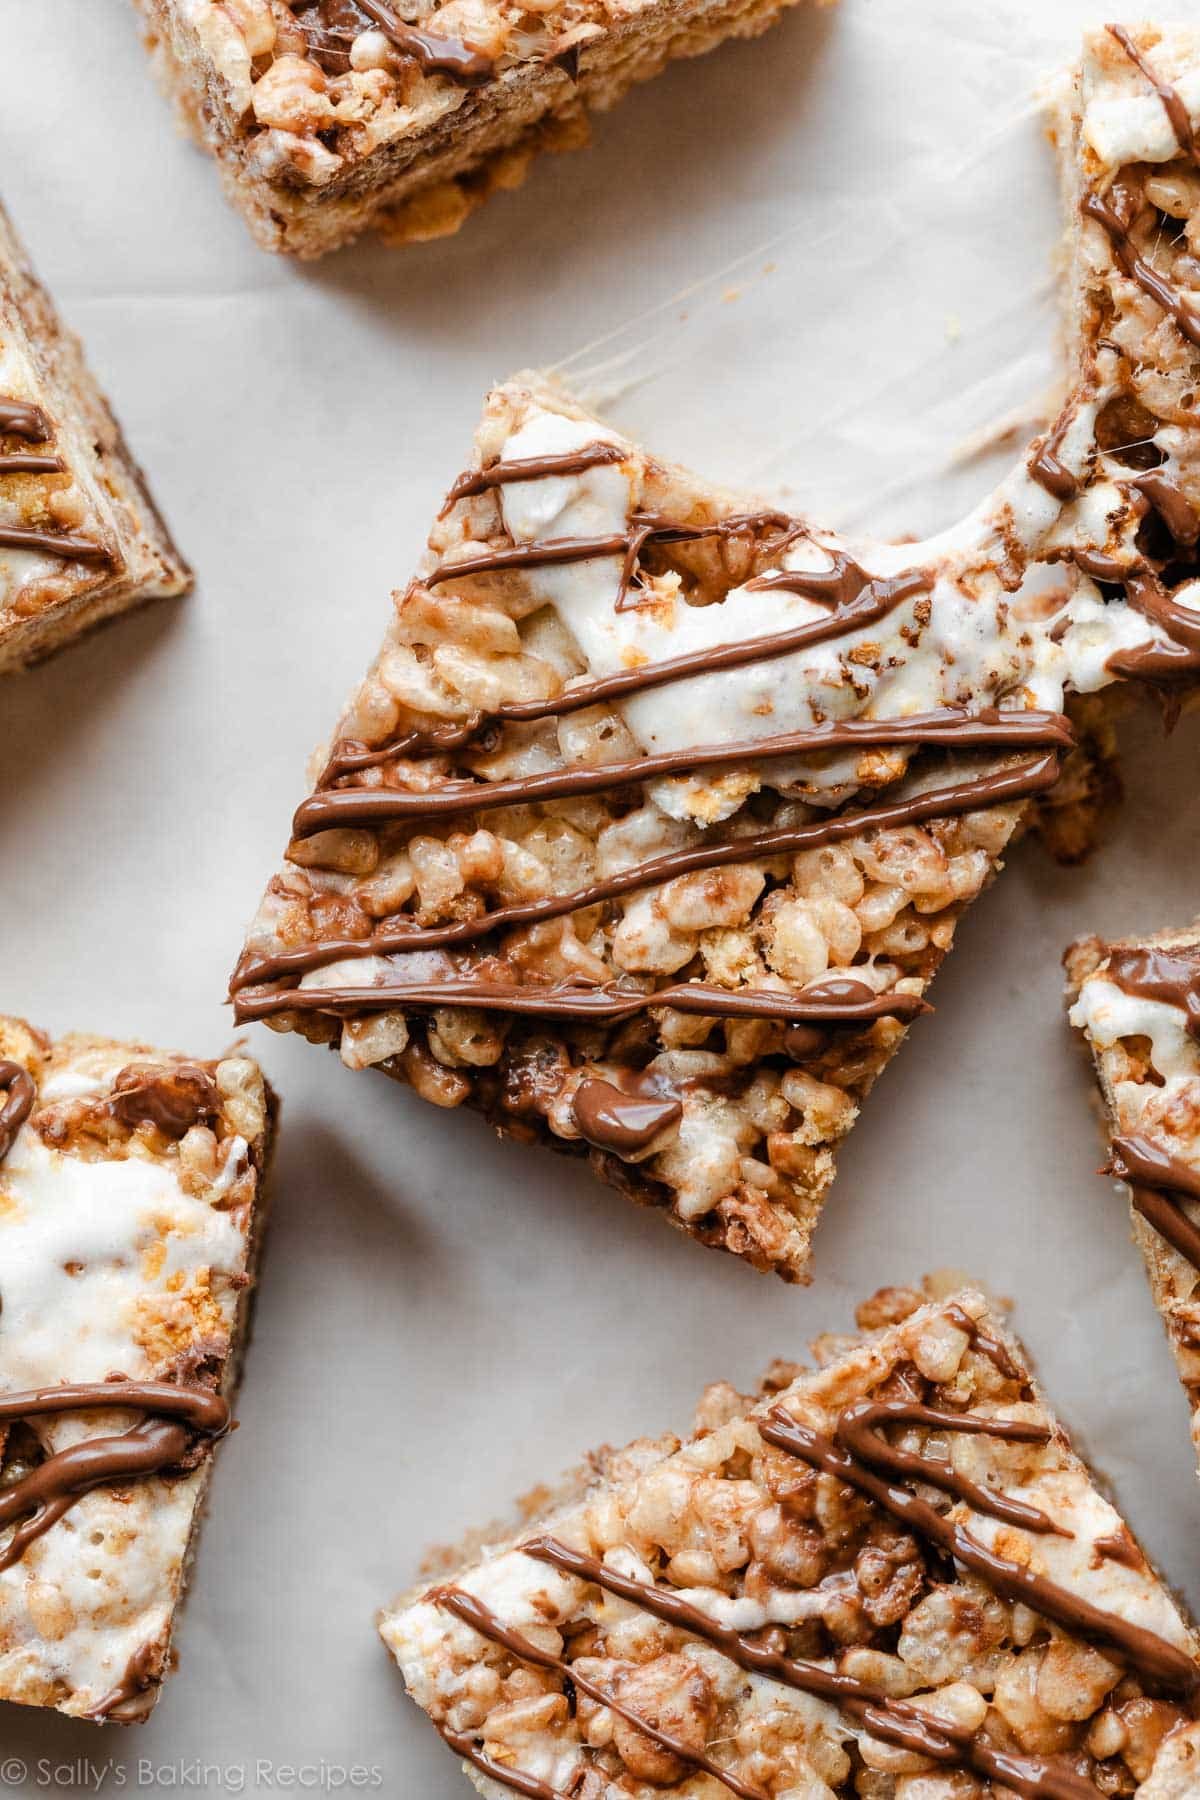
Ever since I had a s’mores fix a few weeks ago, I haven’t been able to get the ooey, gooey, marshmallow-y mess out of my mind. With a quick look through my pantry, I noticed I had a box of Rice Krispies cereal and a sleeve of graham crackers. Ding ding ding! S’mores Rice Krispie Treats, a summertime-inspired variation of my favorite rice krispie treats.
Chunks of graham crackers, Hershey’s bars, and tons of toasted marshmallow goo. I can see myself making these again and again… they are really that good. And EASY!
Here’s Why You’ll Love These S’mores Rice Krispie Treats
- Makes a big batch to feed a crowd
- Great make-ahead dessert option
- Travels well, hand-held food, & great for parties
- Kids especially love these sweet treats
- Minimal baking required—just toasting the marshmallows under the broiler
Grab These Ingredients:
- Butter: Like all good desserts, the base of great rice krispie treats is butter.
- Marshmallows: These krispie treats are extra marshmallow-y without falling apart. You need two 10-ounce bags (about 11 heaping cups) of miniature marshmallows.
- Vanilla Extract: This is an easy addition that turns a good rice krispie treat into a great rice krispie treat. You only need 1/2 teaspoon, but what a difference it makes! Homemade vanilla extract is excellent here.
- Salt: Salt is another little flavor enhancer I add to my rice krispie treats. Like vanilla extract, salt is a super convenient ingredient you already have in your kitchen, and you don’t need much of it. Just a pinch adds a depth of flavor otherwise absent from crispy rice treats.
- Rice Krispies Cereal: What’s a crispy treat without rice krispies cereal? The best!
- Graham Crackers: You need about 6 full-sheet graham crackers, broken into pieces.
- Hershey’s Bars: The Hershey’s milk chocolate bars are the s’mores standard here in the U.S., but you can of course use any milk chocolate or semi-sweet chocolate bars you can find where you live.
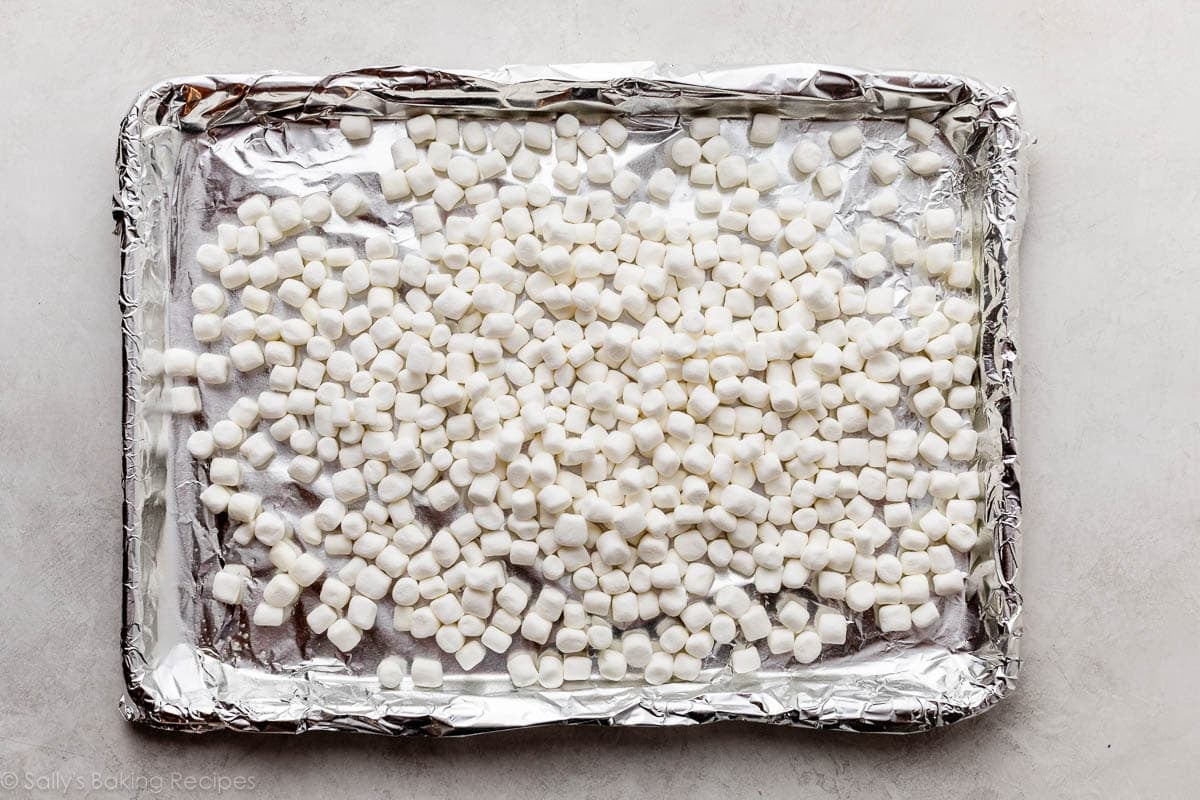
You’ll toast one 10-ounce bag of marshmallows on an aluminum foil-lined and greased baking sheet, then melt the other bag of marshmallows on the stove with the butter.
*Don’t use parchment paper, as it can burn under the broiler.
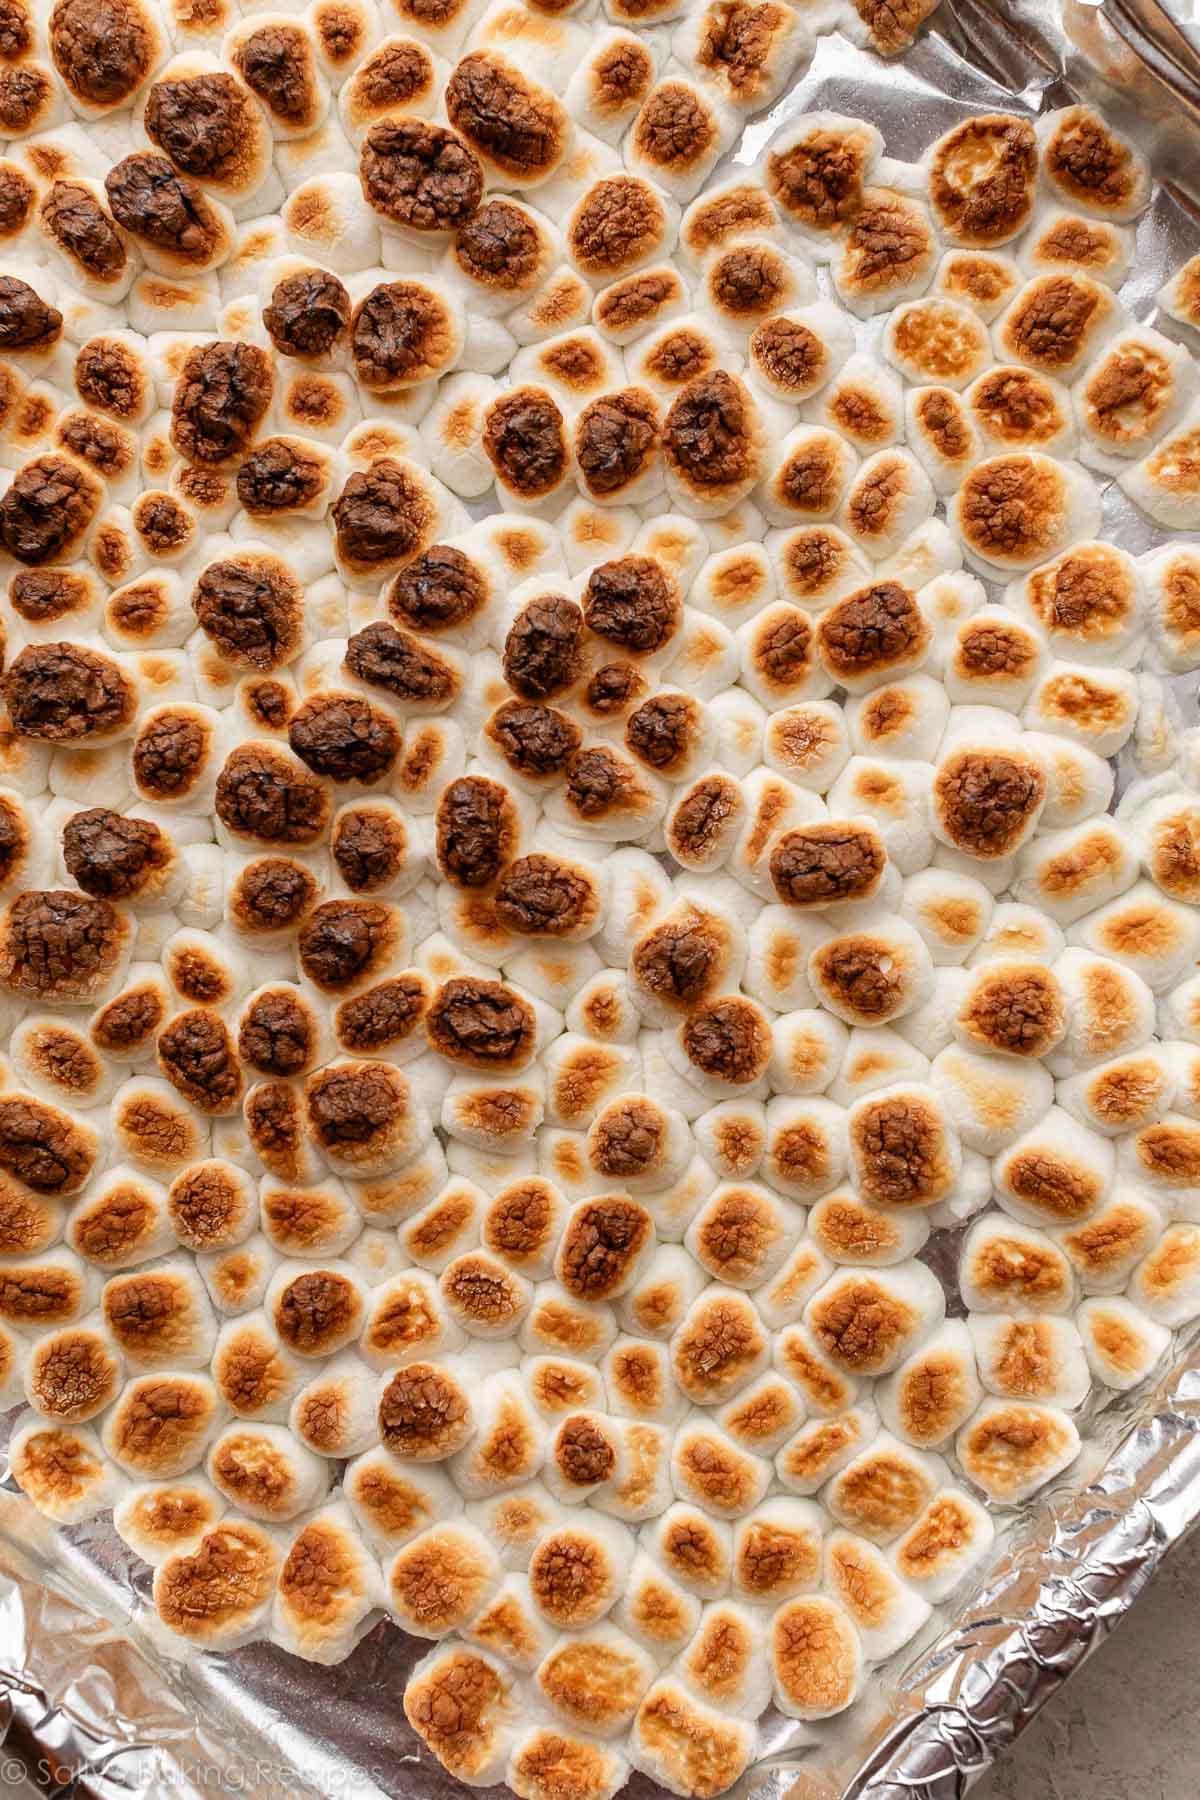
Perfectly toasty, just how we love them for s’mores:
On the stove, melt the butter, and then stir in the other bag of marshmallows until combined. Remove from heat, and then stir in the vanilla, salt, crispy rice cereal, and graham cracker pieces. Finally, stir in the toasted marshmallows and Hershey’s bars.
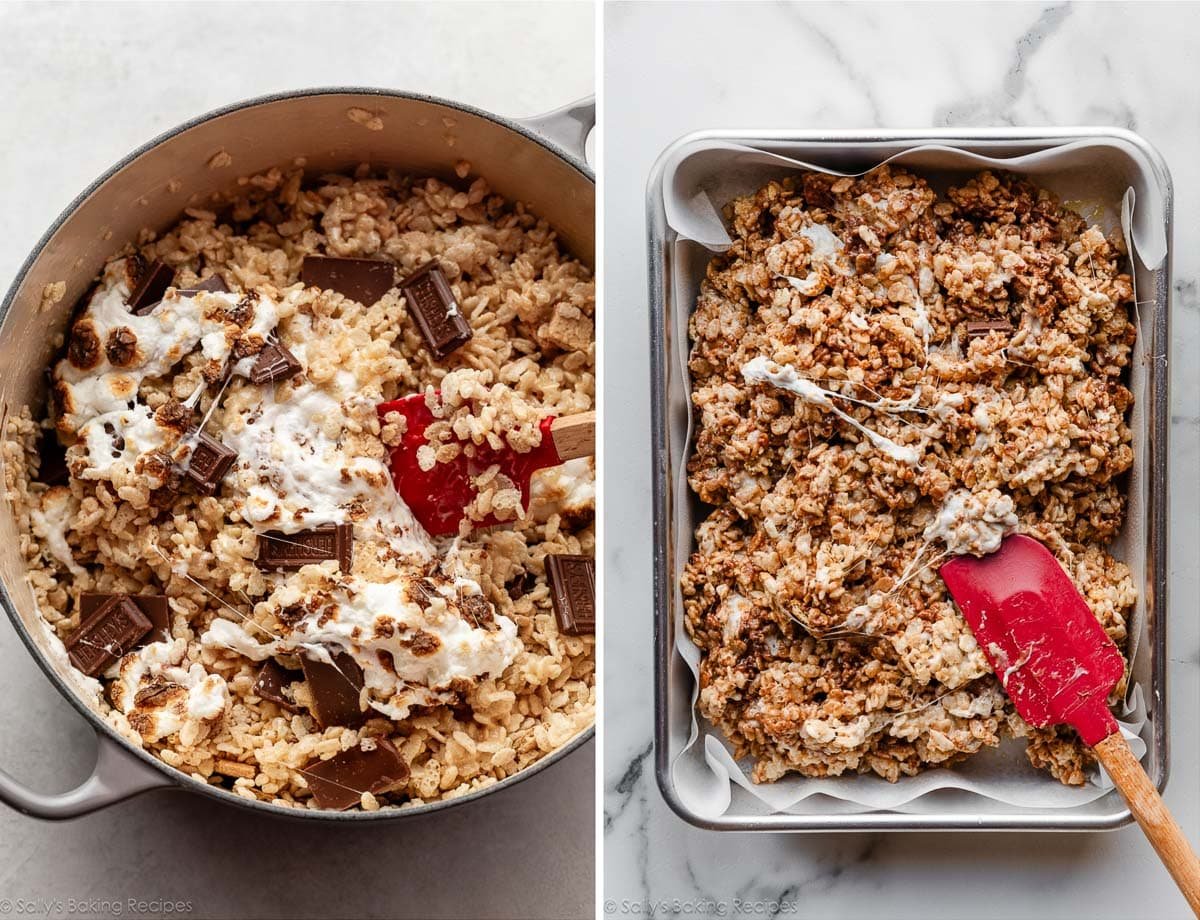
Press it into a 9×13-inch pan lined with parchment paper. Let the bars set, and then you can drizzle the whole batch with melted Hershey’s bars. The topping is optional, of course. They’re plenty chocolatey even without it!


If you can’t get enough of these sweet treats, be sure to also try my cake batter rice krispie treats. For a festive fall variation, go with my pumpkin pie rice krispie treats!
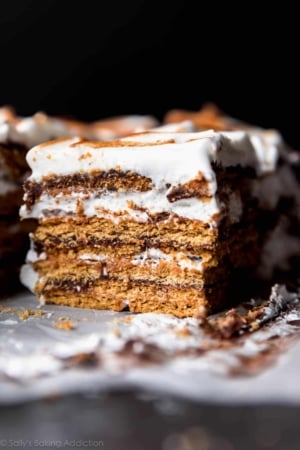
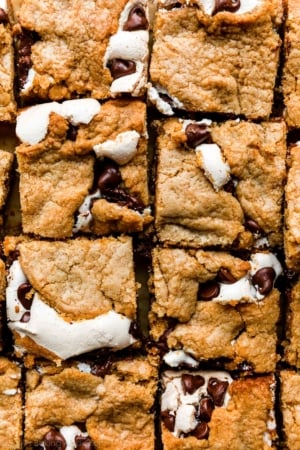
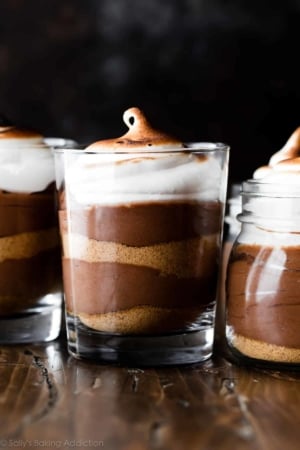
More S’mores-Inspired Treats

S’mores Rice Krispie Treats
- Prep Time: 15 minutes
- Cook Time: 5 minutes
- Total Time: 45 minutes
- Yield: 24 squares
- Category: Dessert
- Method: Cooking
- Cuisine: American
Description
If you like s’mores and rice krispie treats, you’ll flip for these easy crispy rice squares. Filled with Hershey’s chocolate bars, toasted marshmallows, and graham cracker pieces, every gooey bite tastes like a campfire s’more.
Ingredients
- nonstick cooking spray
- two 10-ounce bags (566g; 11 heaping cups) miniature marshmallows, divided
- 1/2 cup (8 Tbsp; 113g) unsalted butter
- 1 teaspoon pure vanilla extract
- pinch salt
- 7 cups (190g) crispy rice cereal
- 1 and 1/2 cups graham crackers, broken into small pieces (6 graham crackers; 90g)
- 3 Hershey’s milk chocolate bars, broken into pieces (1 heaping cup; 129g)
Topping (optional)
- 1–2 Hershey’s milk chocolate bar(s), melted
Instructions
- Preheat oven’s broiler on high, about 5 minutes.
- Toast half the marshmallows: Line a baking sheet with aluminum foil. Spray the foil with nonstick cooking spray. Spread half of the mini marshmallows (one 10-ounce bag) in a single layer on the prepared baking sheet. Broil until the marshmallows are toasted and golden-brown on top, which only takes a couple of minutes. Keep a close eye on them so they don’t burn. Remove from oven and set aside.
- Line a 9×13-inch baking pan with parchment paper. Lightly grease the parchment. I always use a very light mist of nonstick spray. Set aside.
- Melt the butter in a very large pot over medium heat. Once melted, add the remaining 10 ounces of (non-toasted) marshmallows. Stir the mixture with a rubber spatula until the marshmallows are completely melted.
- Remove from heat, then immediately stir in the vanilla extract and salt. Fold in the crispy rice cereal and graham cracker pieces until mostly combined. Allow to slightly cool for a minute or two, and then fold in the chocolate and toasted marshmallows.
- Transfer mixture to prepared pan. Using a rubber spatula (greasing it lightly helps), gently spread mixture to fit the pan. Lightly grease the back of a flat spatula and very gently press the mixture down into the pan. Do not pack it down with force, just lightly press down until it is secure in the pan.
- Allow treats to set for at least 1 hour at room temperature, and up to 1 day. Cover tightly if leaving out for more than a few hours.
- Optional topping: Drizzle melted chocolate over the top of the cooled treats, if using, and place in the refrigerator for about 15–20 minutes to set the chocolate. (Not too much longer, or the treats will be too hard to cut.)
- Lift the rice krispie treats as a whole out of the pan using the edges of the parchment paper. Cut into squares.
- Cover and store leftover treats at room temperature for up to 3 days. To store, place in an airtight container, with sheets of parchment or wax paper between layers.
Notes
- Freezing Instructions: Rice krispie treats aren’t the best dessert to freeze because the texture isn’t always completely the same after thawing. That being said, you can still freeze these squares. Freeze in layers between sheets of parchment or wax paper in a freezer-friendly container for up to 2 months. Thaw at room temperature before serving.
- Special Tools (affiliate links): Baking Sheet | 9×13-inch Baking Pan | Parchment Paper | Large Pot (such as a Dutch Oven) | Silicone Spatula | Flat Spatula
- For the pinch of salt, I add a little less than 1/8 teaspoon.
- Chocolate: Instead of Hershey’s bars in the treats, you can use chocolate chips. For the topping, you can use any milk or semi-sweet/dark chocolate.
- Recipe updated in 2024: This recipe used to call for 6 cups of crispy rice cereal, 1/4 cup butter, one 10-ounce bag of marshmallows, 1 cup of chocolate chips, and the vanilla, salt, and graham crackers as listed above. I have since increased the volume to fit a 9×13-inch baking pan, and an additional bag of marshmallows for toasting to add wonderful toasted marshmallow flavor!


Looking forward to trying this recipe with a couple of changes. I’m going to use milk chocolate chocolate chips instead of the chocolate bars in hopes of more chocolate in each bite, and also going to trade out the graham crackers for graham cracker cereal (Golden Grahams) I will let you know how it turns out!
These are delicious! I’m not sure what other people are complaining about. I didn’t have any issues when following directions. The marshmallows are a little hard to get off the foil, but its not impossible with a spatula. Mine came off relatively easily. I think I’m going to try a semi-sweet chocolate drizzle on top next time.
I just made these tonight! Happy happy!
This absolutely didn’t work. Toasting under the broiler took a couple of seconds, not minutes as stated. Also I used the tinfoil & nonstick spray but the marshmallows were super stuck to the tin foil, making a royal mess that was near impossible to add in. It might be better to melt 2/3 of marshmallows, then after you put mixture into pan, sprinkle marshmallows & chocolate bits on top to put under broiler for a minute, so you have toasted marshmallows & chocolate on final layer. Melting butter, then adding marshmallows means butter gets over cooked, losing some butter. Might be better to just melt them together since it takes awhile for the marshmallows to melt. Adding in cereal & crackers makes it SUPER stiff so at that point it’s impossible to add chocolate. Might be better to add chocolate to butter & marshmallows. It’s possible that there was waaay too much dry ingredients & not enough wet. By the time you mix the whole thing & are ready to put in the pan, it is so stiff you’ll get carpal tunnel syndrome in your wrist. This entire process was a disaster for me.
I agree. If you have a small kitchen torch (like one used for creme brulee, that works just as well.
The store only had large marshmallows! How do I adapt it?!
Hi Babs, you’ll need 20 ounces total marshmallows. Large marshmallows can be a bit difficult to melt down, though, so we do recommend using mini marshmallows if possible. One reader recommends using greased kitchen shears to cut the marshmallows into smaller pieces; we haven’t tried it, but that could work!
I’m making these for our Church Baptism Service next week Sunday! So I have to Double this recipe. I can’t wait to make it because we have Alot of youths and grown up kids lol to serve!
I’m excited about it! Will let you know how it does, but I’m Certain it’s going to be a Huge Hit!
I made these at Girl Scout camp for 80 girls. Everyone loved them!!
Loved this decadent treat!
My granddaughters were all to eager to help make these.
I appreciate that the recipe is egg-free. Note: 2 bags of mini-marshamellows needed!
Great blend of flavors. Love this recipe. I sprayed aluminum foil generously with non- stick spray. Had difficulty getting marshmallows off foil. Any suggestions for next time please?
Hi GayLynn, we’re so glad you enjoyed these! Those marshmallows sure can get sticky. Were they overbaked by chance? You could try reducing the broil time by just a minute or so for next time. And yes, (very!) generously spraying the aluminum foil is key—so a few extra sprays should help!
This is an excellent recipe and nice change from regular Rice Krispie squares! I struggled with broiling the marshmallows as they don’t easily come off the foil even though I greased it well. The second time I made it, I only toasted half the bag of marshmallows and added them as directed. Once the cake was in the pan, I arranged the remaining half bag of marshmallows to the top of the cake and put the whole pan under the broiler for a few minutes to toast the marshmallows. After it cooled, I drizzled the melted chocolate over top. I will definitely add this to my dessert rotation!
Such a fun an easy recipe. Thanks for the tip to toast half to add and half on top. Worked perfect and was a delicious presentation! I topped with a few broken graham crackers and Hershey squares top showcase the flavor.
These are tasty but I struggled getting the caramelized marshmallows off the tin foil. Talk about sticky!! Maybe I kept them in a little too long.
It’s certainly sticky! Be sure to grease the foil generously.
Hi Susan! The easiest way to include peanut butter would be to use chopped pb cups instead of Hershey’s bars. You could, instead, try a few large spoonfuls of peanut butter in with the butter and marshmallows. I’m pretty sure the bars would still set up that way.
Thank you!! Will be trying this next 🙂
Ooh! Would this be a good time to break out the kitchen torch? I don’t get along with broiling things.
Absolutely! You can skip the oven broiler and torch the marshmallows instead.
I made these today however I found it difficult to incorporate the toasted marshmallows and chocolate into the mixture.
They taste wonderful though.
Great recipe! Can’t wait to hear the yum’s at work!
Great recipe! Can’t wait to hear the yum’s at work!
So yummy! A hit at our party!
Omg. So good!! I had a bunch of s’mores stuff leftover from the 4th and they turned out soooo yummy!
Hi Miss Sally! I really love your site!! <3 I have a question though, how do I store these bars if I want to eat them in the next few days? Also, how long can the rice krispies in the bars stay crispy? Many thanks!
Hi Thea – I usually store them at rom temperature for about 5 days. They stay chewy and soft for that amount of time. Cover them tightly. Enjoy!