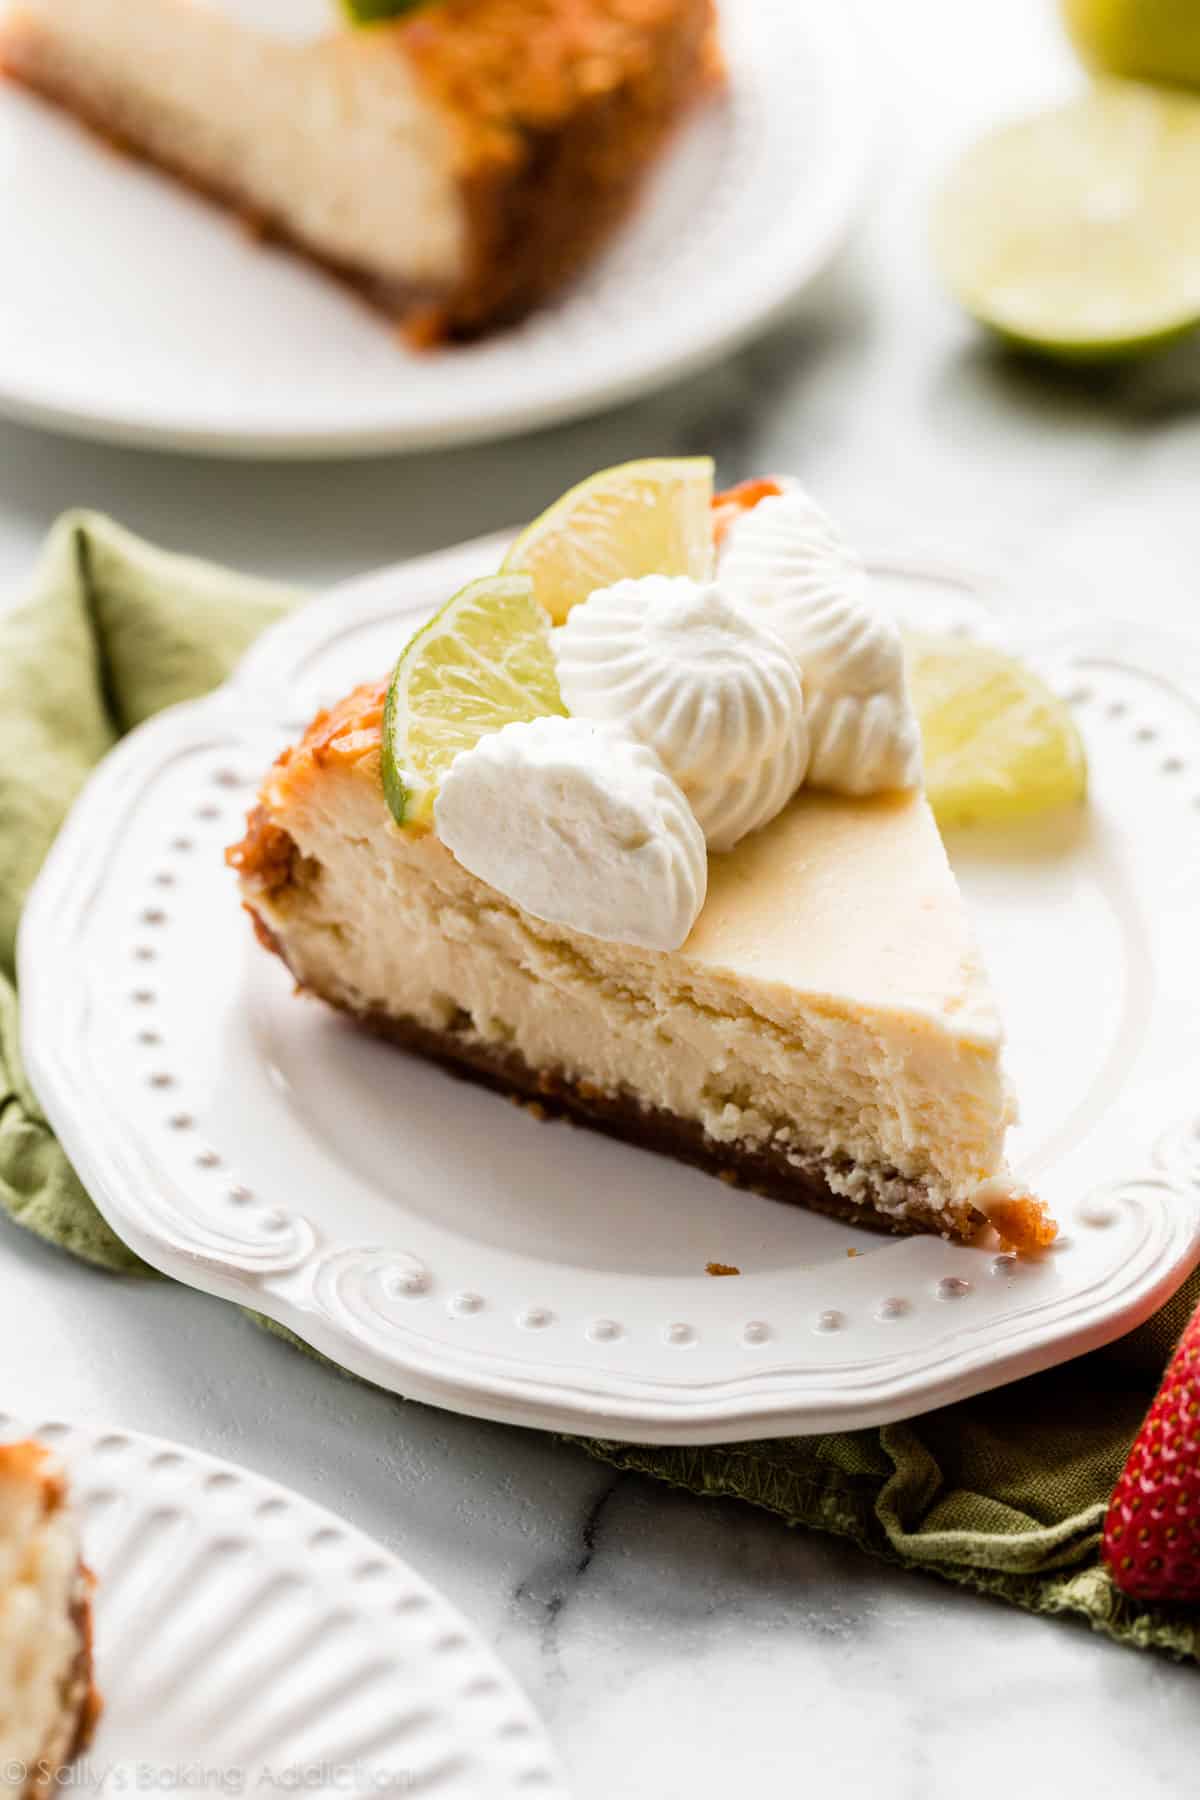
Combining the refreshing flavor of key lime pie and the irresistible creaminess of classic cheesecake, this key lime cheesecake is two mouthwatering desserts in one. Made from only 8 ingredients total, this smooth & tangy homemade cheesecake is so much easier than you’d ever guess! For recipe success, follow my in-depth instructions.
This key lime cheesecake recipe is sponsored by PHILADELPHIA Cream Cheese, whose products I’ve always trusted in my baking.
Remember my chocolate peanut butter cheesecake bars? I’m thrilled to show off this quality cream cheese again! As always, all opinions are 100% my own. You know I only work with brands I truly love!
Maybe you’ve caught on by now or maybe you haven’t, but I’m completely nuts about cheesecake. Have you seen my extensive collection of cheesecake recipes? When developing a new flavor, I turned to another dessert love of mine: key lime pie. Sweet and citrus-packed, this warm weather favorite sits on a buttery graham cracker crust. The marriage of two iconic desserts was inevitable. Welcome to the ultimate dessert duo!
If you’re wild about key lime, you’ll flip for these individual upside down key lime pies, key lime pie bars, and dark chocolate key lime truffles too. And if you want a party ready cheesecake, you’ll love these mini margarita cheesecakes!
Many readers have asked about replacing the limes with lemons in this cheesecake. Follow this recipe for lemon cheesecake instead.
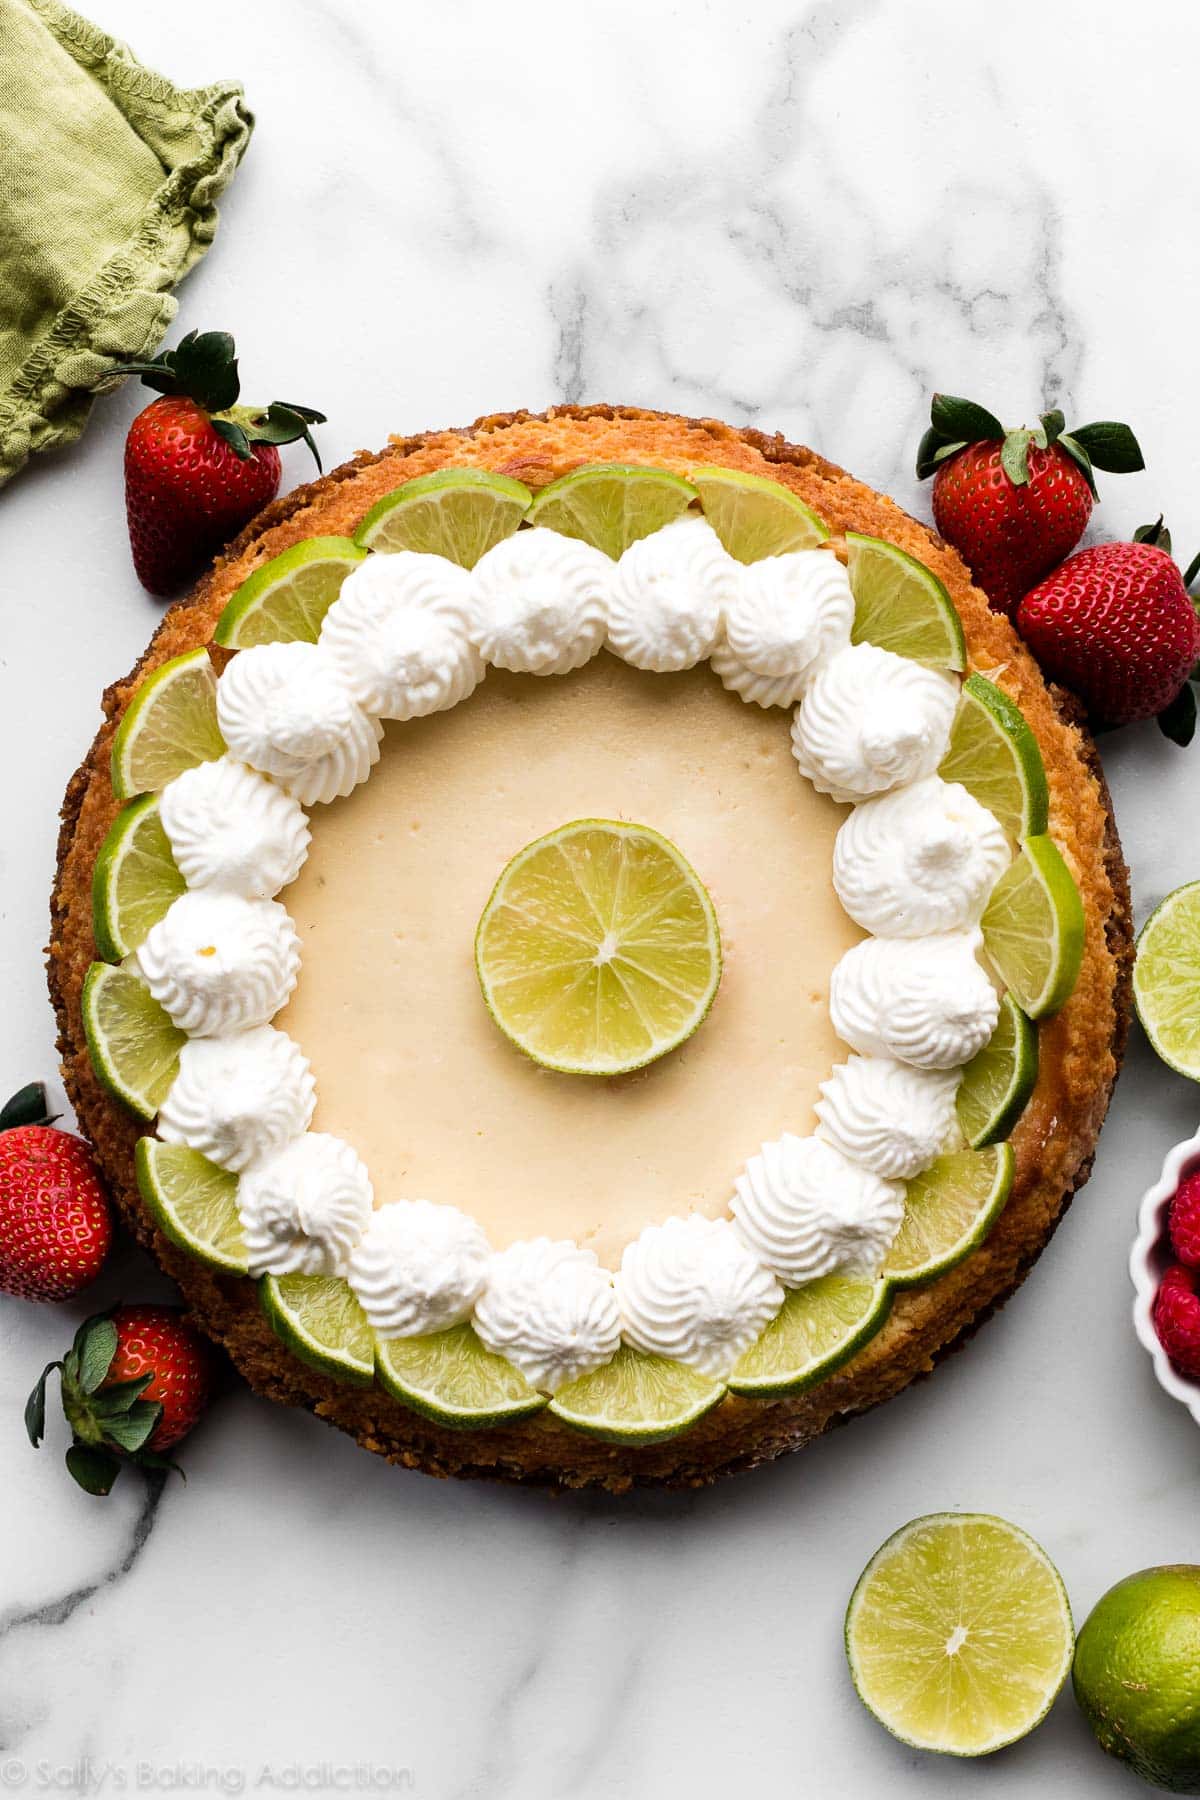
This Key Lime Cheesecake Is:
- Made from just 8 ingredients
- Perfect for spring & summer celebrations
- Wonderfully sweet & tangy
- Unbelievably creamy
- Flavor-packed with plenty of key lime
- Easy to make ahead or freeze
Homemade cheesecake has the reputation of being difficult to make. I’m here to break that barrier. Because guess what? If you know how to turn on your electric mixer, you know how to make cheesecake. Most of the “work” is hands-off while the cheesecake bakes and cools. This key lime pie cheesecake batter comes together in just 1 bowl and if you read through and follow my instructions, you can easily avoid cheesecake cracks, lumpy batter, and over-baking. (These are all problems you could face if you didn’t have a solid recipe!)
Overview: How to Make Key Lime Cheesecake
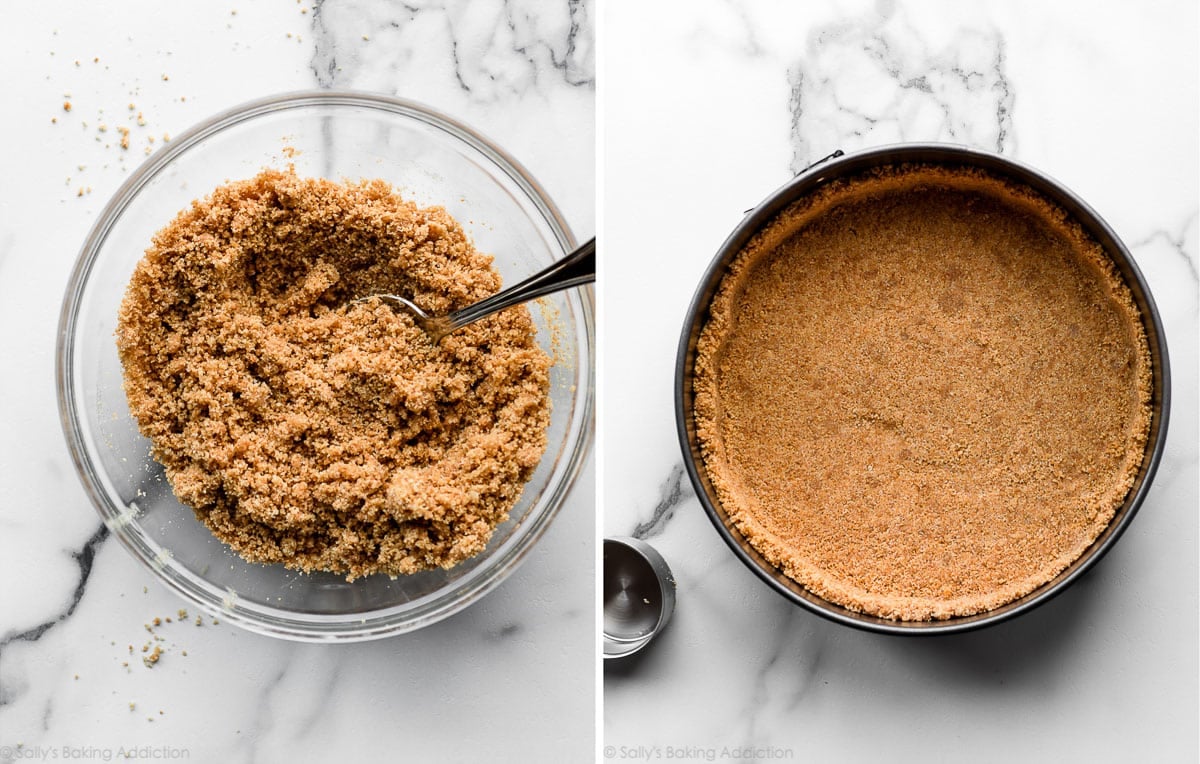
- Make the crust: A graham cracker crust is a natural choice as it’s the usual accompaniment to both key lime pie and cheesecake. Press the mixture into a 9-inch springform pan. Here’s a tip: use the bottom of a measuring cup to pack the crust in tightly!
- Pre-bake the crust: A quick 10 minutes in the oven helps the crust set up before adding the cheesecake batter on top.
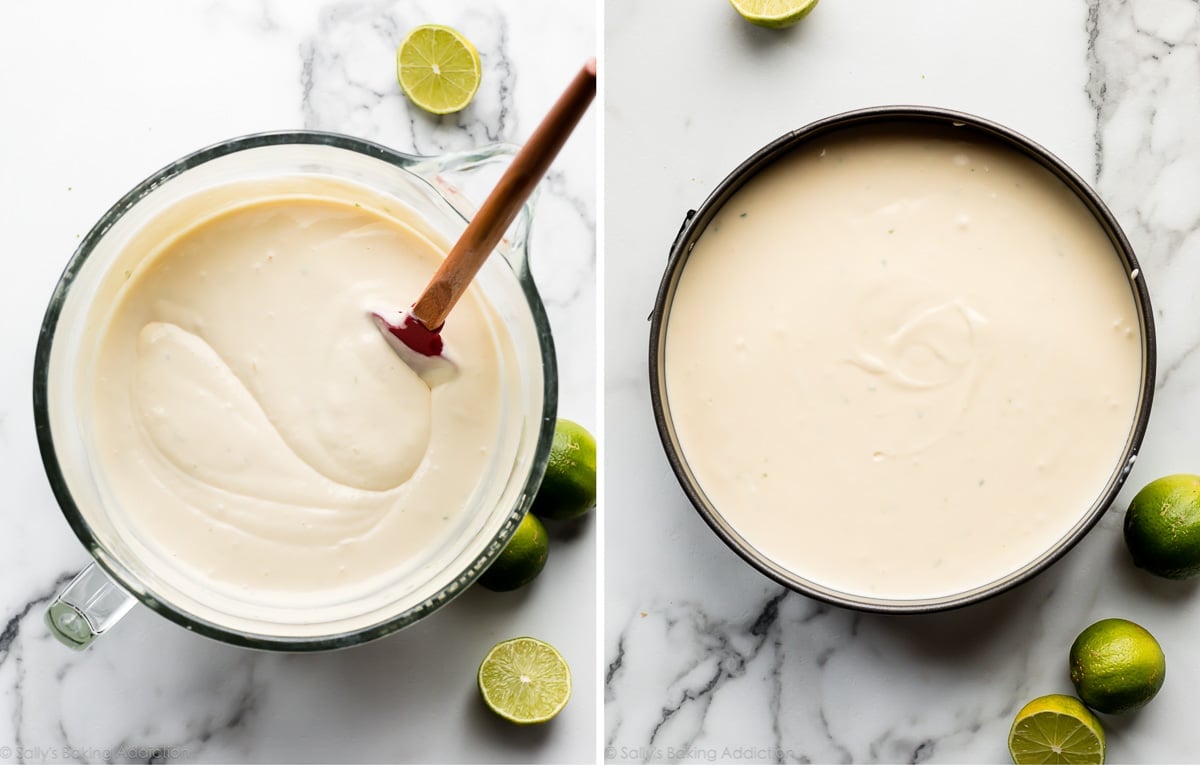
- Make the batter: The ingredients come together in a certain order. Beat the cream cheese and sugar together first, then beat in the rest of the ingredients except for the eggs. Add the eggs one at a time, beating only until combined. Over-beating the eggs incorporates too much air into the batter, which causes the cheesecake to deflate and crack.
- Prepare the water bath: I promise a water bath is nothing complicated. You see, cheesecake needs to bake in a humid environment. Adding steam to the otherwise dry oven prevents cracks on the surface of your key lime cheesecake. Additionally, it keeps the dessert extra creamy and moist. There are two options for preparing a water bath and both are detailed in the recipe below. The cheesecake can sit in a roasting pan of water in the oven or you can place a roasting pan of hot water on the bottom rack. (This is what I do for flourless chocolate cake! Works like a charm.) I actually have an entire post and video tutorial for How to Make a Cheesecake Water Bath. Taking a few extra minutes to prepare a water bath is well worth it.
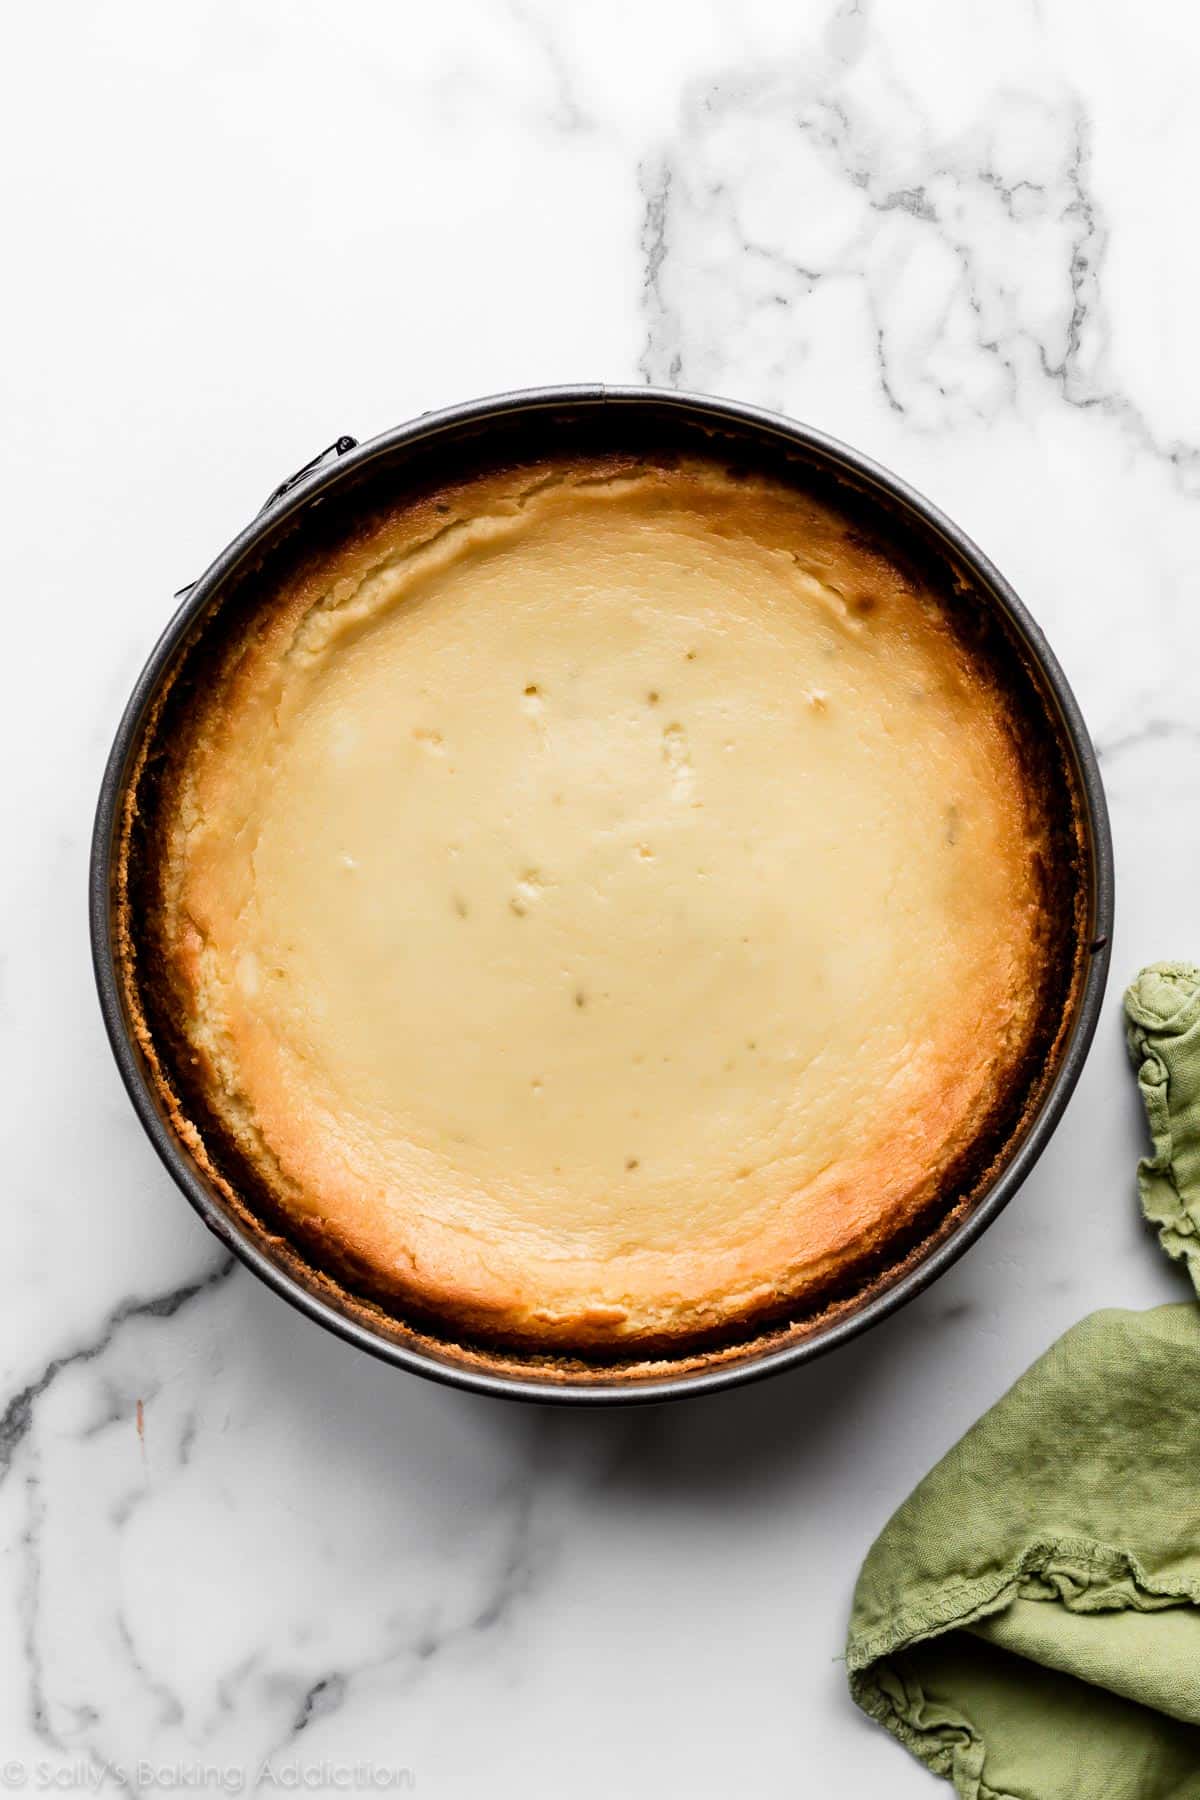
- Bake the cheesecake: This key lime cheesecake can take anywhere from 55–70 minutes. It’s done when the edges are lightly browned and set. The very center of the cheesecake will still be wobbly, but don’t worry, it will set as the dessert cools.
- Cool the cheesecake: Cheesecake doesn’t like vast temperature differences, so cool it using my guaranteed method—turn off the oven, crack open the door, and let the cheesecake sit in the oven for 1 hour. After that, place it on the counter at room temperature to fully cool down. When it’s cool, chill it in the refrigerator for at least 4 hours or even overnight.
Trust Me on This Cooling Method
There’s no greater test to your willpower than those few hours waiting for this key lime cheesecake to cool! But every minute is completely worth it when you take that first unbelievably refreshing, satisfying, key lime-packed bite. 🙂
2 Quick Success Tips
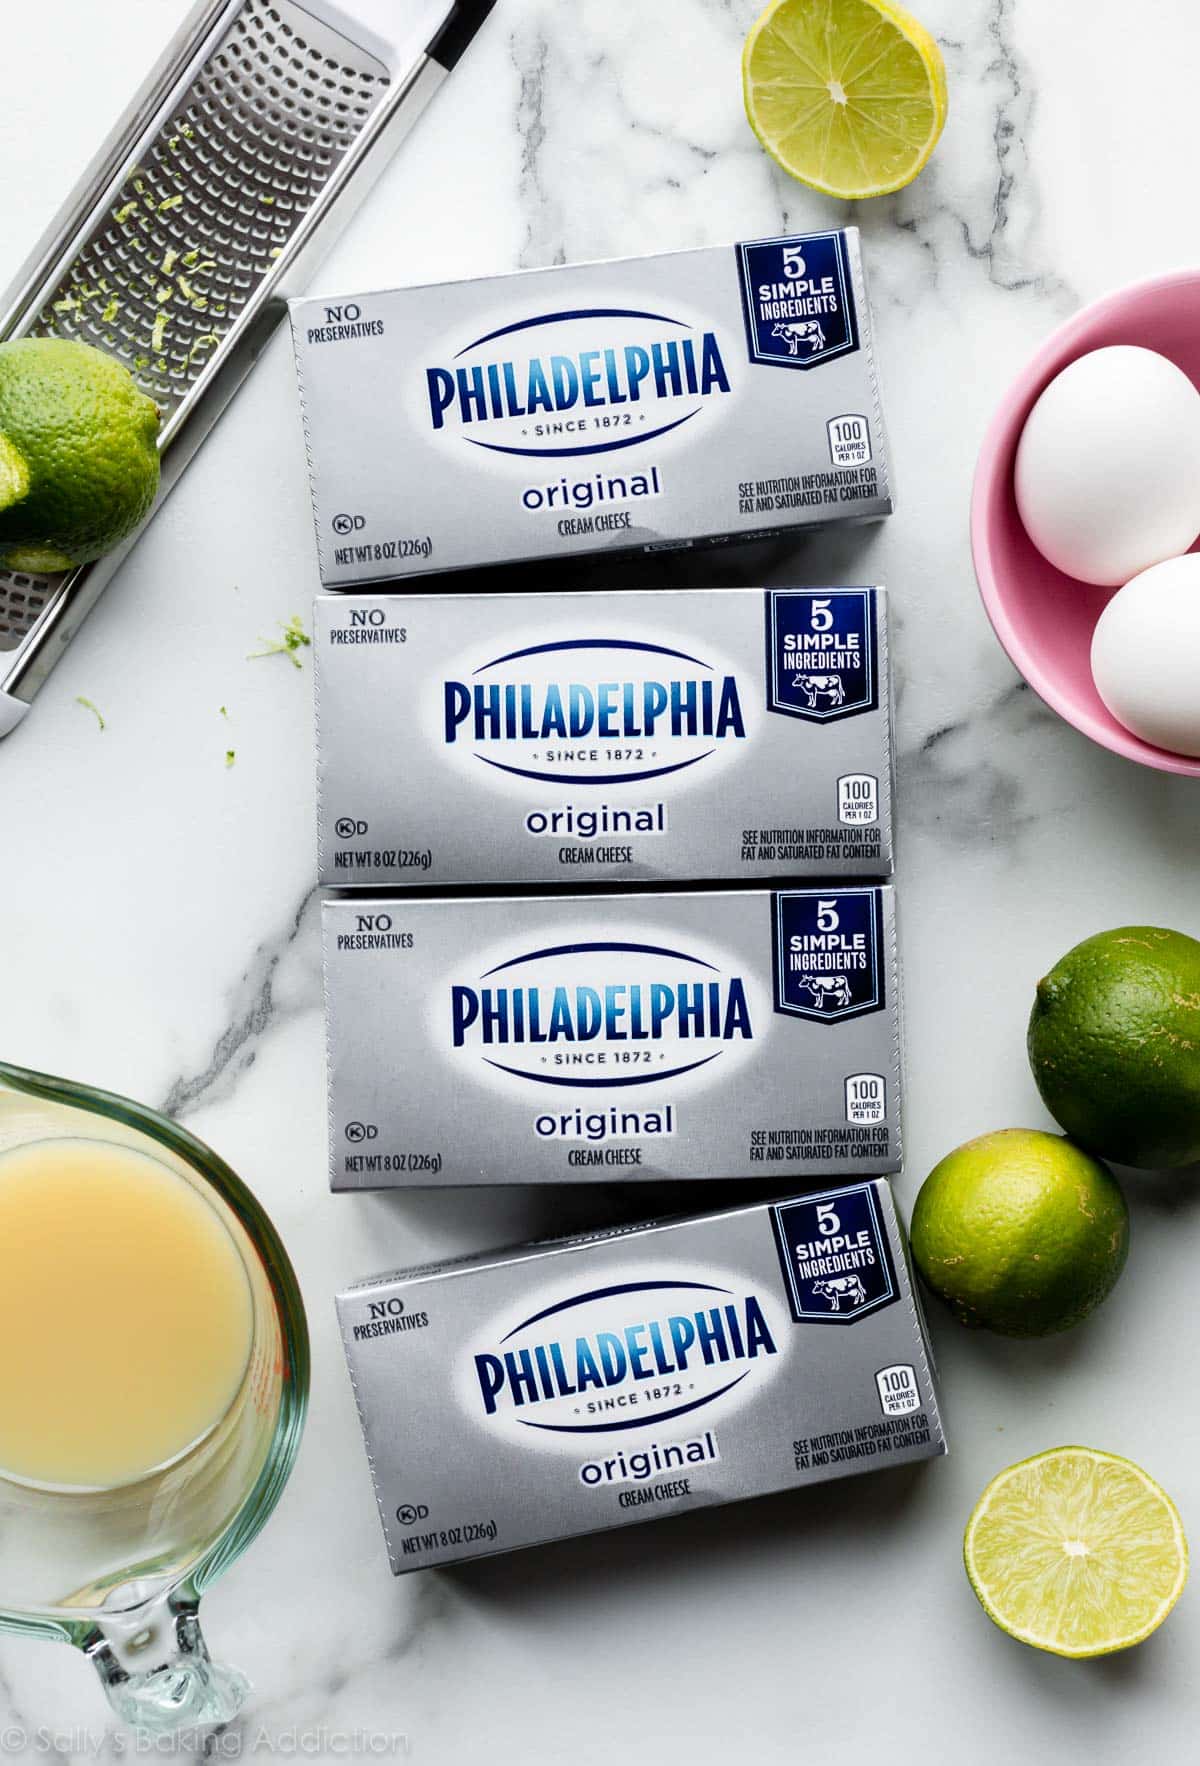
- Use Bricks of Cream Cheese: To guarantee the cheesecake sets up properly, use 8 ounce bricks of full-fat PHILADELPHIA Cream Cheese. Do not use low fat cream cheese or cream cheese spread that’s sold in a tub.
- Room Temperature Batter: Make sure all of the cheesecake batter ingredients are at room temperature so the batter remains smooth and combines quickly. Beating cold ingredients together will result in a chunky over-beaten cheesecake batter, hardly the way we want to start!
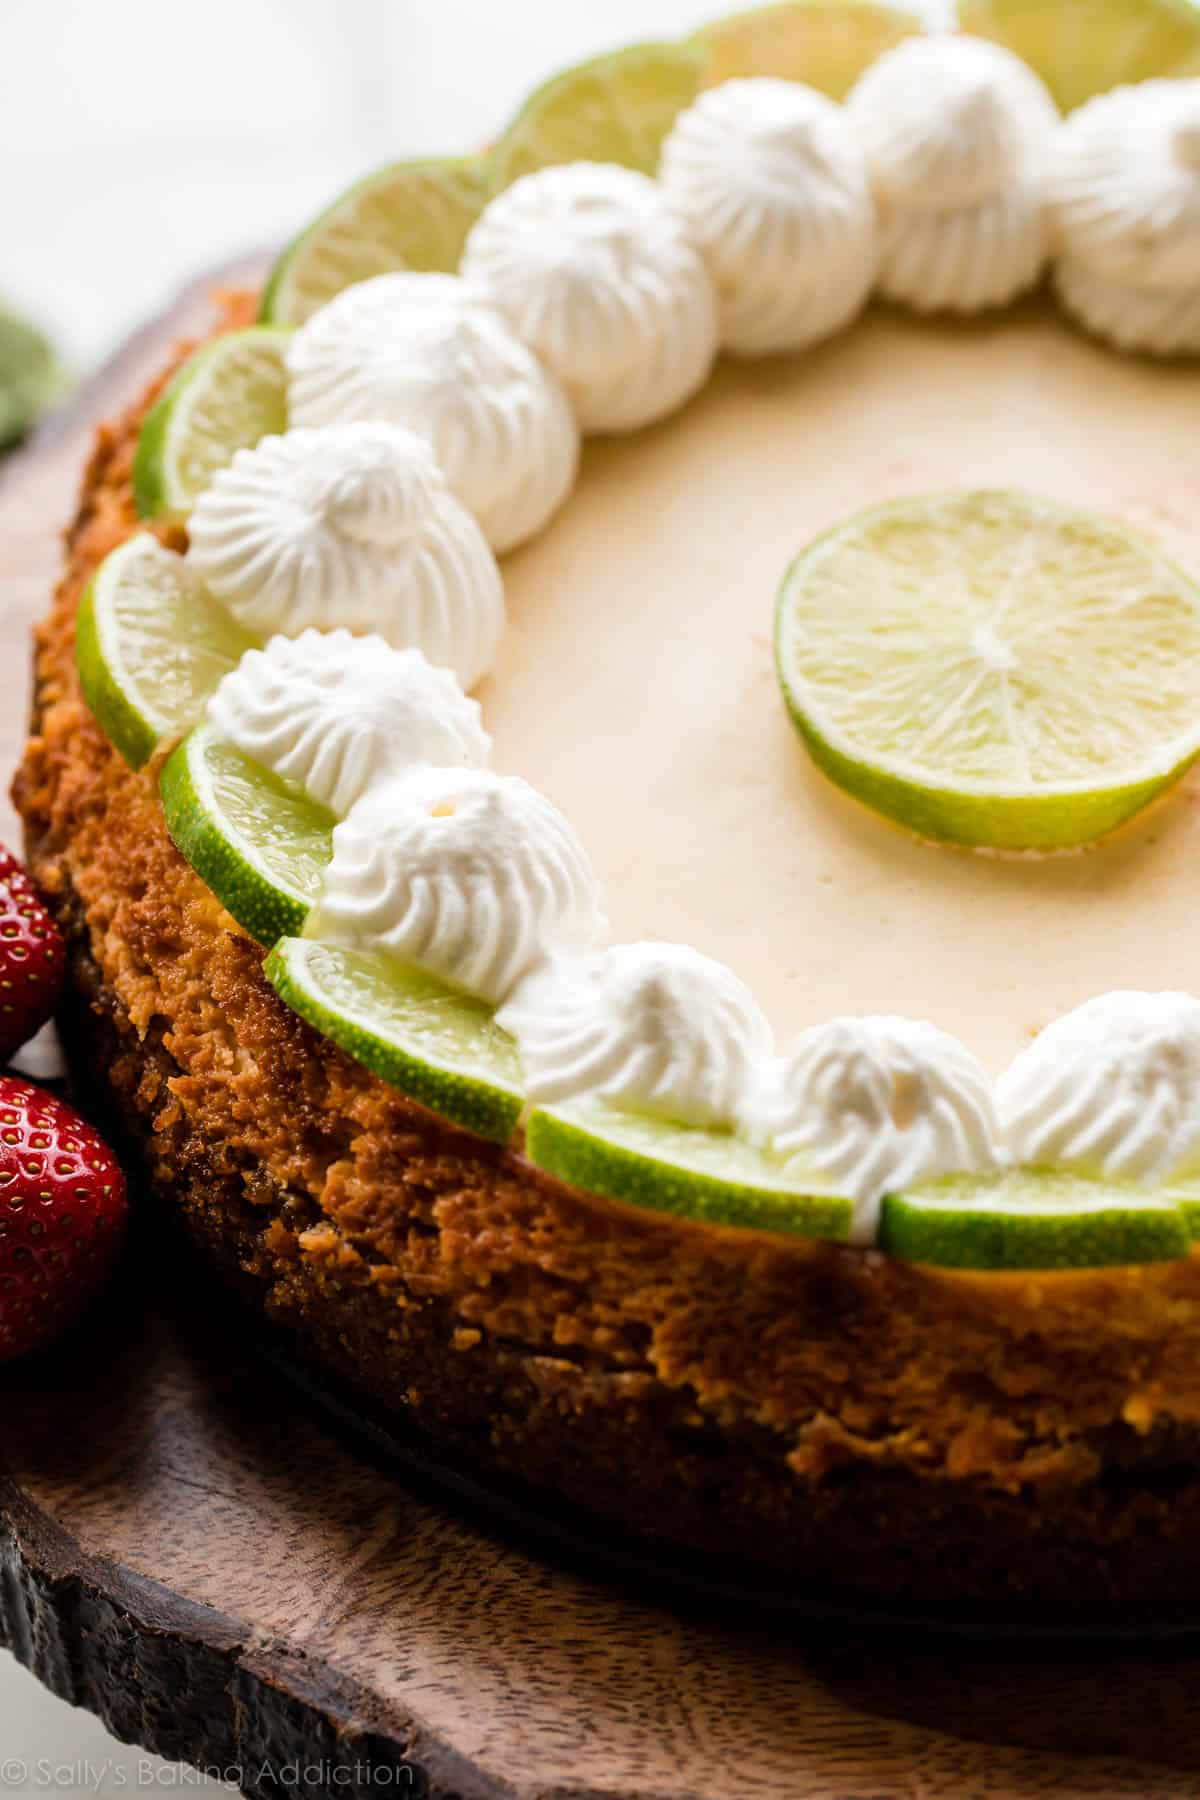
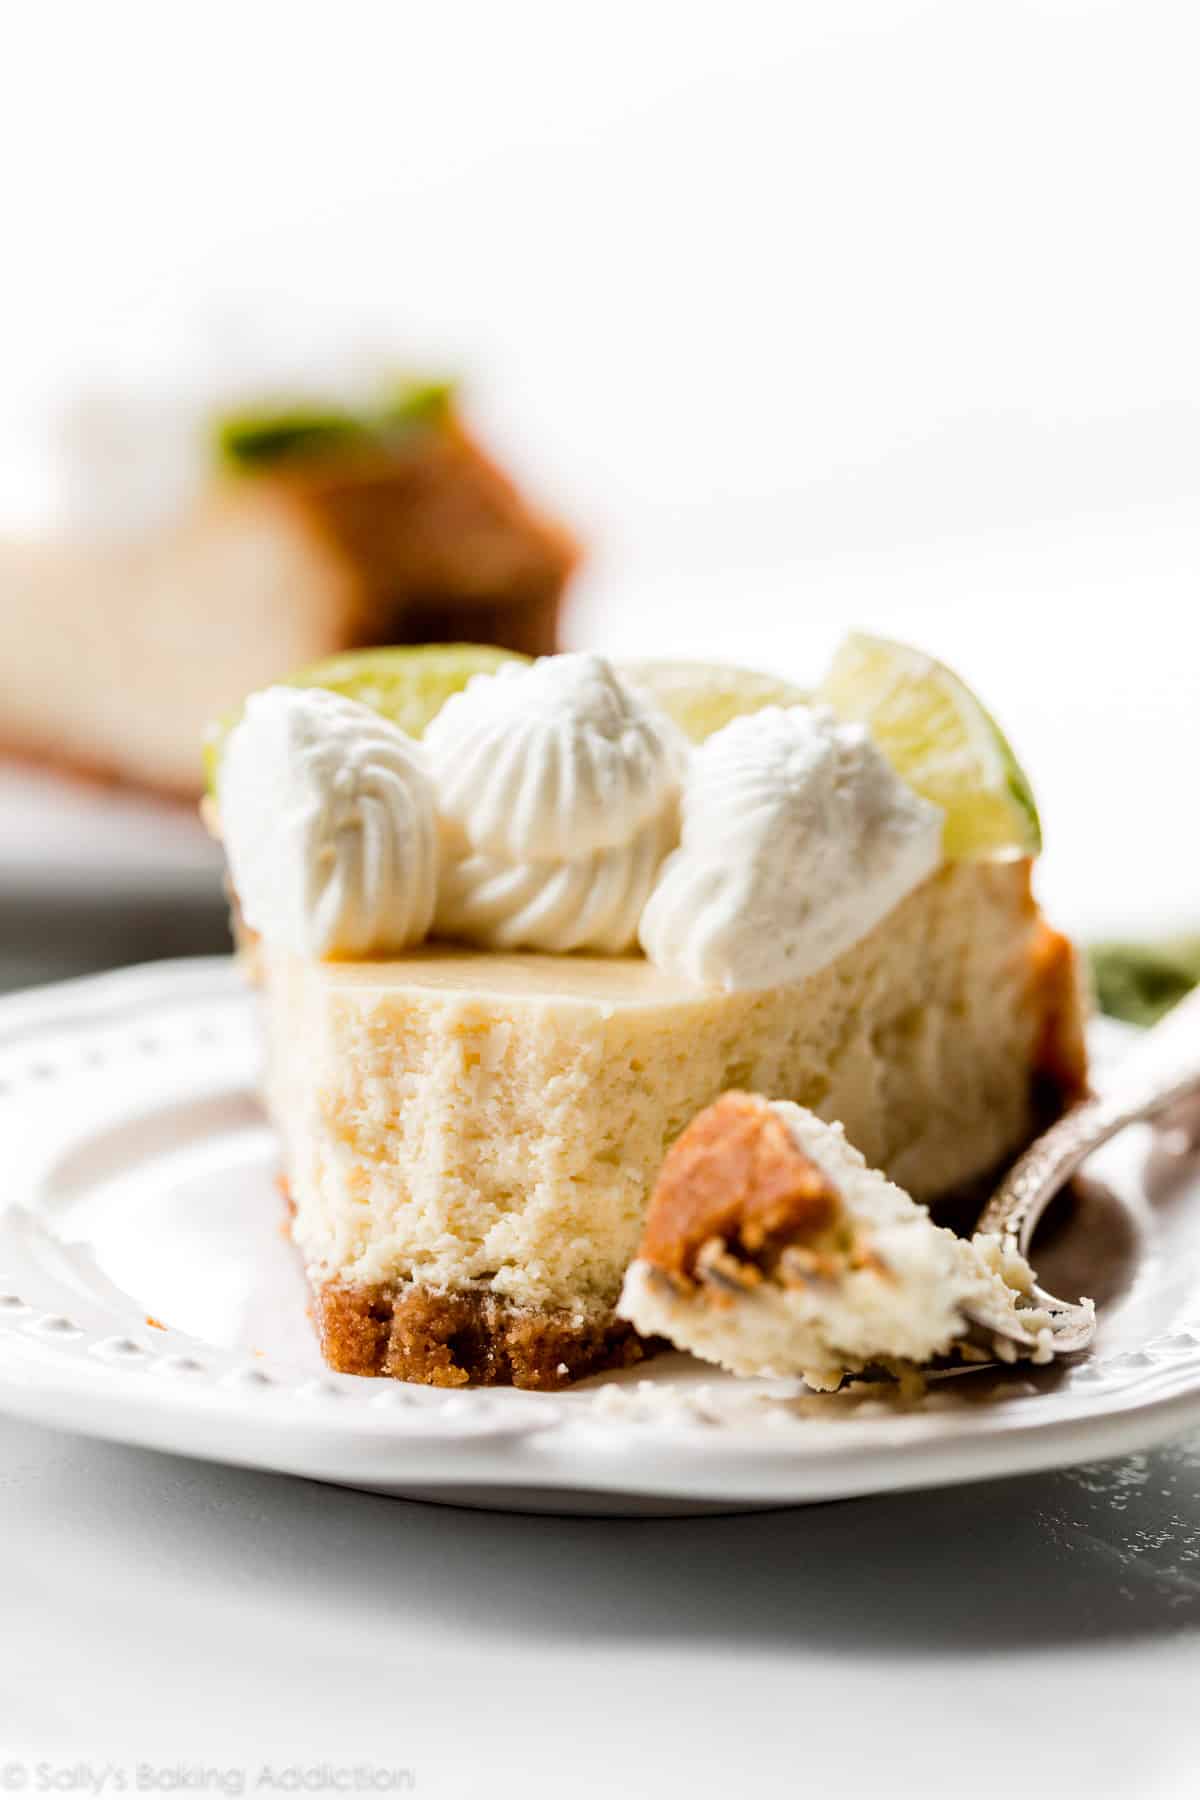
I love serving key lime cheesecake with homemade whipped cream, lime slices, and fresh berries. Though I guarantee that no one would turn down a plain slice either. Ha!
How to Freeze Key Lime Cheesecake
- Cool the cheesecake on the counter before freezing. No need to chill it in the refrigerator.
- Freeze on springform pan: Remove the outer rim from the springform pan. Wrap the cheesecake with the bottom of the pan with a few layers of plastic wrap, then a final layer of aluminum foil.
- Freeze without springform pan: After the cheesecake has completely cooled, run a sharp knife underneath the crust to release it from the bottom of the pan. Carefully slide it onto a parchment paper lined piece of cardboard or use a plate. Wrap it all in a few layers of plastic wrap, then a final layer of aluminum foil.
- Freeze for up to 3 months, then thaw overnight in the refrigerator before serving.
- Do not freeze cheesecake with any toppings. Add toppings when serving cheesecake.
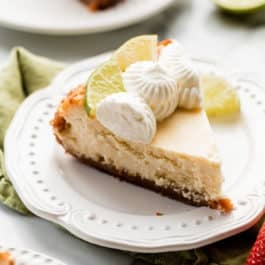
Key Lime Cheesecake
- Prep Time: 45 minutes
- Cook Time: 1 hour
- Total Time: 7 hours, 45 minutes (includes chilling)
- Yield: serves 16
- Category: Dessert
- Method: Baking
- Cuisine: American
Description
Key lime pie meets cheesecake in this refreshing and simple cheesecake recipe! For the best results, use either water bath method described in the recipe and notes below.
Ingredients
Graham Cracker Crust
- 1 and 1/2 cups (180g) graham cracker crumbs (about 12 full sheet graham crackers)
- 5 Tablespoons (71g) unsalted butter, melted
- 1/4 cup (50g) granulated sugar
Cheesecake
- 32 ounces (904g) full-fat brick PHILADELPHIA Cream Cheese, softened to room temperature
- 1 cup + 2 Tablespoons (225g) granulated sugar
- 1/2 cup (120ml) key lime juice*
- 1/3 cup (80g) sour cream or plain yogurt, at room temperature
- 1 teaspoon pure vanilla extract
- 2 teaspoons key lime zest*
- 3 large eggs, at room temperature
Optional Toppings
- homemade whipped cream
- fresh berries
- key lime or regular lime slices
Instructions
- Adjust the oven rack to the center position, with a lower oven rack in place for the water bath described in step 5, and preheat oven to 350°F (177°C).
- Make the crust: If your graham crackers aren’t crumbs yet, use a food processor to pulse them into fine crumbs. Pour crumbs into a medium bowl and stir in sugar and melted butter until combined. Mixture will be sandy. Press firmly into the bottom and slightly up the sides of a 9-inch springform pan. No need to grease the pan first. I use the bottom of a measuring cup to pack the crust down tightly. Pre-bake for 10 minutes. Remove from the oven and allow crust to slightly cool as you prepare the filling.
- Make the filling: Using a handheld or stand mixer fitted with a paddle attachment, beat the cream cheese and granulated sugar together on medium-high speed in a large bowl until the mixture is smooth and creamy, about 2 minutes. Add the lime juice, sour cream, vanilla extract, and lime zest then beat on medium-high speed until fully combined. On medium speed, add the eggs one at a time, beating after each addition until just blended. After the final egg is incorporated into the batter, stop mixing. To help prevent the cheesecake from deflating and cracking as it cools, avoid over-mixing the batter as best you can.
- Pour cheesecake batter into warm crust. Use a rubber spatula or spoon to smooth it into an even layer.
- Prepare the simple water bath (see recipe note for traditional water bath method): Boil a kettle or pot of water. You need 1 inch of water in your roasting pan for the water bath, so make sure you boil enough. Place a large metal baking or roasting pan (I usually use a 9×13-inch baking pan—do not use glass) on the bottom rack of the preheated oven. Pour boiling water into pan, about 1 inch deep. Immediately place the cheesecake on the center rack. Close oven to trap the steam inside. This unique water bath adds steam to the oven without having the cheesecake sit inside the water itself, which is the traditional water bath method explained in the recipe Notes. See How to Make a Cheesecake Water Bath for more information.
- (Note: if you notice the cheesecake browning too quickly on top, tent it with aluminum foil halfway through baking.) Bake cheesecake for 55–70 minutes or until the center is almost set. When it’s done, the center of the cheesecake will slightly wobble if you gently tap the pan. Turn the oven off and open the oven door slightly. Let the cheesecake sit in the oven as it cools down for 1 hour. Remove from the oven, then cool cheesecake completely at room temperature. Then refrigerate the cheesecake for at least 4 hours or overnight.
- Use a knife to loosen the chilled cheesecake from the rim of the springform pan, then remove the rim. Add optional toppings if desired. I used a piping tip for the pictured whipped cream. Using a clean sharp knife, cut into slices for serving. For neat slices, wipe the knife clean and dip into warm water between each slice.
- Cover and store leftover cheesecake in the refrigerator for up to 5 days.
Notes
- Make Ahead Instructions: This cheesecake can be made the day before. It has to chill for quite some time before serving. See step 6. Another way to make this cheesecake ahead of time is to freeze it. Cheesecake can be frozen up to 3 months. See instructions in blog post above.
- Special Tools (affiliate links): Food Processor | 9-inch Springform Pan | Electric Mixer (Handheld or Stand) | Citrus Zester | Silicone Spatula | Oven-Safe Roasting Pan (I use this 9×13-inch baking pan)
- Key Limes: If you don’t have access to key limes, use the same amount of regular lime juice and lime zest instead. You can usually find bottled key lime juice next to the regular lime juice in most grocery stores.
- Traditional Water Bath: Boil a pot of water. You need 1 inch of water in your roasting pan for the water bath, so make sure you boil enough. As the water is heating up, wrap aluminum foil around the springform pan—you can do this before or after you pour in the cheesecake batter. Place the wrapped pan inside of a large roasting pan. Carefully pour the hot water inside of the pan and place in the oven. (Or you can place the roasting pan in the oven first, then pour the hot water in. Whichever is easier for you.) Bake as directed. When cooling the cheesecake in the oven in step 6, leave it sitting inside the water bath. Remove it from the water bath when letting it cool at room temperature.
- Room Temperature Ingredients: Bring all cold ingredients to room temperature before beginning. Room temperature ingredients combine quickly and evenly, so you won’t risk over-mixing. Also, beating cold ingredients together will result in a chunky cheesecake batter, hardly the way you want to begin!
- Non-US Readers: Don’t have graham crackers where you live? Don’t have graham crackers where you live? Use 200g ground digestive biscuit crumbs instead (about 13–14 biscuits), the same amount of butter, and add a bit more sugar (about 1/3 cup, or 67g). You may need to add a few extra minutes to the pre-baking time, as digestive biscuits are not quite as crispy-crunchy as graham crackers. And from what I understand, spreadable cream cheese sold in a tub in countries outside of the US is a little different from the spreadable cream cheese in the US. It’s thicker, sturdier, and more solid and should be OK to make cheesecake. I have no experience with it, but this is what I’ve heard from other non-US readers.


Is it possible to make this in a 10-inch pan?
Hi Yael, Definitely! The bake time will be on the quicker side.
I love this recipe,even once using ginger snap cookies. All went well,but should have cooked it longer.Icooked it for 55 minutes. When I cut into it, I noticed that the center wasn’t fully cooked. I plan to re-cook it more to correct this.Do you, or your readers think this would work, and please offer suggestions.
Hi Rick, for next time, some additional time in the oven should help. Did you wait until the cheesecake was completely cooled before cutting into it? When the cheesecake is done baking, the center of the cheesecake will slightly wobble if you gently tap the pan, but it will set as it cools.
Can I halve the recipe and use an 7 or 8 inch pan? In that case how long do I bake it for?
Hi Kira, I’m sure that would work, but I’m unsure of the best bake time for either size. They cheesecake is done when the edges are set and the very center still jiggles a bit.
Thank you so much! I cut the recipe by 2/3 (because 3 eggs) with the 8″ pan about 52 minutes was just right for me! Though unfortunately the tops browned a bit, it didn’t collapse and tasted perfect!!
I noticed that it took a long time to bake 82 to be exact and that is after 15 minutes at 75 I slightly overfilled it I guess but do you have any idea why this might have happened?
Hi Zoey, overfilling the pan could definitely be the culprit. If there is more batter in the pan, it will take longer to bake. Hope you enjoyed the cheesecake!
Question about this recipe. I notice there’s no flour or corn starch for a thickening agent like many cheesecake recipes. Is this just a softer cheesecake or is there something about the lime juice that helps thicken it?
Hi Scott! This cheesecake sets up beautifully with the cream cheese and eggs adding structure.
Well, I am quite bummed. I followed this recipe exactly as written (and re-reading it a couple of times. I used a low-rack water bath in my oven. An oven thermometer is in the oven to ensure the temperature is correct. I recently made two cheesecakes that did NOT require a water bath and they came out absolutely perfect–no collapse. This one collapsed WITH the bath. I do not consider myself a novice baker, either. I have photos I would like to upload including my perfect cheesecake from two weeks ago. Just wanting to understand what may have gone wrong for me. 🙁 🙁 Maybe this is best as a private conversation???
Hi Connie, We are happy to help troubleshoot. Did the cheesecake bake evenly and then collapse when cooling? If so, a quick change in temperature may be the culprit. Starting the cooling process in the oven, still with the the water bath, makes for a slow and even cool-down, which helps prevent the cheesecake from sinking back down as it cools. Cheesecakes are not fans of sudden temperature changes. You can see these posts for using a cheesecake water bath and how to prevent cracks in cheesecakes for more helpful tips.
No, the cake collapsed while in the oven, toward the end of baking. (I can see through the glass oven door without having to open the door.) I watched the videos on water bath method and used a ceramic coated cast iron skillet on the bottom rack that went in immediately after the springform pan went in. It baked 62 minutes. I have never had this happen whenever I’ve baked a cheesecake. May I send photos of what happened?
Hi Connie, you can email us at sally@sallysbakingaddiction.com
Absolutely love this recipe..have tried others this is the best one. Definitely a keeper! The batter was so smooth and silky and the taste is heaven.
I am trying this recipe as instructed. Why people change the recipe and sub it out and then comment about it, ALWAYS amazes me. I love your recipes Sally. Thank you
I made this recipe last night opting to use yogurt rather than sour cream (because I hate tasting sour cream in any cheesecake!) It only took one sleeve of graham crackers for the crust and I also added 3 tablespoons of unrefined coconut oil to the 5 tablespoons of butter. I baked at 305 for 90 minutes using the nontraditional waterbath method of putting a big pan of water on the lower rack and the cheesecake on the middle rack. I did use a small baking sheet directly under the cheesecake as to catch any butter leaking out. (I realize now that was probably unnecessary due to the big pan of water on the shelf below that would have caught the butter. 😉 ) I used fresh squeezed key limes that I found at my local Meijer store. Go figure they had fresh key limes up here in Michigan but not a drop of key lime juice to be found in the entire store. lol
I then let the cake cool in the oven (unopened) for 4 hours and then covered with foil and tossed in the fridge. I tried it after only 2 hours in the fridge because i have no self control, and it tastes amazing! I will update comment after its had a full 4-6 hours in the fridge to share the consistency/texture of it after its been given the proper time to finish setting.
Are key lines different than the limes from the grocery store ones?
Hi Mardell, yes, they are smaller and sweeter. See recipe notes for more details!
I have made this numerous times in the traditional water bath,..it is FANTASTIC. Now I want to try something a little different. I think if I do the boiling water on one rack and make the cake in a 9 X 13 pan lined with parchment paper, I could do more like “cheesecake bites, cut into maybe 2” squares ? Do you think this could work? I am hosting a large gathering and this seems an easier serve. Thoughts?
Hi Ann, you need a springform pan to bake a full cheesecake, but you can try our key lime bars or mini key lime pies
This was fantastic! The key lime made me think of pistachio (green, I guess) and I was wondering if you, Sally, have ever thought about a pistachio cheesecake. Maybe a pistachio/nilla wafer crust with filling flavored with pistachio paste or pistachio butter and chocolate swirled through? Do you have anything in you repertoire that I could use as a basis for experimentation? Thanks for your wonderful website. I can always trust you for help with my baking dilemmas!
Hi Marilyn, a pistachio cheesecake does sound delicious! We don’t have a recipe like that on the site, but as a basis for experimentation, I would say the amaretto cheesecake is probably the closest thing to start from, with the almond flavor and almonds in the crust. Let us know what you end up making and how it turns out!
Firstly, thank you for all of your wonderful recipes! They are a joy to bake and eat. If I wanted to make a no-bake version of this (using your awesome no-bake cheesecake recipe), could I simply add the juice and zest of the key limes to that? Perhaps I’d need to lessen the amount of sour cream or reduce the lime juice to make it more concentrated? What would you recommend? Thanks in advance!
Hi Kendrick, thank you so much for making and trusting our recipes! For key lime flavored no-bake cheesecake, remove the sour cream from the recipe and add 2 Tablespoons key lime juice and 1 Tablespoon lime zest. Let us know how it goes!
This is a fantastic recipe! And the lemon cheesecake too !
Would lemon curd taste as good with key lime cheesecake too ?
Thank you !
Hi Tanaya, if you enjoy lemon-lime together then that combo should be great! Let us know how you enjoy it.
MAHALO GREAT RECIPE.
It turned out perfect! I used one can of eagle brand sweetened condensed milk in place of the sugar. I baked at 350 for 65 minutes until edges started to brown like you suggested. I cooled as you suggested. No cracks!
hi! could i also use my ovens steamer function? thank you!
We haven’t tested that but let us know if you do!
I used the nine inch spring form pan but I had about a cup and a half left over. Maybe a ten inch spring form pan? Next I used and a half cups of graham cracker crumbs and one cup of ginger snap cookie crumbs. I just did not think your recipe was large enough for the spring form pan. Anyway, my amounts worked just fine for my nine inch pan. the texture of the cheesecake mixture going into the spring form pan was beautiful and silky…. It is baking now so I can not describe the outcome but I think it will be perfect following the remainder of your recipe. The temperature….. is that three hundred and fifty degrees: for the whole fifty five to seventy minutes? Or do you turn down to three hundred after, say fifteen minutes? Another recipe I have suggests three hundred degrees for the whole time. Another recipe has four hundred twenty five degrees for the first half hour. So confusing…..
Hi Beverly, we bake ours at 350 for whole time, but be sure to follow the cool down method described in the post. We hope this turned out great for you!
This was so much fun to make and absolutely delicious!! My family said it was the best cheesecake they’ve ever had!
I am a huge fan of your recipes and methods. I make the mini cheesecake muffin size about every six weeks it seems! Wondering if you have toyed with a key lime mini? I tried gluten free Oreos (scraped filling off) for a crust last night with orange rind and squeezed orange juice and a 1/2 teasp grand marnier. Nice but not the wow factor flavor in the cheese part. Could you toy with this? I am baking for my niece’s shower next month and she is gluten free and I need som wow factor desserts besides the flourless chocolate cake with raspberry sauce which is already on the menu
Hi Kris and Rudy, we’d recommend our mini key lime pies! We haven’t tested a gluten free crust, but perhaps a gluten-free graham cracker would work well. Let us know what you try!
Hi Baker’s. I’m a Florida Keys native and love all things Key Lime. Had a tree in the yard of the house I grew up in. Anyhow, I have two questions and both involve changing things a bit. First, I would like to make a cherry (key) limeade cheesecake by swirling in cherry reduction just like one would do for a strawberry cheesecake. Do you foresee any problems with this? Secondly, many many years ago when I was a teen I had a recipe from a magazine that was a key lime white chocolate cheesecake. I recall that melted white chocolate was incorporated into the batter before adding eggs… but that’s about all I remember and I haven’t seen that recipe in many years. Would you be able to give me a ballpark idea on how much chocolate I can add to a cheesecake batter? Thanks!
Hi Melissa, both sound delicious! I’m sure you could use the raspberry sauce from my white chocolate raspberry cheesecake bars and swirl it into this cheesecake before baking. For the white chocolate in THIS batter, I haven’t tested it. I use 6 ounces in the white chocolate cheesecake bars I just mentioned. You could try that, and reduce the sour cream a bit. Let me know what you test!
How would you bake if you were using two 4” springform pans?
Hi Anna, we’re unsure of the exact bake time for that size pan. Keep a (very!) close eye on them. You will likely have a little leftover batter too. Feel free to use it to make some mini cheesecakes if desired.