Juicy sweet berries and a buttery rich biscuit topping come together in this old-fashioned simple berry cobbler. Use your favorite berries and if they’re out of season, swap fresh for frozen berries. The buttermilk biscuit topping is super soft with a deliciously crisp crust. This easy summer dessert is made even better with a scoop of vanilla ice cream and a dollop of whipped cream!
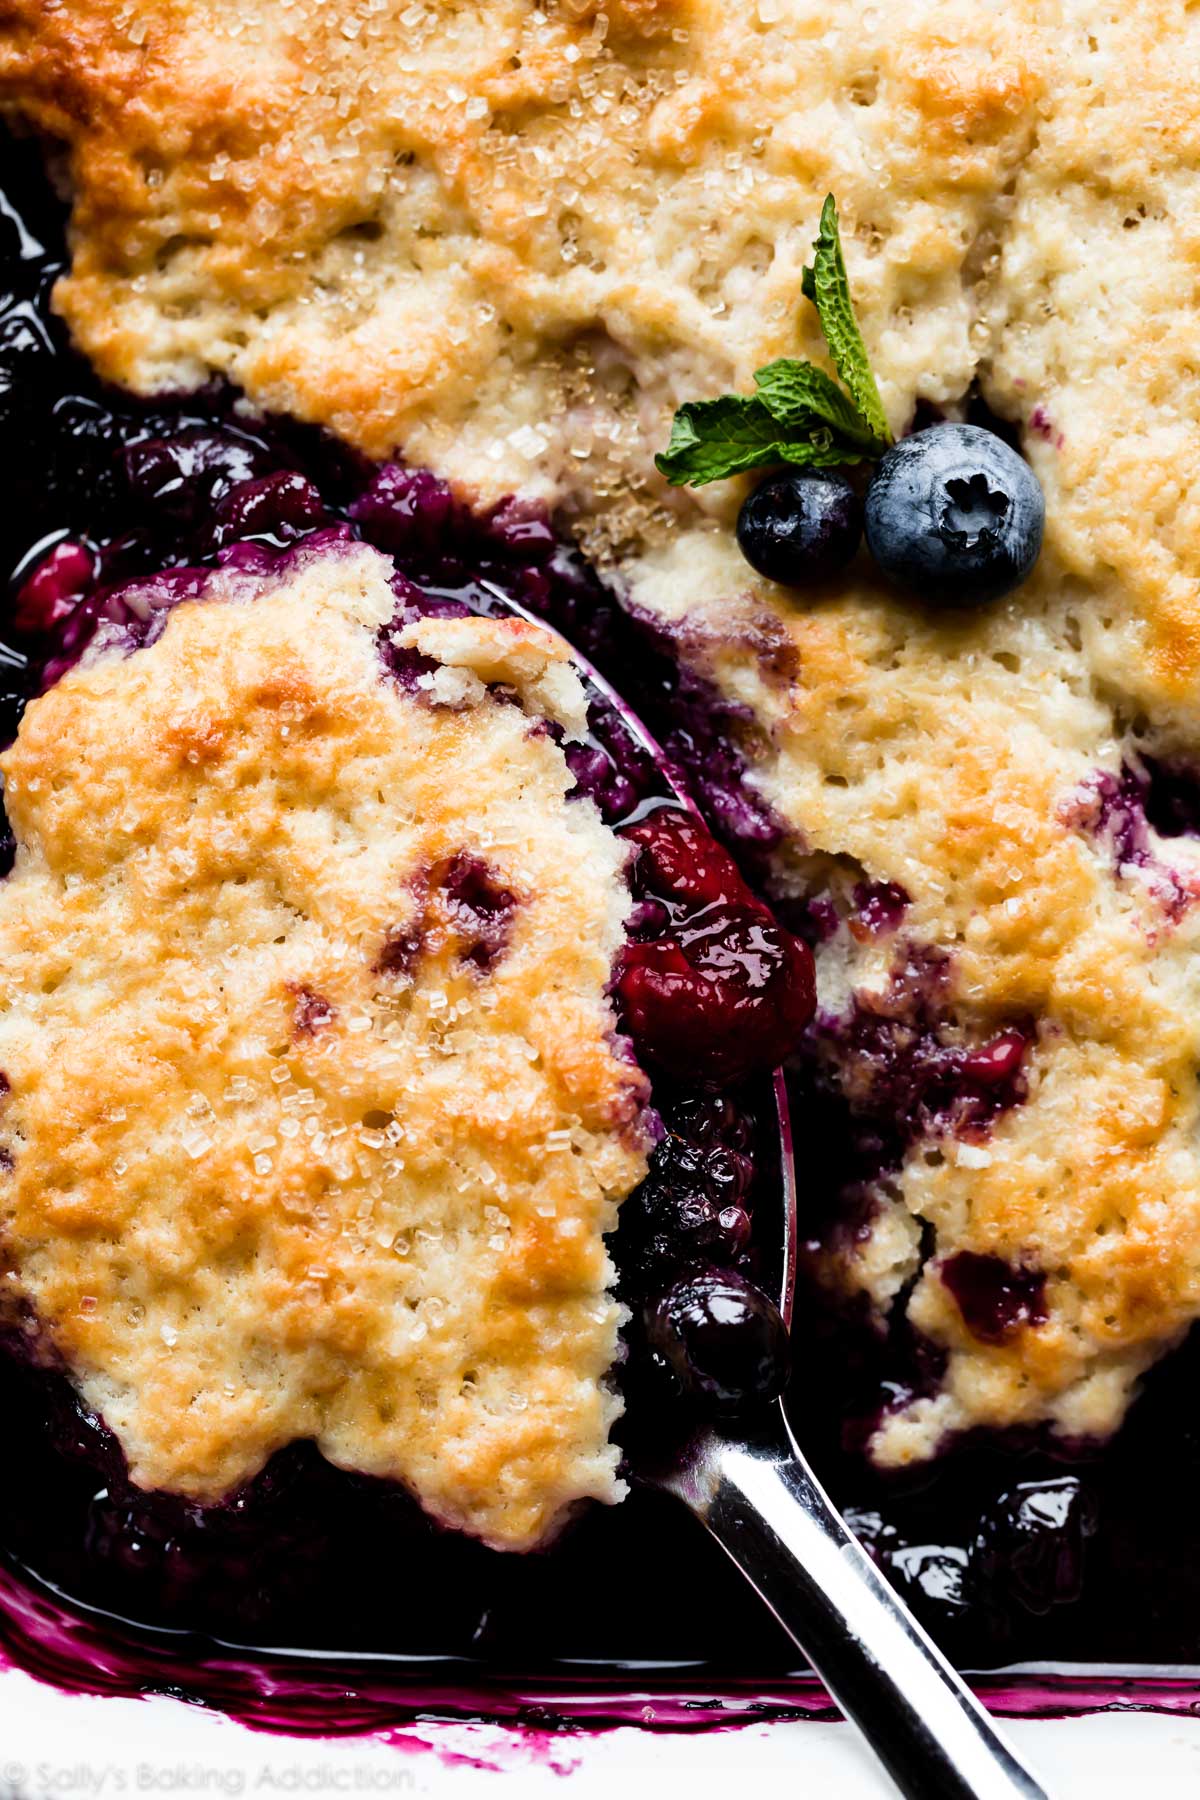
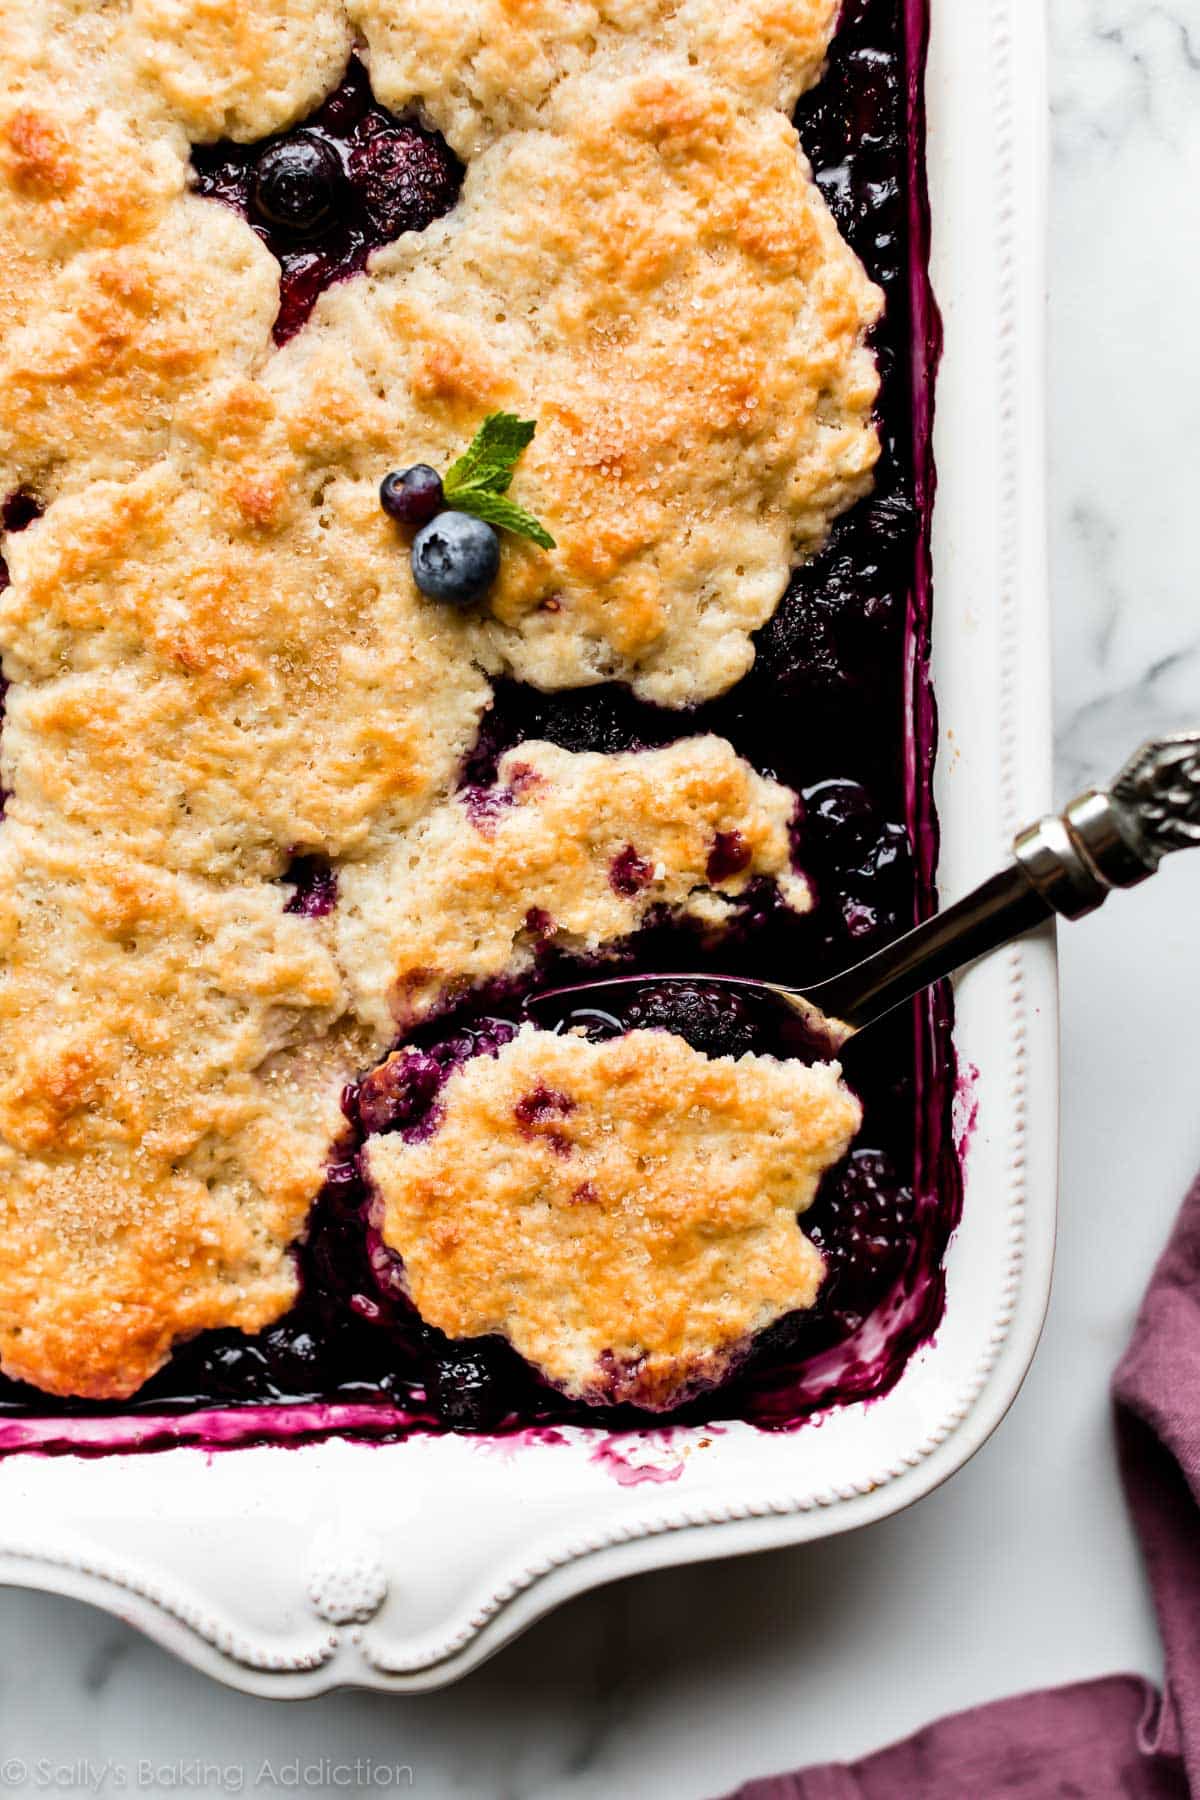
Up close and personal. ↑ ↑
Those syrupy berries, that golden brown biscuit crust, the necessary vanilla ice cream topper. It’s funny that out of the hundreds of recipes on my website, I’m declaring this the one and only dessert you should make this summer. Consider this the easier way to enjoy your favorite sweet summer berries without the work of a full pie and pie crust. Forget the others (but maybe not you, key lime pie) and let’s make mixed berry cobbler!
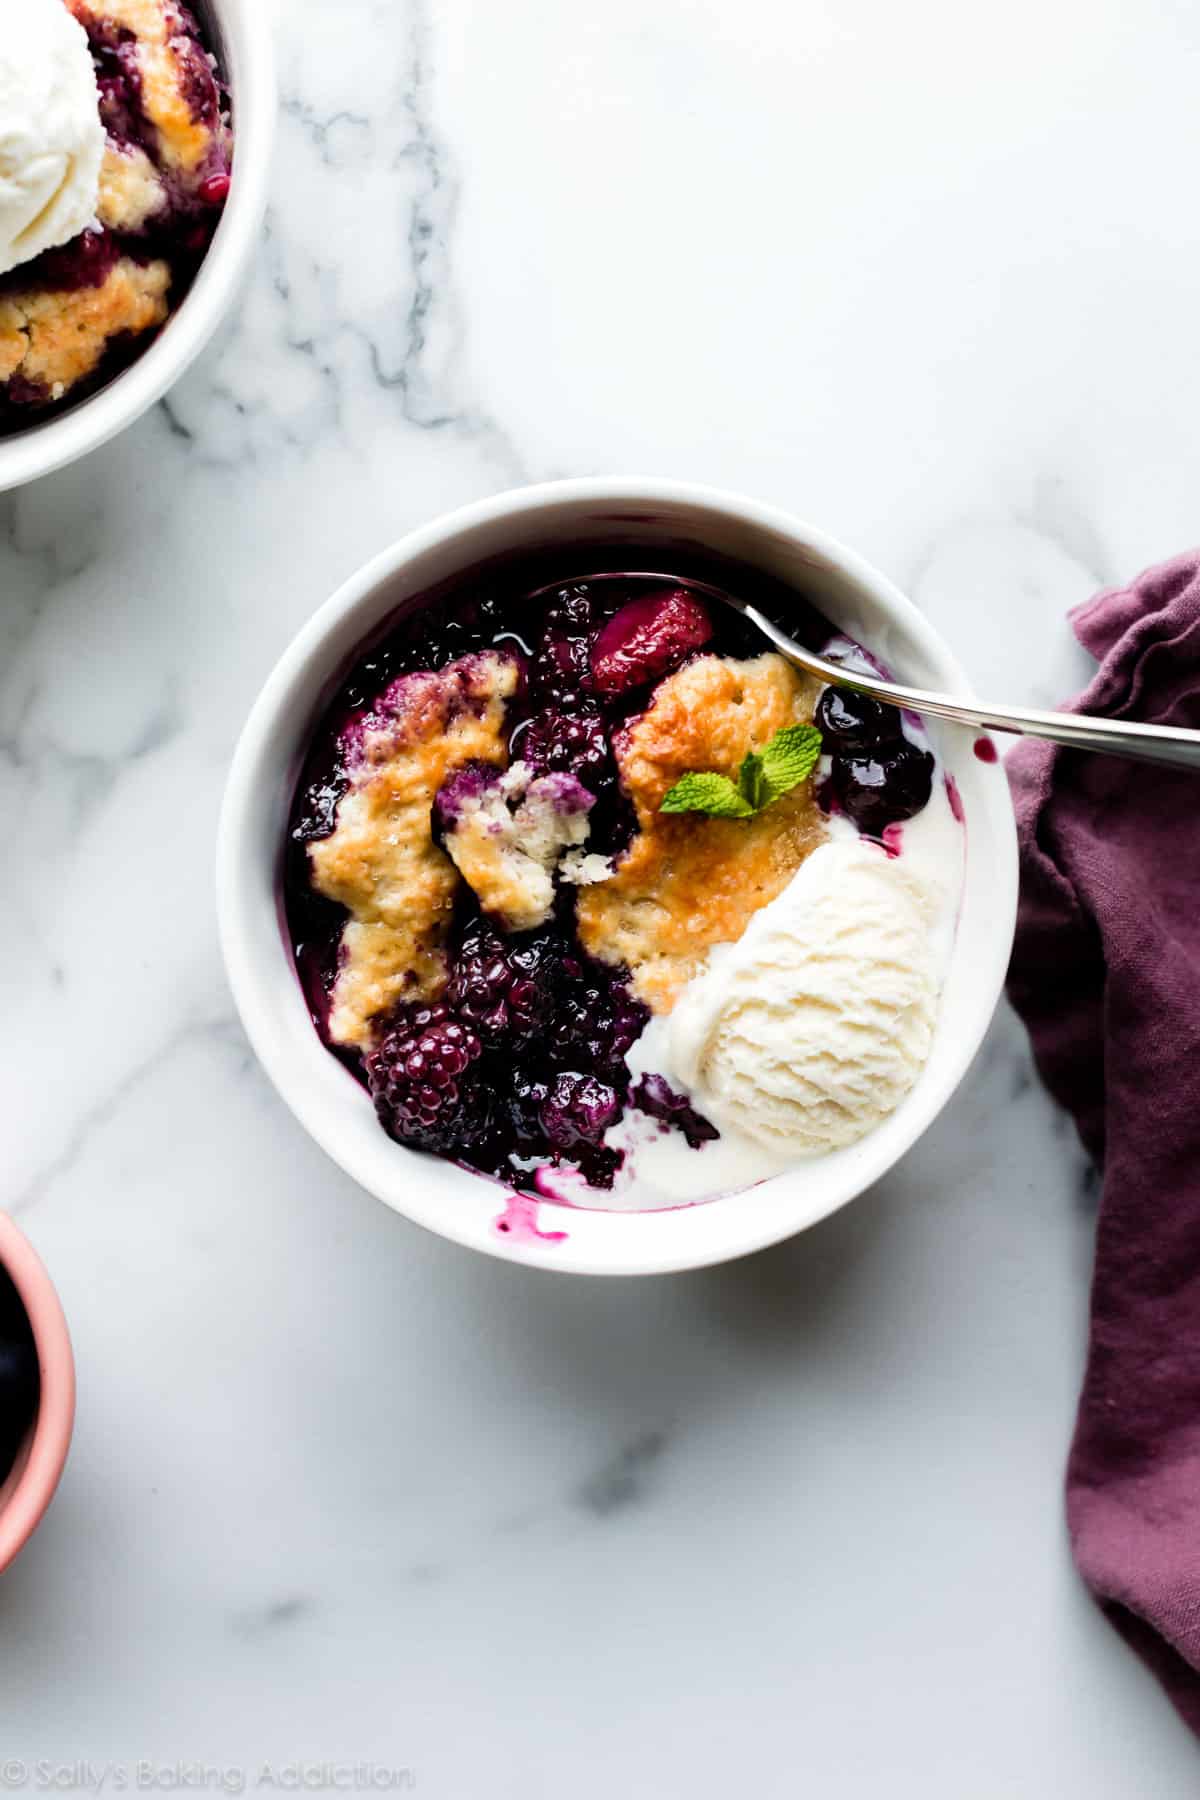
What the Heck is Cobbler?
Let’s clear this up! Cobblers, crumbles, and crisps fall under the same dessert umbrella. Each are like pie, but without the pie crust. Cobblers are typically topped with a biscuit or sometimes cake-like topping (like my cherry cobbler and apple cobbler), crisps are topped with an oat streusel topping, and crumbles are topped with an oat-less crumb topping. The terms are all pretty synonymous with one another, but cobbler almost always has the biscuit topping. Like a giant strawberry shortcake of sorts. If you like pie, you’ll definitely enjoy cobblers, crumbles, and crisps. (Try my bourbon cherry crisp next because it’s totally out of this world!)
Here’s Why Cobbler is Literally the Best
- Easier Than Pie: With mixed berry cobbler, we’re essentially taking berry pie and replacing the finicky pie crust with an easy biscuit topping. Skip the pie dough chilling and leave the rolling pin in your cabinet.
- Short Cooling Time: As much as I love homemade pie, it comes with a long cooling time. Sometimes we need something a little quicker than a blueberry pie, but just as seasonal and impressive.
- Adaptable: Berry cobbler is totally adaptable to whichever berries you want. You can turn this recipe into a blackberry cobbler or blueberry cobbler simply by using all of that particular berry. Not in the mood for berries? Try my peach cobbler instead. You could even replace the peaches with apples or pears, too.
- Basic Ingredients: No strange ingredients required. Cobbler doesn’t require much, just the usual suspects like fruit, flour, butter, sugar, vanilla, and salt.
- Naturally Flavorful: Celebrate the season’s sweetest natural flavors! A lot of the flavor in cobbler comes from the juicy mixed berries.
- And It’s Delicious: What’s better than lush sweet berries and soft cake-like biscuits with a golden crisp crust? Name a better summer duo. I always include it in my lineup of Memorial Day recipes for this reason!
We love this during the summertime and it’s lovely for a 4th of July dessert, BBQs, Father’s Day, family reunion gatherings, and more, but since you can use frozen fruit, it’s great any time of year!
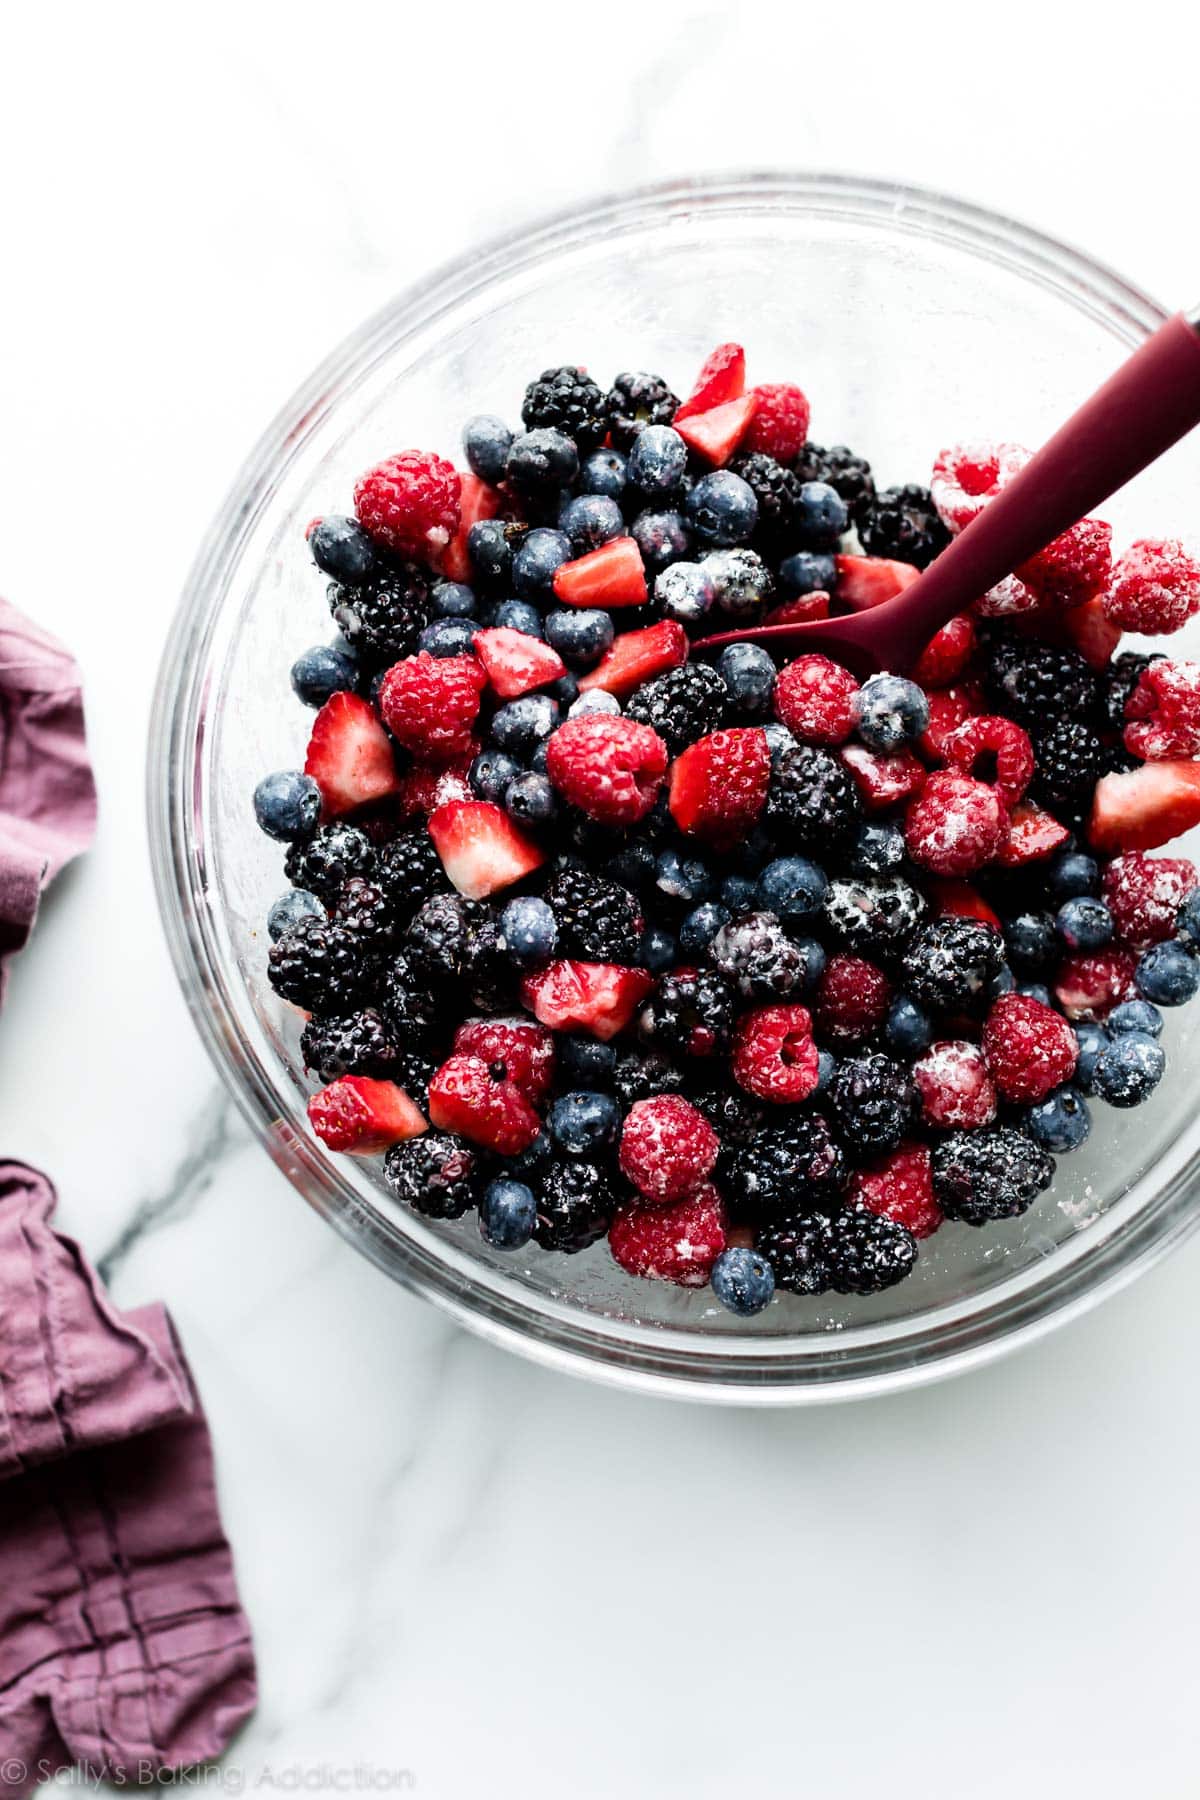
Best Berries for Berry Cobbler
Hit up the farmer’s market or grocery store sales: you need 8 cups of berries total. I used 3 cups blueberries, 2 cups blackberries, 1 and 1/2 cups chopped strawberries, and 1 and 1/2 cup raspberries. Keep in mind that the juicier the fruit (raspberries, strawberries), the more liquid-y your berry layer will be.
You can use frozen berries in this cobbler, too!
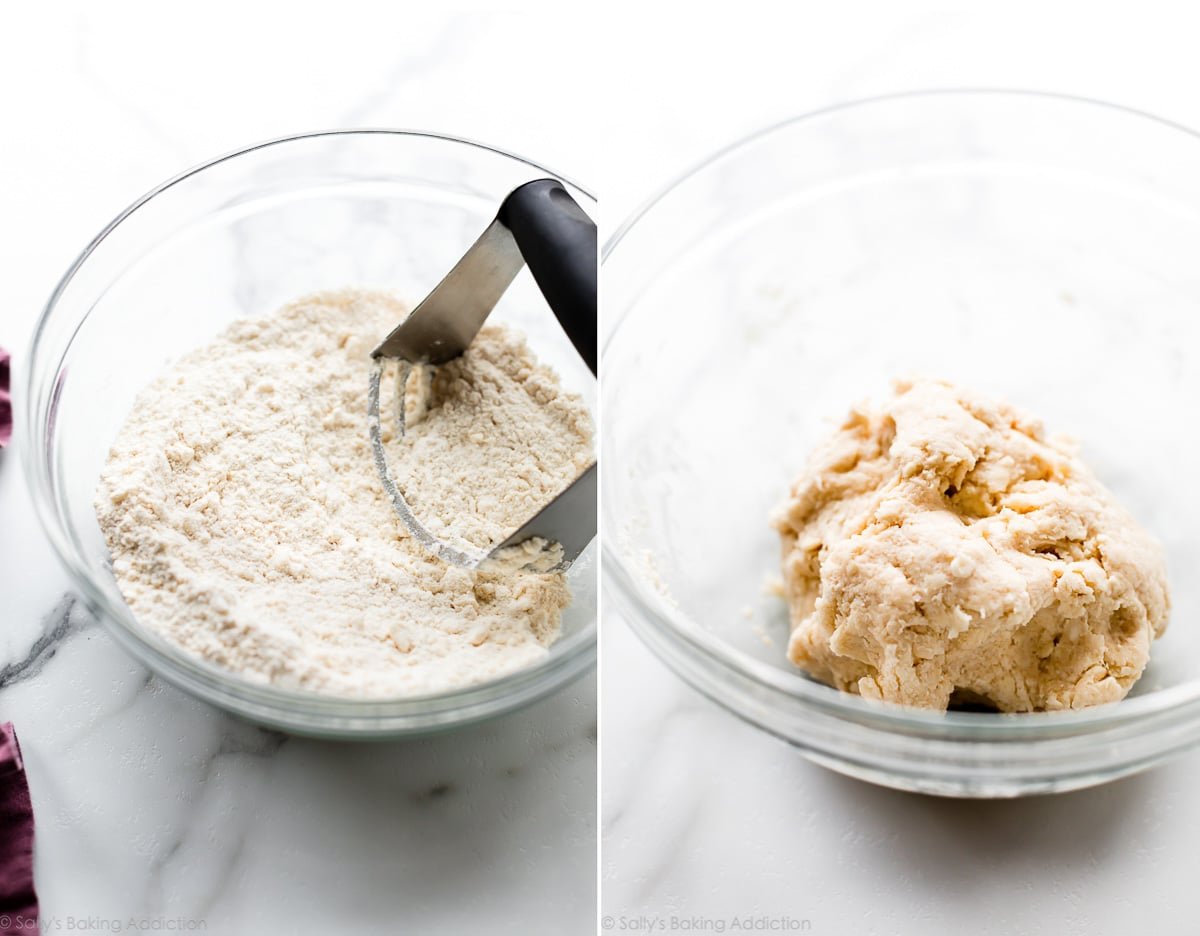
How to Make Berry Cobbler
You only need 2 bowls!
- Mix the berry layer ingredients together: Gently mix berries, sugar, cornstarch to thicken, a squeeze of lemon juice (to brighten the flavors), and vanilla extract together. Spread evenly into a 9×13-inch baking pan.
- Make the biscuit dough: You need flour, sugar, baking powder, salt, butter, and buttermilk. Mix the first 4 ingredients together, then cut in cold butter with a pastry cutter until pea-sized crumbs form. These flour-coated butter crumbles promise a flaky soft, yet crisp biscuit topping. After that, mix in buttermilk. Buttermilk creates an ultra-rich biscuit. Just like when we make cheddar biscuits, it’s important that the butter and buttermilk are both very cold, otherwise the dough will completely melt down into the berries. This biscuit topping is actually very similar to my homemade biscuits, but includes a little sugar since it’s dessert.
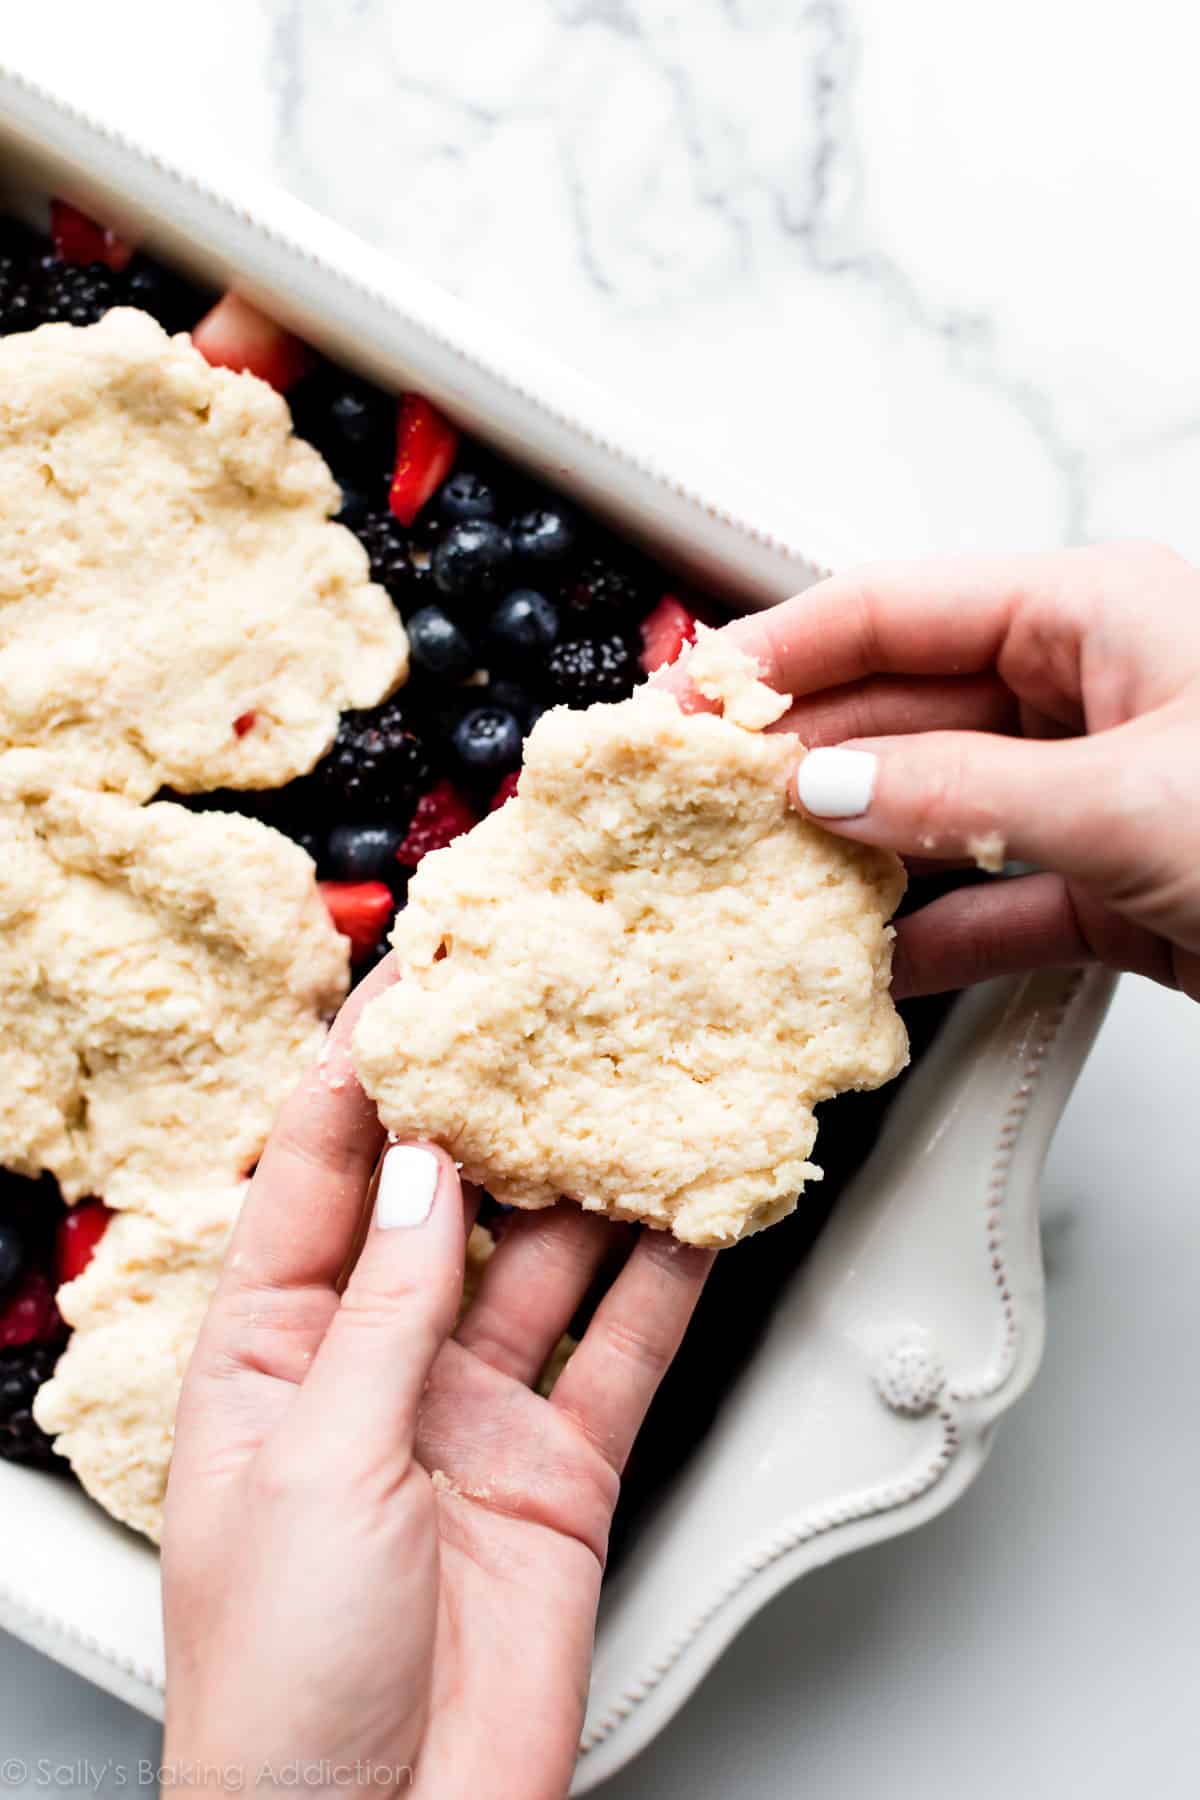
- Arrange dough on top of the berries: Flatten sections of the biscuit dough out with your hands, then place them on top of the berries.
- Top with buttermilk & coarse sugar: Because it’s fun to be extra, brush the biscuit dough with buttermilk. This creates a lovely sheen on top. For some sparkle and extra crunch, sprinkle with coarse sugar. You could also use an egg wash like we do with mixed berry slab pie.
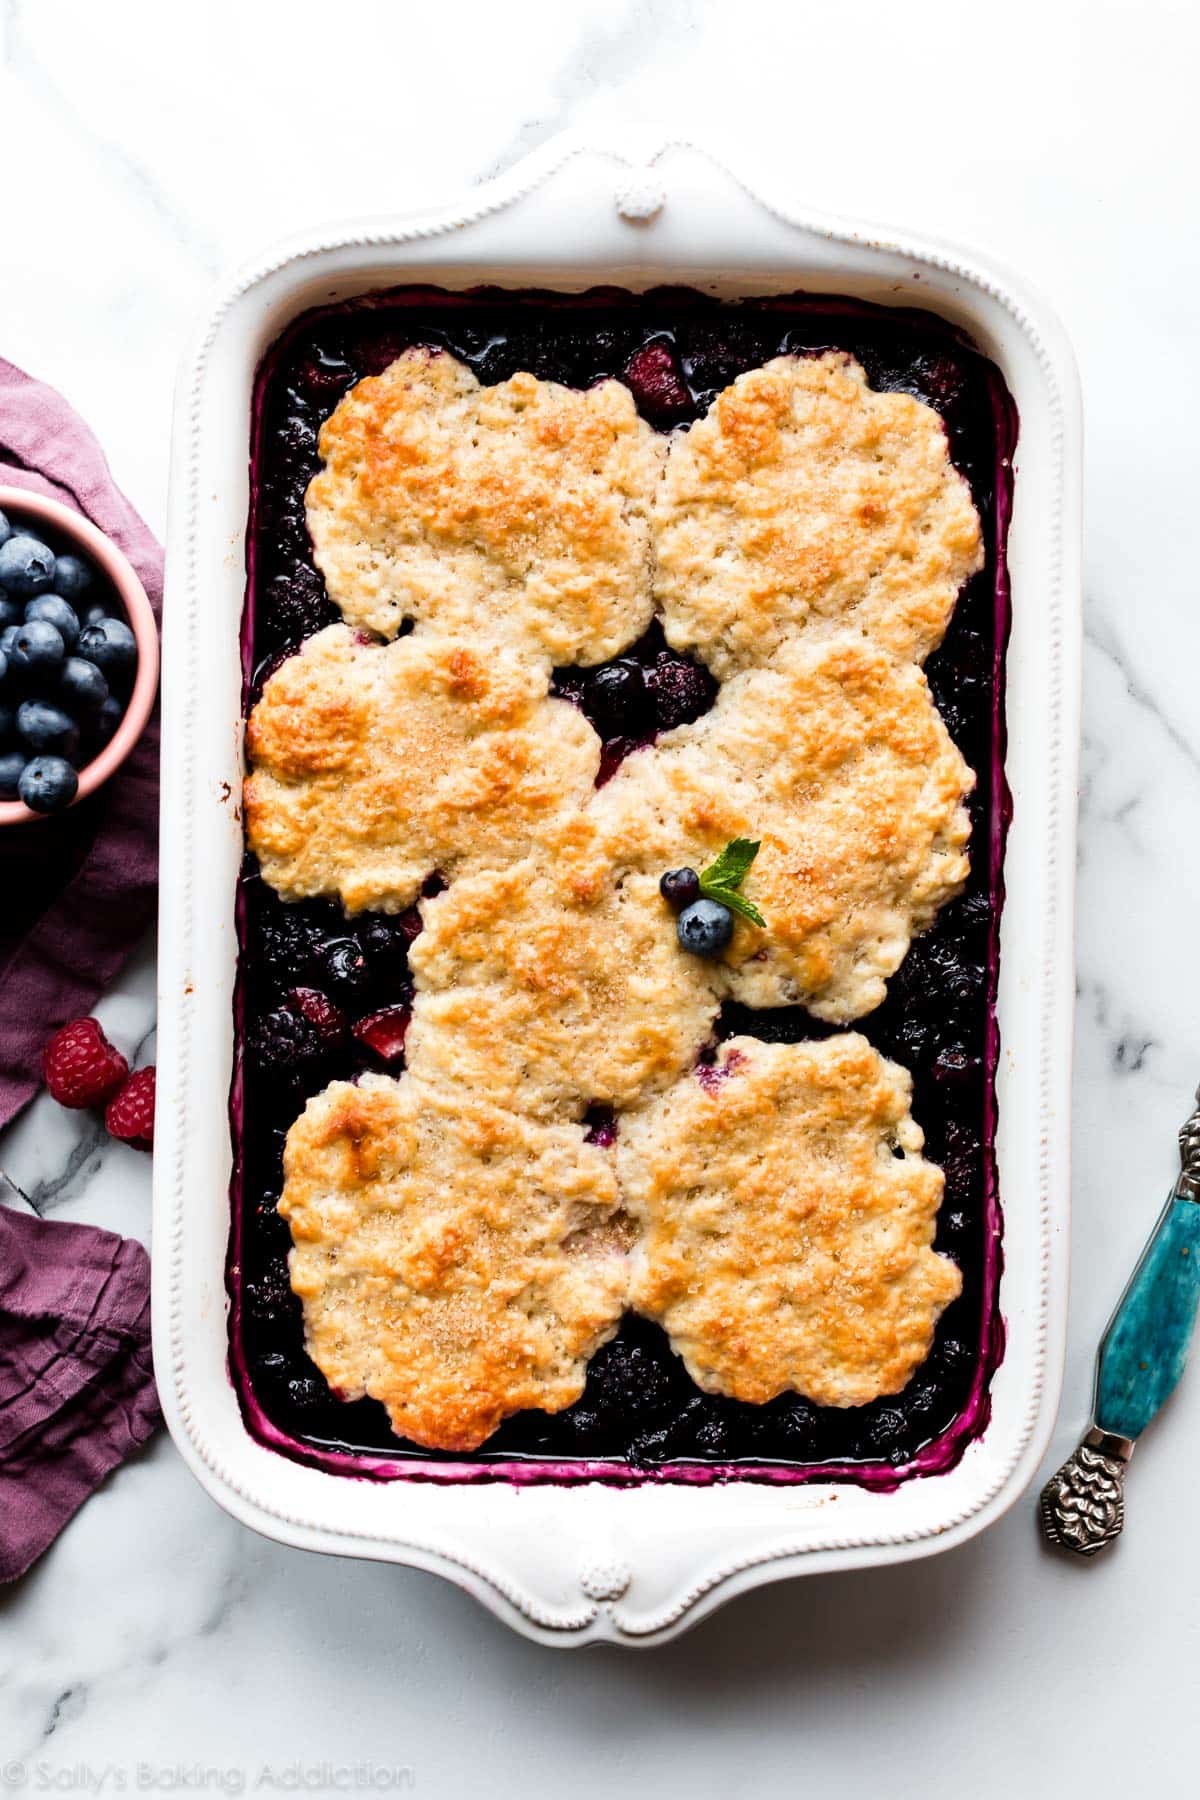
- Bake: Bake until the biscuits are golden brown, about 45 minutes.
- Cool for only 5 minutes: Just enough time for you to get out the vanilla ice cream. 🙂
Or you can top cobbler with whipped cream. There are no rules!
Less is More
Here’s the part where I tell you to do less. Something we don’t often hear when it comes to baking, but I know we all appreciate an effortless dish!
Over-working the biscuit dough will prevent it from rising and stretching, creating an unappealing and dense texture. Mix the buttermilk into the dough very lightly. After the dough comes together, flatten sections with your hands and place them on top of the berries. There is no precise method or magic trick here—just place flattened biscuit dough sections randomly on top, covering most of the berries underneath.
For this berry cobbler recipe, I actually reduced the biscuit topping from my peach cobbler. I wanted less topping so more of the beautiful berries are exposed. As a result, this dessert is extra fruity and extra juicy. Fresh homestyle comfort food—simply the best!
Looking for More Berry Desserts?
- Fruit Pizza
- Strawberry Cream Cheese Pie
- Blueberry Pie & Blueberry Pie Bars
- Berry Galette
- Triple Berry Pie
- Lemon Blueberry Cake
- Berry Icebox Cake
Berry Cobbler
- Prep Time: 10 minutes
- Cook Time: 50 minutes
- Total Time: 1 hour, 5 minutes
- Yield: serves 10-12
- Category: Dessert
- Method: Baking
- Cuisine: American
Description
Use your favorite fresh or frozen berries. If using frozen, do not thaw. For extra help, read the recipe notes before beginning.
Ingredients
- 8 cups (approx. 1kg) mixed berries* (see note)
- 1/2 cup (100g) granulated sugar
- 2 Tablespoons (15g) cornstarch
- 1 teaspoon lemon juice
- 1/2 teaspoon pure vanilla extract
Biscuit Topping
- 1 and 1/2 cups (188g) all-purpose flour (spooned & leveled)
- 1/3 cup (65g) granulated sugar
- 1 and 1/2 teaspoons baking powder
- 1/4 teaspoon salt
- 6 Tablespoons (85g) unsalted butter, cold and cubed
- 1/2 cup (120ml) buttermilk, cold*
- for topping before baking: 1 Tablespoon buttermilk and coarse sugar
Instructions
- Preheat the oven to 350°F (177°C) and grease a 9×13-inch pan.
- Make the filling: In a large bowl, gently fold the berries, sugar, cornstarch, lemon juice, and vanilla extract together until thoroughly combined. Spread filling evenly into prepared pan.
- Make the topping: Whisk the flour, sugar, baking powder, and salt together in a large bowl. Using a pastry cutter or two forks, cut the butter into the mixture until it resembles coarse meal (pea-sized crumbs). A pastry cutter makes this step very easy and quick! You could also use a food processor. While slowly stirring, slowly drizzle in 1/2 cup buttermilk. Mix until evenly combined. Take handfuls of dough and gently flatten out. Place dough all over the top of the berry filling. There’s no special trick to this—just flatten the dough in sections and cover most of the berries.
- Brush the top of the biscuit dough with 1 Tablespoon of buttermilk and then sprinkle with coarse sugar. These two are optional, but both help achieve a shiny, crunchy, golden brown crust.
- Bake for 45-55 minutes, or until golden brown and biscuit topping is cooked through. Stick a toothpick into the biscuit topping, if it comes out clean, it is cooked through and the cobbler is done. Set the pan on a wire rack, then cool for 5 minutes before serving. Serve warm with vanilla ice cream or whipped cream.
- Cover and store leftovers in the refrigerator for up to 5 days.
Notes
- Freezing Instructions: I don’t recommend preparing this recipe ahead of time, the biscuit topping won’t rise as much if it is not immediately baked. You can, however, freeze the prepared berry filling for up to 3 months. Allow to thaw in the refrigerator before using. It will be quite juicy, but that’s not a bad thing in cobbler! You can also freeze the baked cobbler for up to 3 months. Thaw overnight in the refrigerator, then cover with aluminum foil and bake at 350°F (177°C) for 20 minutes or until warmed through.
- Special Tools (affiliate links): 9×13-inch Pan | Glass Mixing Bowl | Silicone Spatula | Whisk | Pastry Cutter | Pastry Brush | Cooling Rack
- Berries: Use any berries, fresh or frozen (do not thaw), that you enjoy. I recommend 3 cups blueberries, 2 cups blackberries, 1 and 1/2 cups raspberries, and 1 and 1/2 cups chopped strawberries. Keep in mind that the juicier the berries (raspberries, strawberries), the more liquid-y the berry layer will be. Frozen berries will produce a more liquid-y layer.
- Buttermilk: You can make your own DIY buttermilk substitute if needed. Add 1 teaspoon of white vinegar or lemon juice to a liquid measuring cup. Then add enough cold whole milk to the same measuring cup until it reaches 1/2 cup. (In a pinch, cold lower fat or cold nondairy milks work for this soured milk, but the topping won’t taste as moist or rich.) Stir it around and let sit for 5 minutes. The homemade “buttermilk” will be somewhat curdled and ready to use in the recipe.
- More biscuit topping: For this berry cobbler, I reduced and adapted the biscuit topping from my peach cobbler recipe so that the berries were the star of the dessert. If you’d like more biscuit topping, use the biscuit topping measurements from the peach cobbler. (That one includes baking soda.)
- Individual Cobblers: Instead of baking as one big dessert, you can make individual berry cobblers by dividing the layers and baking in several oven-safe ramekins. Bake time depends on the amount of food in each ramekin. Bake on a large baking sheet until the berries are bubbling and biscuit topping is golden brown. It’s easier to bake as a whole and simply serve in individual ramekins or even parfait glasses, though!


If using frozen berries, should you partially thaw in bowl before covering with toping & baking?
Hi Tessie, if using frozen berries, do not thaw first.
This is the perfect cobbler recipe — it’s the best cobbler I’ve ever made or tasted! The proportions are right on, and the flavors of the berries shine through brilliantly. Thank you!
so delicious and simple!
Question for my husband’s birthday this weekend – could I half the recipe and bake in a 8×8 square pan?
Hi Allison, a 9-inch square pan would be ideal, but an 8-inch square pan should work in a pinch. We’re unsure of the exact bake time. Hope it’s a hit!
Can this cobbler recipe be made in a slow cooker?
Hi Grandma, we haven’t tested it but would love to know if you give it a try!
Thank you for getting back to me so quickly. I will let you know how it turns out in a slow cooker.
I have bag of dried tart cherries. Can I use them in place of the strawberries?
Hi Tracy, fresh or frozen fruit work best for cobblers—we don’t recommend using dried fruit here.
I made this for my family tonight, it was so good!
I loved this recipe so much!
This is a great recipe – not too sweet and easy to make (cobbler is pretty forgiving if you’re not an experienced baker). I’ve made the full recipe a couple of times, but recently made 1/2 recipe (because I had 4 cups of berries to use up) and used 4 ramekins for individual servings. Baked for 35 mins. and they were perfect!
Hi. I would like to make this cobbler a day ahead (which includes baking) for a dinner party. Do you recommend doing this? Your notes don’t seem to address this problem. Thank you.
Hi Mrs, you can bake and cool this ahead of time. Once cool, cover and refrigerate. To reheat, you can warm it in the oven the same way you would reheat it after freezing. (See freezing instructions.) Cover with aluminum foil and bake at 350°F (177°C) for 20 minutes or until warmed through.
Hi Sally, can you make this recipe ahead of time? Thanks!
Hi Andrea, see recipe Notes!
We’ve made this twice this week… once with the blueberry cobbler ice cream from Sally. Always delish!!! My 11 year old made both without issue!
Looks like a great recipe. Have you ever frozen the biscuit topping raw (no berries, just the topping) and then putting it together a week later. Would of course bake a touch longer, but should work, …..no …..
Thanks for your thoughts !!!
Hi Janis! We have not tested that, but can’t see why it would be an issue. We would suggest thawing the topping overnight in the fridge before topping and baking. Let us know how it goes!
Can I make this with strawberries only?
Hi Heather, you can, but keep in mind that the juicier the fruit (raspberries, strawberries), the more liquid-y your berry layer will be. Enjoy!
I made this recipe while on vacation and it turned out great. I had to make some changes because we had a limited cupboard and some allergies in my family. I used measure for measure gf flour because some in my family are gluten free. I had to substitute 4 Tablespoons of gf flour for 2 Tablespoons cornstarch. Brown sugar was substituted for granulated sugar just because we didn’t have any in the cupboard. I served it warm, with vanilla frozen custard, and got a lot of compliments. Definitely a keeper