Homemade thin mint cookies come together using my chocolate sugar cookies recipe, a splash of peppermint extract, and a divine coating of chocolate. You’ll love these copycat thin mint cookies for when you have a craving and there’s no Girl Scout Cookie box to be found.

We can all agree that thin mints are the crème de la crème of the girl scout cookie world. Nothing tastes quite like a COLD thin mint cookie. We’re talking straight out of the freezer for that ultimate cool mint chocolate cookie experience. I was never a girl scout growing up, but my sisters were both girl scout “brownies” (that’s a thing!), so every March our freezer would be full of thin mint cookies.
Do you prefer your thin mints cold as well? If so, wait until you taste these homemade thin mint cookies after hanging out in the freezer for awhile. 🙂
Which, I’d like to add so there is no confusion, I fully support girl scout troops! I still purchase several boxes from my friend’s daughters and from the sweet troops outside my grocery store.

These Homemade Thin Mint Cookies Are:
- Slightly crunchy in the centers
- Perfectly pepperminty
- Packed with tons of delicious chocolate
- Dunked in a delightful mint chocolate coating
- Easier to make than they look
- Delicious straight out of the freezer
Video Tutorial
Use My Chocolate Sugar Cookies As the Base
Thin mint cookies are essentially a crunchy mint and chocolate flavored cookie coated in chocolate. To make them at home, you need a flat and round chocolate sugar cookie to cover in chocolate. I love using my recipe for chocolate sugar cookies to make homemade thin mint cookies—just like classic sugar cookies, but with cocoa powder subbed in for some of the flour. This gives the cookies their rich chocolate flavor.
To the chocolate sugar cookie dough, we add a scant 1/4 teaspoon of peppermint extract. Remember, that stuff is potent and a little goes a long way.
This is a simple, straightforward recipe and since it is homemade—it doesn’t use any unnecessary ingredients like high fructose corn syrup or artificial color.
If you love chocolate + peppermint together in these cookies, I know you’ll love this mint chocolate cake just as much!


How to Make Homemade Thin Mint Cookies
- Make the chocolate sugar cookies dough.
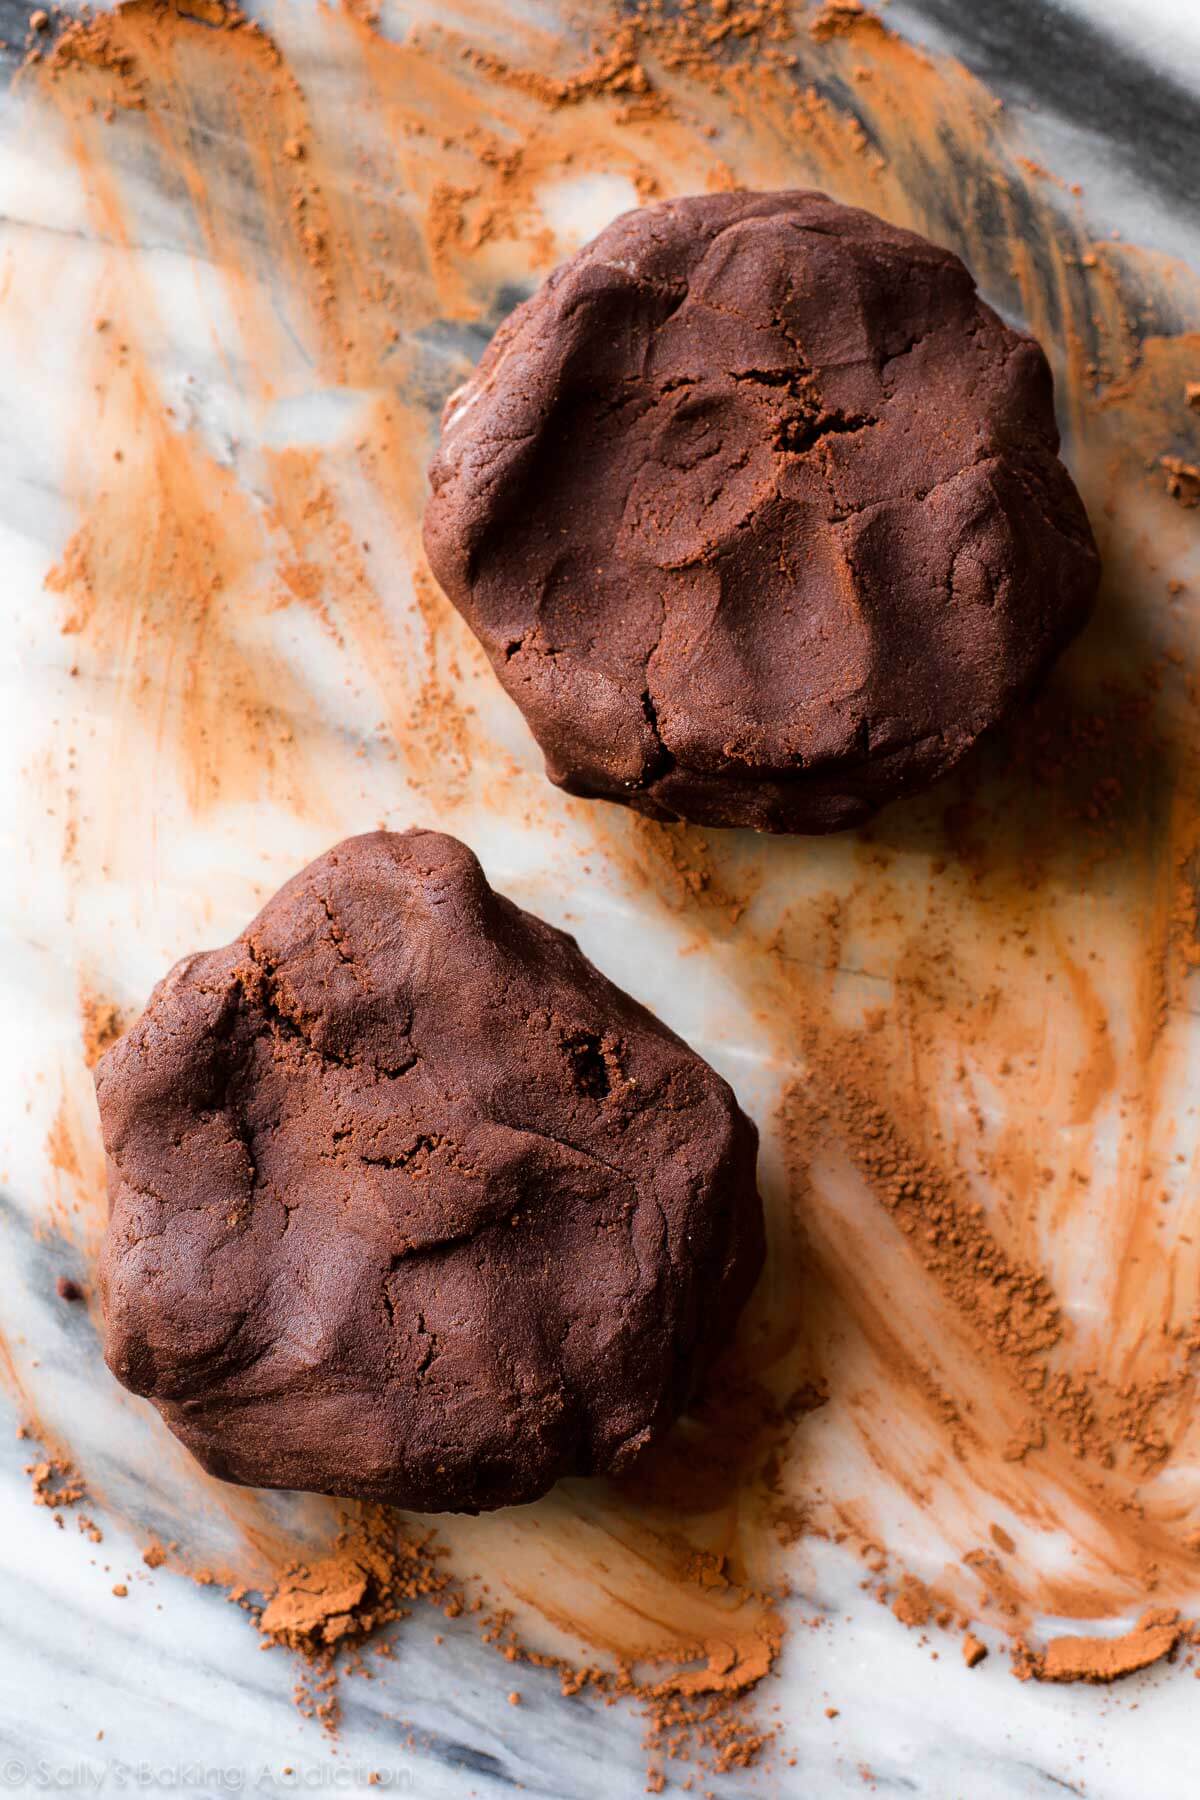
- Divide the dough into 2 equal parts. Using a rolling pin, roll each to about 1/4-inch thickness on a piece of parchment. Refrigerate the dough for at least 1 hour—chilling is mandatory.
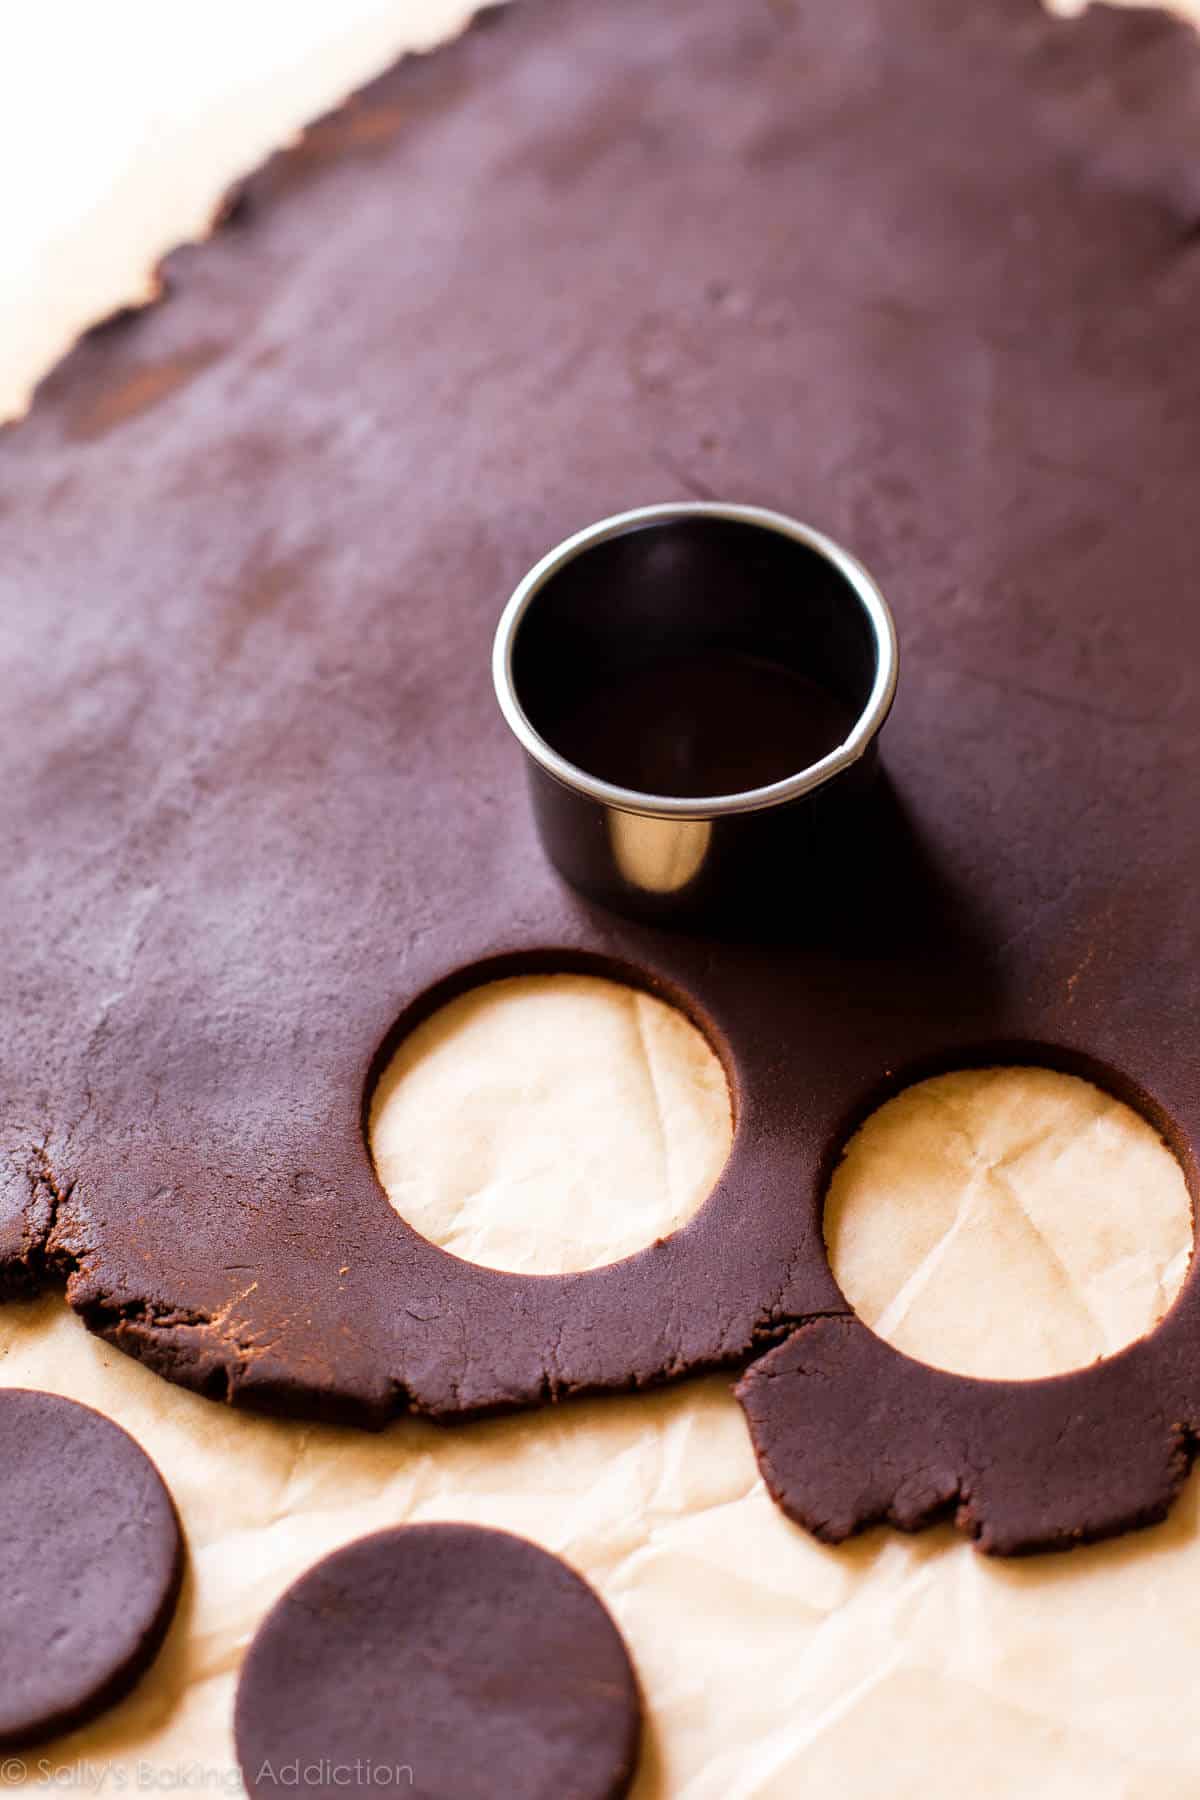
- Cut the cookie dough into circles. Use a 2-inch round cookie cutter. Re-roll the remaining dough and continue cutting until all is used.
- Bake.
- Let the cookies cool completely.
- Make the chocolate topping.
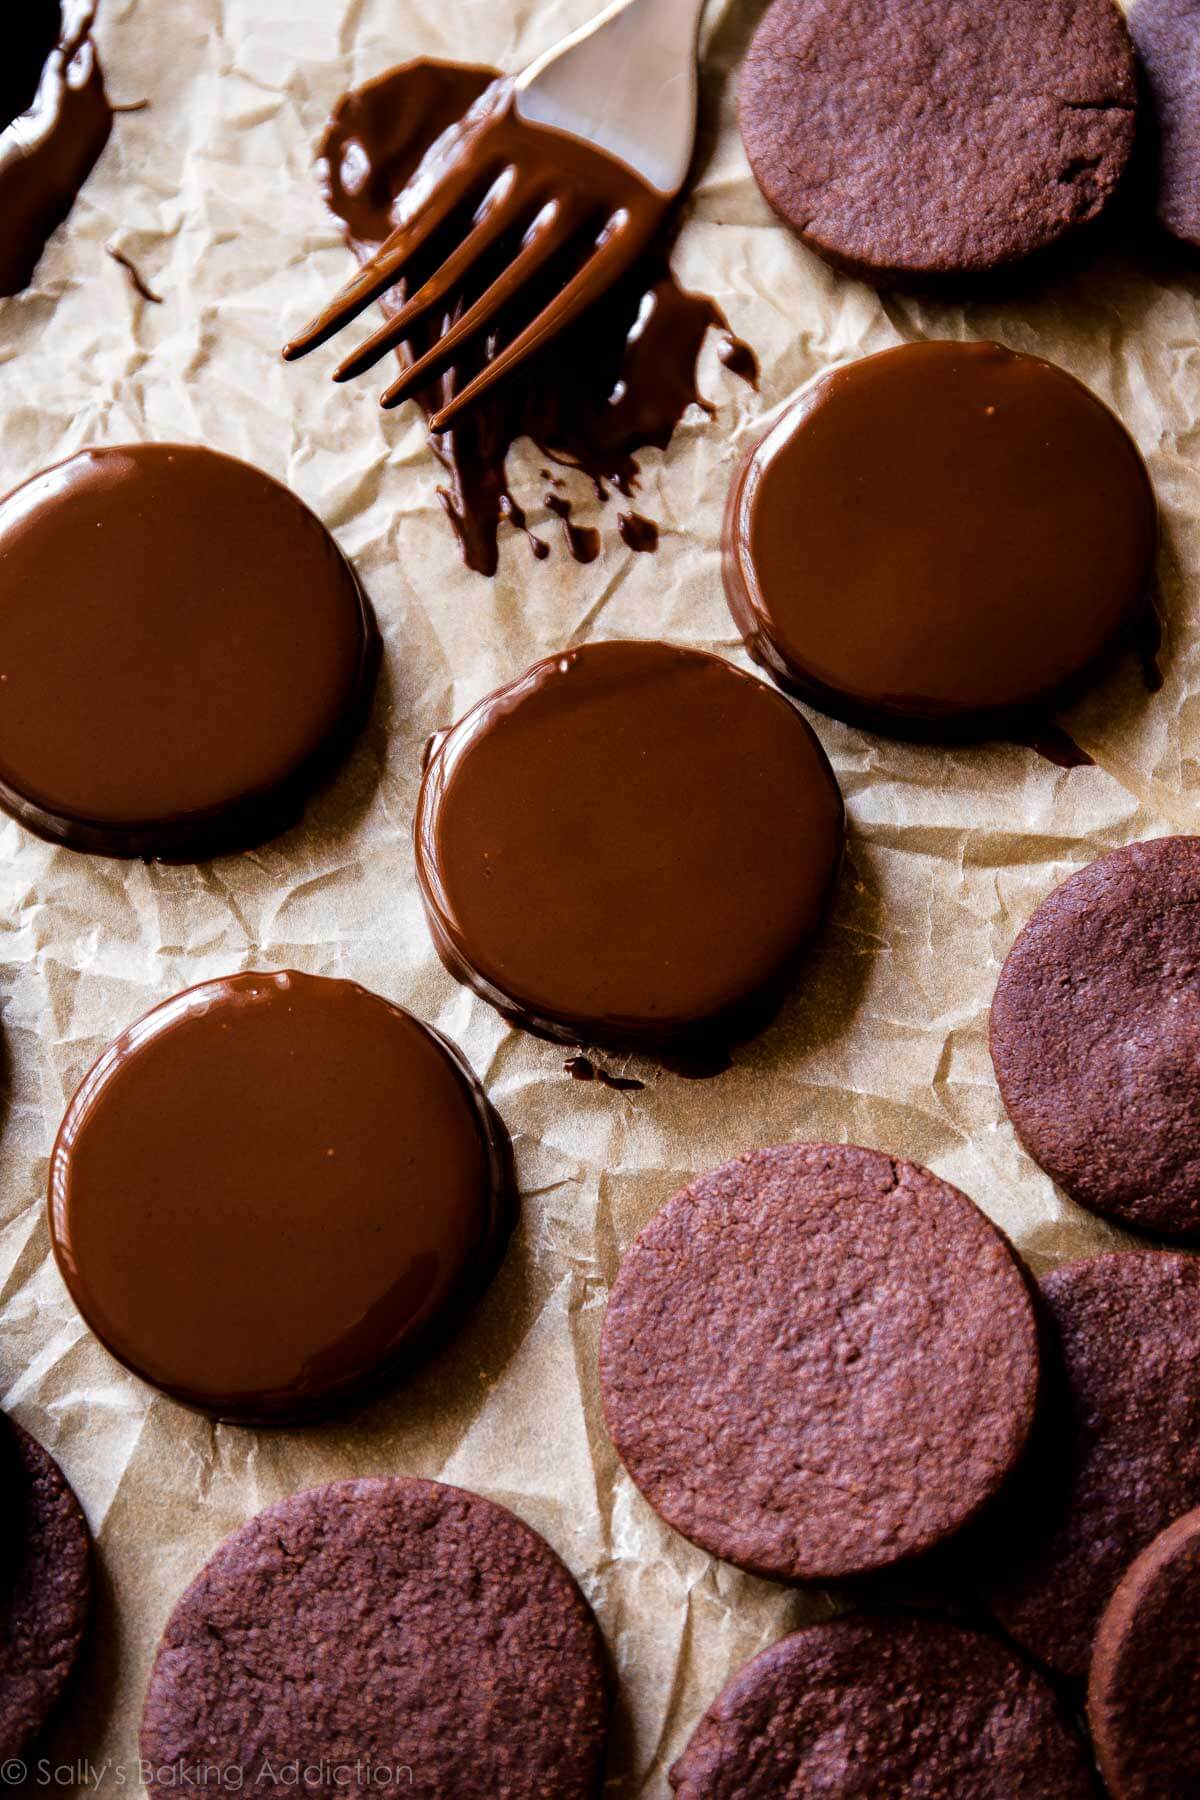
- Dip each cooled cookie completely into the chocolate. Use a fork to lift out and let any excess chocolate drip off. Place each cookie onto a lined baking sheet and repeat the process for the remaining cookies. Refrigerate the baking sheet to help the chocolate set.
Best Cookie Cutter To Use
You need a round cookie cutter that’s approximately 2 inches in diameter. I had trouble finding one this small sold individually, so I purchased a set. Any of these options would work wonderfully (affiliate links): Ateco round cookie cutter set, Fox Run biscuit cutter set, or Ateco 2.5-inch round cutter.
- You might have better luck finding a 2.5-inch round cookie cutter—anything around 2-3 inches is perfect for these homemade thin mint cookies. Remember, the bigger your cookie cutter, the fewer cookies you’ll get out of each batch.

Mint Chocolate Coating
After the cookies cool, cover them in chocolate. Since there’s so much chocolate in every bite, make sure you’re using a quality brand. I really like Baker’s brand baking bars, Ghirardelli baking bars, or even Trader Joe’s “pound plus” chocolate bars. When it comes to coating candies and cookies in chocolate, always steer clear of chocolate chips. They don’t melt into the proper consistency for dipping or coating.
Flavor the chocolate with a little peppermint extract for a cool minty flavor. Add a little oil to the chocolate as well. Why are you adding oil? Extracts are alcohol based, so to prevent the pure chocolate from seizing, you need to add a little fat (aka oil). You can also use peppermint oil instead of extract. In which case you won’t need the added oil. Oil also helps thin out the chocolate, so the cookies are easier to dip.
Drizzle any leftover chocolate coating on top of the cookies. No such thing as too much chocolate!
Helpful tip: Use a fork to help dunk each cookie. When lifting the cookie out of the bowl of melted chocolate, let any excess chocolate drip off through the fork’s prongs. If the cookie gets stuck on the fork, a toothpick is helpful to slide the cookie off.


More Homemade Cookie Recipes
- Oatmeal Creme Pies
- Fudge Stripe Cookies
- Peanut Butter Cookies
- Peanut Butter Oatmeal Sandwich Cookies (just like Nutter Butters!)
- Butter Cookies and Chocolate Butter Cookies
- Chocolate Chip Cookies
- Homemade Oreos

Homemade Thin Mint Cookies
- Prep Time: 2 hours 15 minutes
- Cook Time: 8 minutes
- Total Time: 3 hours 15 minutes
- Yield: 36 2-inch cookies
- Category: Cookies
- Method: Baking
- Cuisine: American
Description
Here’s exactly how to make homemade thin mint cookies using a simple from-scratch cookie dough recipe with cocoa powder, real chocolate, and peppermint. Try them cold or out of the freezer—they’re incredible!
Ingredients
- 3/4 cup (12 Tbsp; 170g) unsalted butter, softened to room temperature
- 1 cup (200g) granulated sugar
- 1 large egg, at room temperature
- 1 teaspoon pure vanilla extract
- 1/4 teaspoon peppermint extract*
- 1 and 1/2 cups (188g) all-purpose flour (spooned & leveled)
- 3/4 cup (62g) unsweetened natural cocoa powder (or dutch process)
- 1 teaspoon baking powder
- 1/8 teaspoon salt
Topping
- 14 ounces (395g) quality semi-sweet chocolate, coarsely chopped
- 1/2 teaspoon canola or vegetable oil
- 1/4 teaspoon peppermint extract*
Instructions
- Make the cookies: In a large bowl using a handheld mixer or stand mixer fitted with a paddle attachment, beat the butter for 1 minute on medium speed until completely smooth and creamy. Add the granulated sugar and beat on medium high speed until fluffy and light in color. Beat in the egg, vanilla extract, and peppermint extract on high speed. Scrape down the sides and bottom of the bowl as needed.
- Sift the flour and cocoa powder together in a medium bowl. Whisk in the baking powder and salt until combined. On low speed, slowly mix into the wet ingredients until combined.
- Divide the dough into 2 equal parts. Roll each portion out onto a piece of parchment to about 1/4″ thickness. Stack the pieces (with parchment paper between) onto a baking sheet and refrigerate for at least 1 hour. Chilling is mandatory. If chilling for more than a couple hours, cover the top dough piece with a single piece of parchment paper. You can chill up to 2 days.
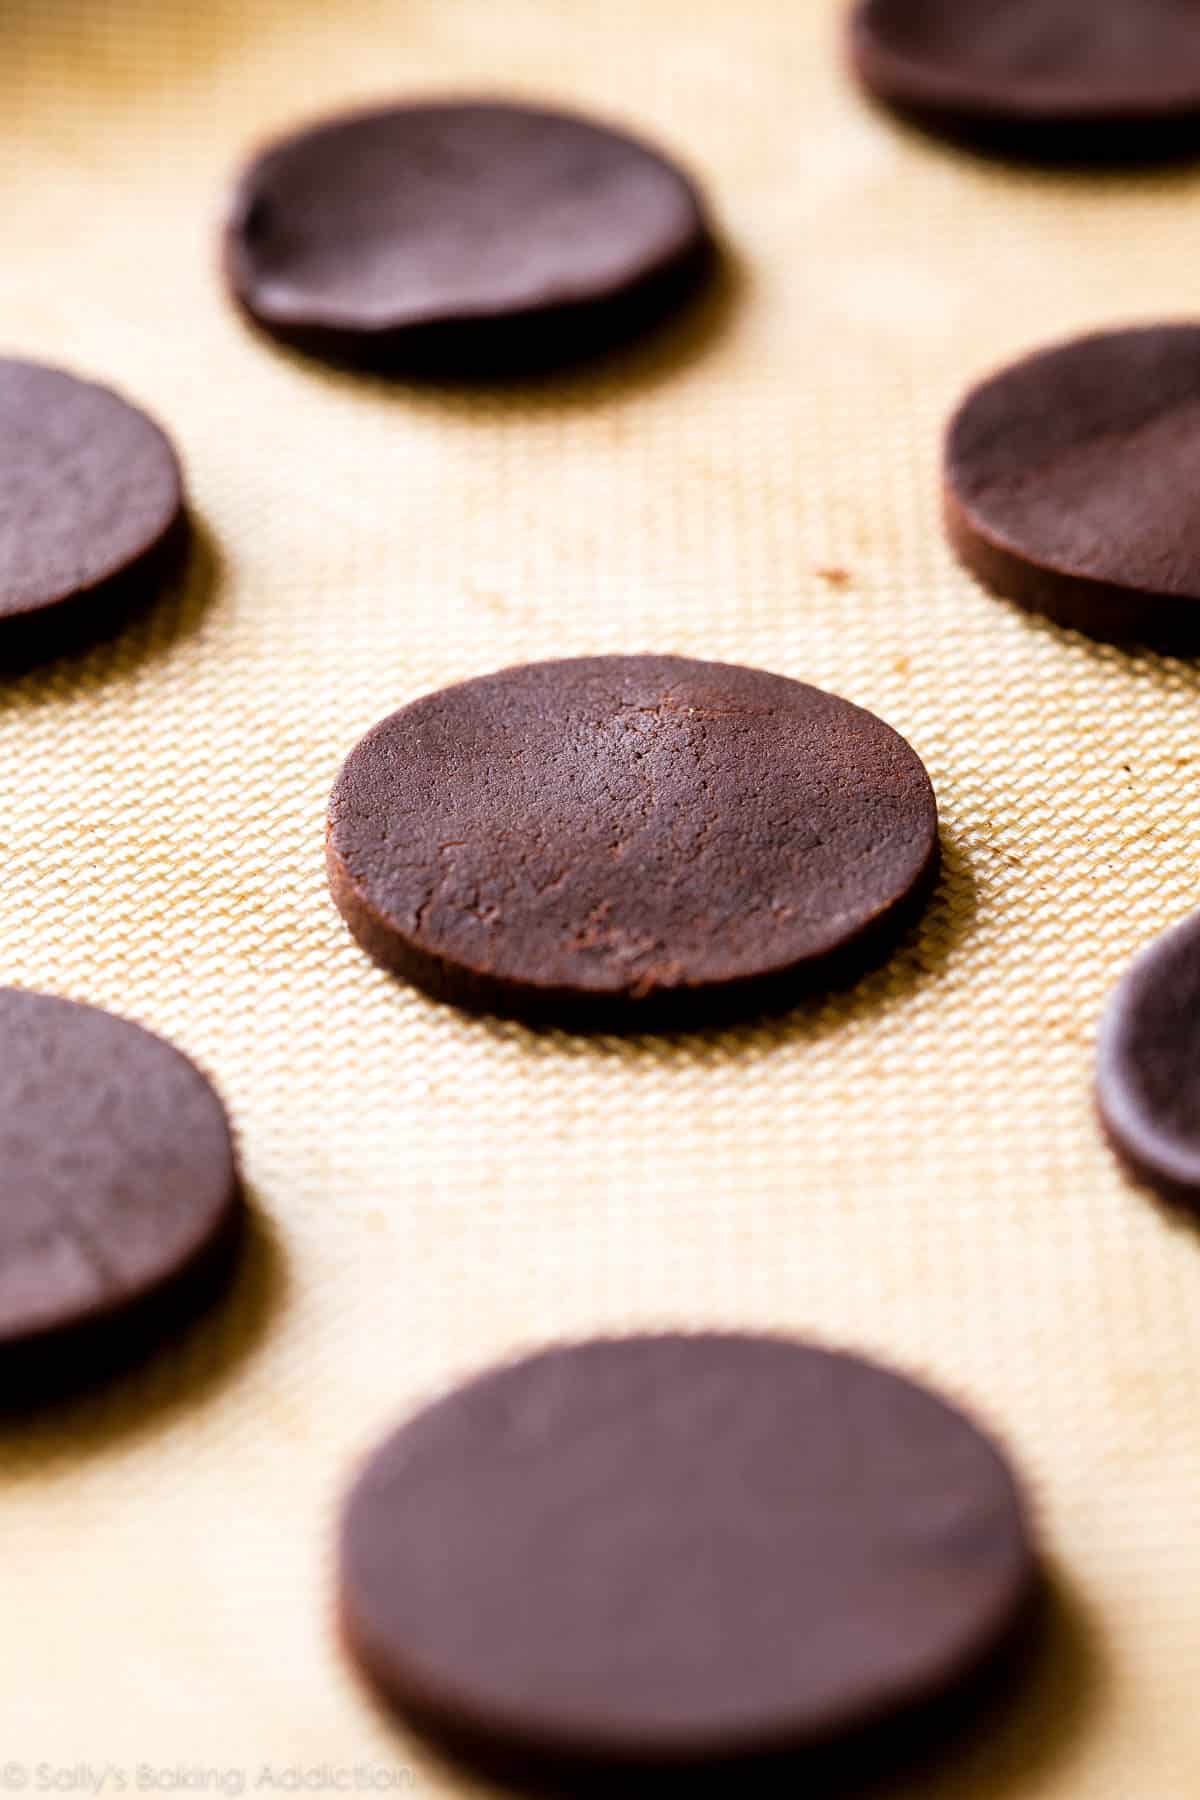
- Once chilled, preheat oven to 350°F (177°C). Line 2-3 large baking sheets with parchment paper or silicone baking mats. Remove one of the dough pieces from the refrigerator and using a 2-inch round cookie cutter, cut in circles. Transfer the cut cookie dough to the prepared baking sheet. Re-roll the remaining dough and continue cutting until all is used.
- Bake for 8-10 minutes or until the edges appear set. The cookies will seem very soft in the centers. Make sure you rotate the baking sheet halfway through bake time. Cool on baking sheet for 5 minutes, then transfer to a wire rack to cool completely before dipping in chocolate.
- Once the cookies are cool, begin the topping: Melt the chopped chocolate and oil together in a double boiler or (carefully!) use the microwave. For the microwave, place the chocolate and oil in a medium heat-proof bowl. Melt in 15 second increments, stirring after each increment until completely melted and smooth. Once melted, stir in the peppermint extract. Dip each cooled cookie completely into the chocolate and use a fork to lift out. Tap the fork gently on the side of the bowl to allow excess chocolate to drip off. Place cookie onto a parchment or silicone baking mat-lined baking sheet. Place the baking sheet into the refrigerator to help the chocolate set. Once set, enjoy!
- Cover and store leftover cookies at room temperature for up to 2-3 days or in the refrigerator for up to 1 week. The cookies taste delicious cold. I love eaten straight from the freezer!
Notes
- Make Ahead & Freezing Instructions: Cookies freeze well up to 3 months. Thaw overnight in the refrigerator if desired. You can chill the cookie dough for up to 2 days (step 3). You can also freeze the cookie dough before rolling for up to 3 months. Then allow to thaw overnight in the refrigerator. Then allow to come to room temperature for about 1 hour. Then roll and continue with the recipe as directed.
- Special Tools (affiliate links): Electric Mixer (Handheld or Stand) | Rolling Pin | Baking Sheet | Silicone Baking Mat or Parchment Paper | Cooling Rack | Double Boiler or Glass Mixing Bowl | Round Cookie Cutters (such as Ateco Round Cookie Cutter Set, Fox Run Biscuit Cutter Set, or Ateco 2.5-Inch Round Cutter)
- Peppermint Extract: Avoid using mint extract; I find it more resembles the taste of spearmint toothpaste than anything else. Peppermint extract has that wonderful cool mint flavor which pairs wonderfully with chocolate.
- Slice ‘n’ Bake Option: I’ve been getting questions about using this recipe as a slice ‘n’ bake cookie to avoid rolling out the dough. This is doable, just keep in mind the dough is a little sticky. Roll the cookie dough into two 2-3 inch diameter logs, then chill for at least 1 hour as directed above. Slice each into 16-18 cookies, then continue with step 5.


not crispy and very little mint flavor.. you can only taste it if you remind yourself that there’s mint inside. i dont know where i went wrong given i followed all tips to a T. i added a small dusting of cocoa powder while trying to roll and it still stuck to the pin, had to opt to flatten the dough with my hands. they make a decent chocolate cookie but you’re probably better off buying storebought thin mints unfortunately.
Hi Lottie, thank you for the feedback. Did you use the peppermint extract in the topping, too? It’s a very potent extract, which is why I usually go light on it, even in mint-flavored baked goods. If you ever try the recipe again, feel free to increase the amount in the dough to 1/2 teaspoon.
I followed the recipe exactly and even after being in the freezer for 2 hours they were so extremely doughy and sticky i couldn’t even use the cookie cutter without them sticking. Had to stick them back in the freezer.
Hi Kim, this is definitely a sticky dough (which can be made even more tricky to work with if you’re experiencing especially warm or humid weather right now), but you use a light dusting of cocoa powder on both the rolling pin/working surface and the cookie cutter to help combat any stickiness. We hope you enjoy the cookies!
I made these and everyone loved them. I have been asked to make some more!
Hi Sally, a request rather than a comment! Would you consider doing a recipe for Samoas? Thank you!
They are certainly delicious and we’d love to experiment with a recipe one day!
Given the labor and expense, this is not a recipe I’d make again. Even though I added a few drops extra peppermint extract to the dough (because of comments here) the mint in these was barely discernible. Also, I was surprised that my dipping chocolate was thick and not as liquid as in the video (and again, not especially minty). I used coconut oil and 3 Ghirardelli bars + 2 oz of Ghirardelli chips, kept warm in a jerry-rigged double boiler as I was dipping. Instead, for a truly outstanding chocolate mint cookie, I would *highly* recommend Sally’s Andes Mint chocolate cookie recipe – they are, without a doubt, among the best cookies on the planet.
Thank you for your feedback, Barbara! It’s appreciated. I’m glad you enjoy the Andes Mint Chocolate Cookies. They are a favorite.
These are SO good, I can’t wait to make another batch. I was thinking about trying to make heart shaped ones for Valentines Day.
Great recipe but a couple of isssues. As others mentioned, the peppermint flavor in the cookie itself is too weak, even after doubling the amount called for.
The other issue is the chocolate coating. I have quite a bit of experience with melting and tempering chocolate and none of the three variations I tried worked well (I used different ratios of dark, semi-sweet and melting chocoate).
None of the variations of chocolate firmed properly. Each variation was still melty after being cooled then brought back up to room temperature. The culprit is the liquid in the peppermint extract. Just like in the cookie itself, the intensity of the mint in the coating is too low so adding even more extract to the coating made the metly chocolate issue even worse.
Not adding the vegetable oil wasn’t necessary for a good melt and coverage.
I am going to try this recipe again and quadruple the peppermint in the cookie batter itself without adding any to the coating to see if that works. If it’s still too weak, I will use peppermint oil in the coating rather than extract.
Just to follow up on my previous message. Using peppermint oil was successful although I used in only in the chocolate coating. A few drops gave the proper dose of mint flavor without making the melted chocolate too liquidy like the extract did.
I broke all of the rules here – I used mint extract instead of peppermint extract, chocolate chips instead of high quality chocolate, and I used butter in the chocolate because I had no neutral oils. They came out absolutely perfect though – just like real Thin Mints. So if you also don’t have the “right” ingredients, never fear! The cookies are still good!
Love, love, love this recipe!!! So much better than the Girl Scout cookies. Thanks for yet another winner!
I just made these. I baked the 2” cookies (1/4” thick) for 10 minutes. They are definitely not crisp. Unfortunately the texture is soft. The taste is good, but missing the crispness.
These cookies are outstanding!! Chocolate and mint is one of my favourite combos and this recipe is one of the best things I’ve ever tasted! I have been sharing them with friends and everyone loves them. Perfect to add in a Holiday cookie gift package.
We were so excited to try these, but they didn’t turn out great. When following the recipe, there’s definitely not enough peppermint extract as others have commented. The mint flavour was almost undetectable. Not bad if you pretend it’s just a plain double chocolate cookie though.
Eeeks! Rolled out dough is in fridge and I just realized I didn’t add baking powder. Hoping cookies will still be delicious, if not fluffy. Kicking myself. Maybe luck will be on my side and they’ll have excellent flavor and crunch. Oh boy. This is a first! Sally your recipes are always successful (when I follow them! ). Thanks for the great site!
These are definitely better than the boxed ones! I used the Slice ‘n’ Bake Option and they turned out great. The cookie dough bakes perfectly from frozen too.
I had some issues making the Homemade Thin Mints. I baked the cookies for 10 minutes but after cooling, they were not crispy. And the chocolate dipping sauce was too thick so the cookies were heavily covered in chocolate. And even after a day, the chocolate coating made a mess all over our hands when eating them. Do you have any advice?
Hi K K! Sounds like your cookies may have just needed a few more minutes to bake – it can be hard to tell with chocolate cookies! Did you use high quality chocolate for melting (not chips)? Chips contain stabilizers the prevent them from melting smoothly. If it’s particularly warm in your home, these should be stored in the fridge to prevent melting.
Thank you for your response! I did use Baker’s bars for the coating and was very careful using the microwave method for melting. I’m going to try again, baking the cookies a LITTLE longer and melting the chocolate in a double boiler. Your recipes are always so amazing!
Thanks, K K! Let us know how they turn out.
Super yummy and a sweet, cool treat here in the AZ great. Nice snap, especially out of the freezer.
I made this recipe exactly as written and they turned out AMAZING! My normal size cookie cutter was at the cabin, so used a jumbo piping tip end. I got over 100 cookies and they are about the same size as the regular scout ones! I made these over several days and the extra steps were very manageable. These are going to a Mothers’ Day celebration at the nursing home where my mom is. Very dainty, very tasty. Thank you Sally!
I can’t wait to try your thin mints recipe! Glad you have a video of using the fork to dip into melted chocolate.
Was wondering if you could use peppermint oil instead of extract?
Hi Karen, We haven’t tested these with peppermint oil. You can try it but just keep in mind that the oil is much stronger than extract so you would only need the tiniest amount!
Was wondering on you use a different oil besides canola oil or vegetable oil. Can I use coconut oil
Hi Sharon, Yes, absolutely!
loved the final product. I just drizzled chocolate on top because dipping them in chocaloate was a bit of a mess. Stupid question – the dough is pretty sticky and I found it hard to roll out. should I roll it out between two sheets of parchment or can you sprinkle flour on the dough? The instructions didn’t specify to sprinkle flour so I wasn’t sure if using flour would alter the final product.
Hi Susan, you can certainly roll it between parchment if you want, or a light sprinkle of cocoa powder (or flour) will help. So glad you enjoyed these cookies!
Made these today and they are delish!
Would pure peppermint&mint extract be okay?
Hi Alexandra, peppermint extract is what we use here. Avoid using mint extract.
Made these for my family and they said it taste like the real thing (Girl Scout cookies which I don’t buy since they used mixed certified palm oil)! I used less chocolate and still had extra, but I also made the cookies bigger since I didn’t have a small cookie cutter. Will try again with smaller cutter to try and get them crispy!