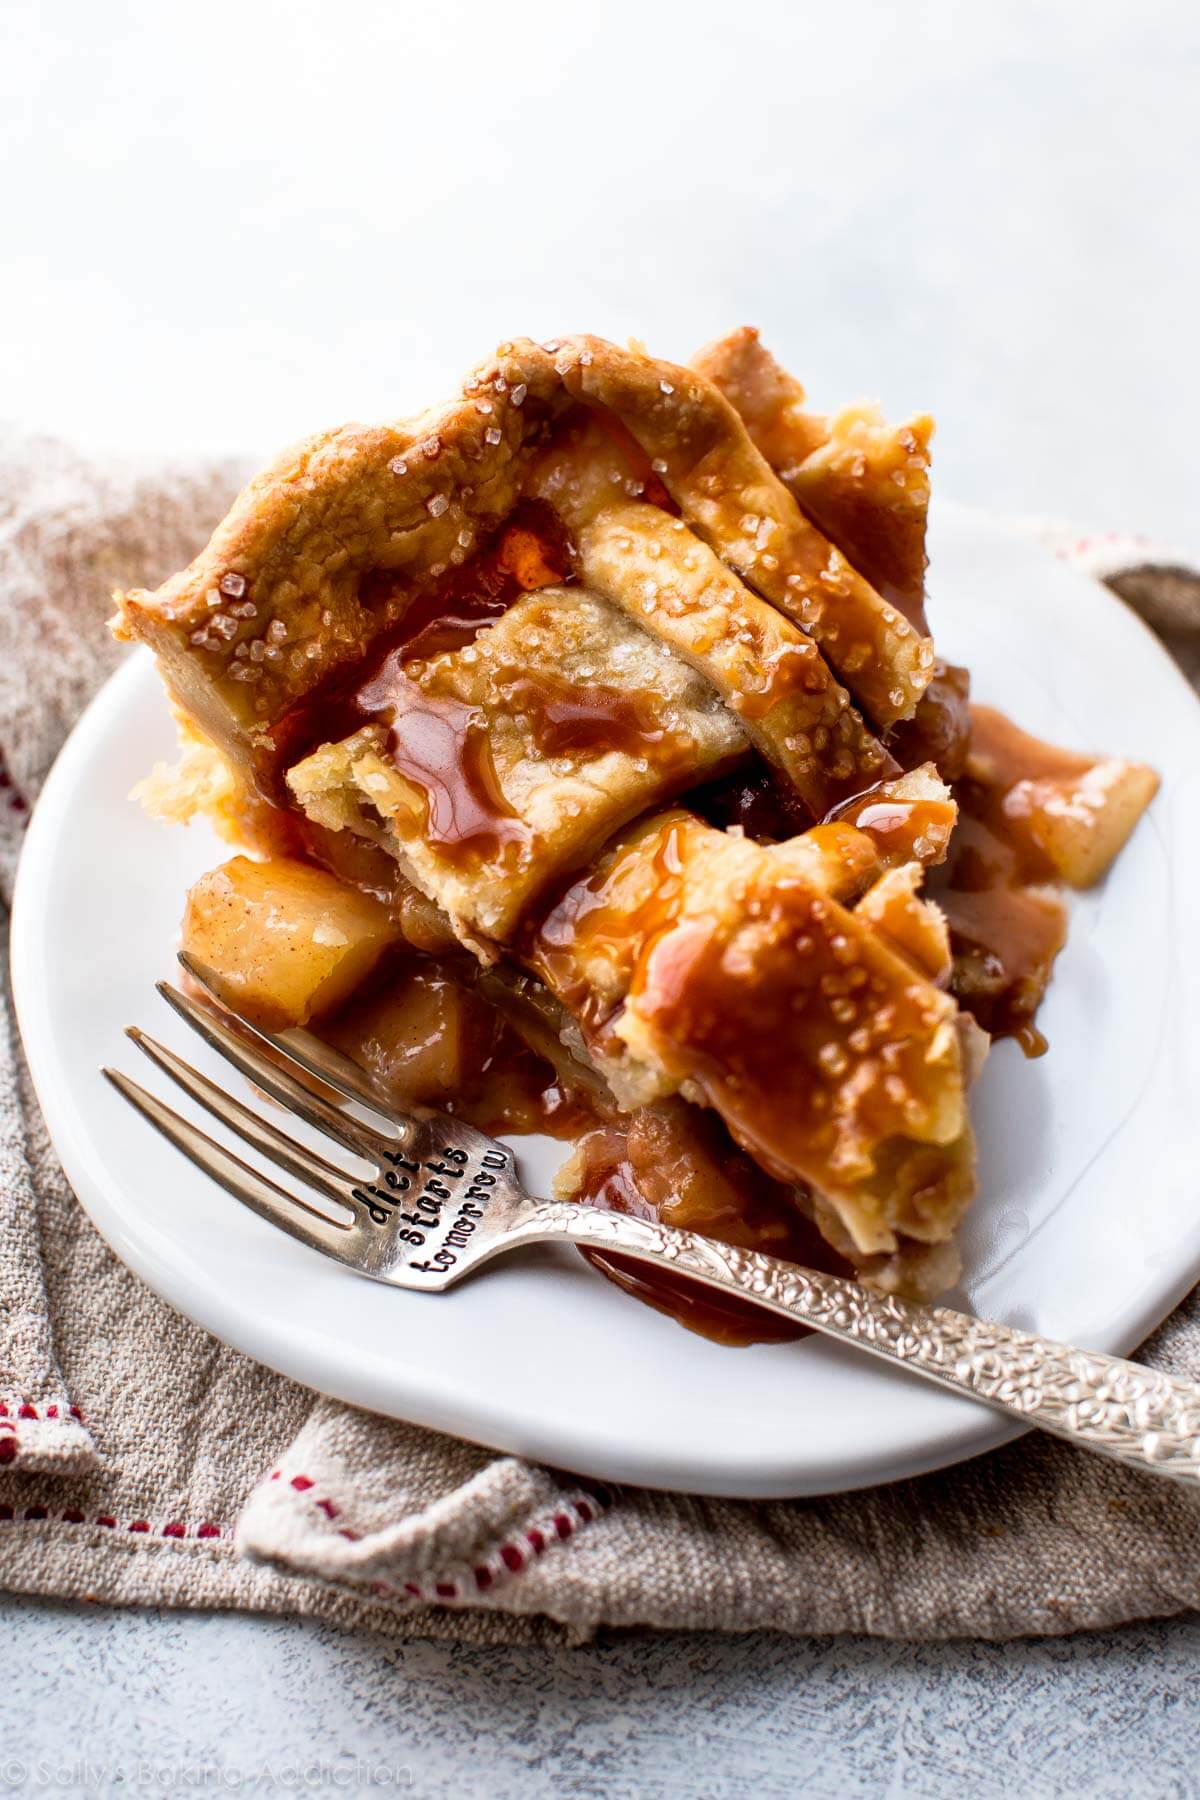
Welcome to my annual Pie Week. Let’s review so far:
- Pecan pie with dark chocolate and a sprinkle of sea salt
- Pie crust designs (it’s the November Baking Challenge!)
And drumroll please… today’s all about pears. And caramel, cinnamon, butter, pie crust, and cute utensils. Soooo unpredictable of me.
Let’s face it: we all forget about pears. Does anyone go pear picking? Can I come? And does anyone have a recipe for pear sauce? Send it to me! Pears sort of fade to the back while apples steal all the spotlight this time of year. (Not that I’m complaining. You know how much I adore apple pie.)
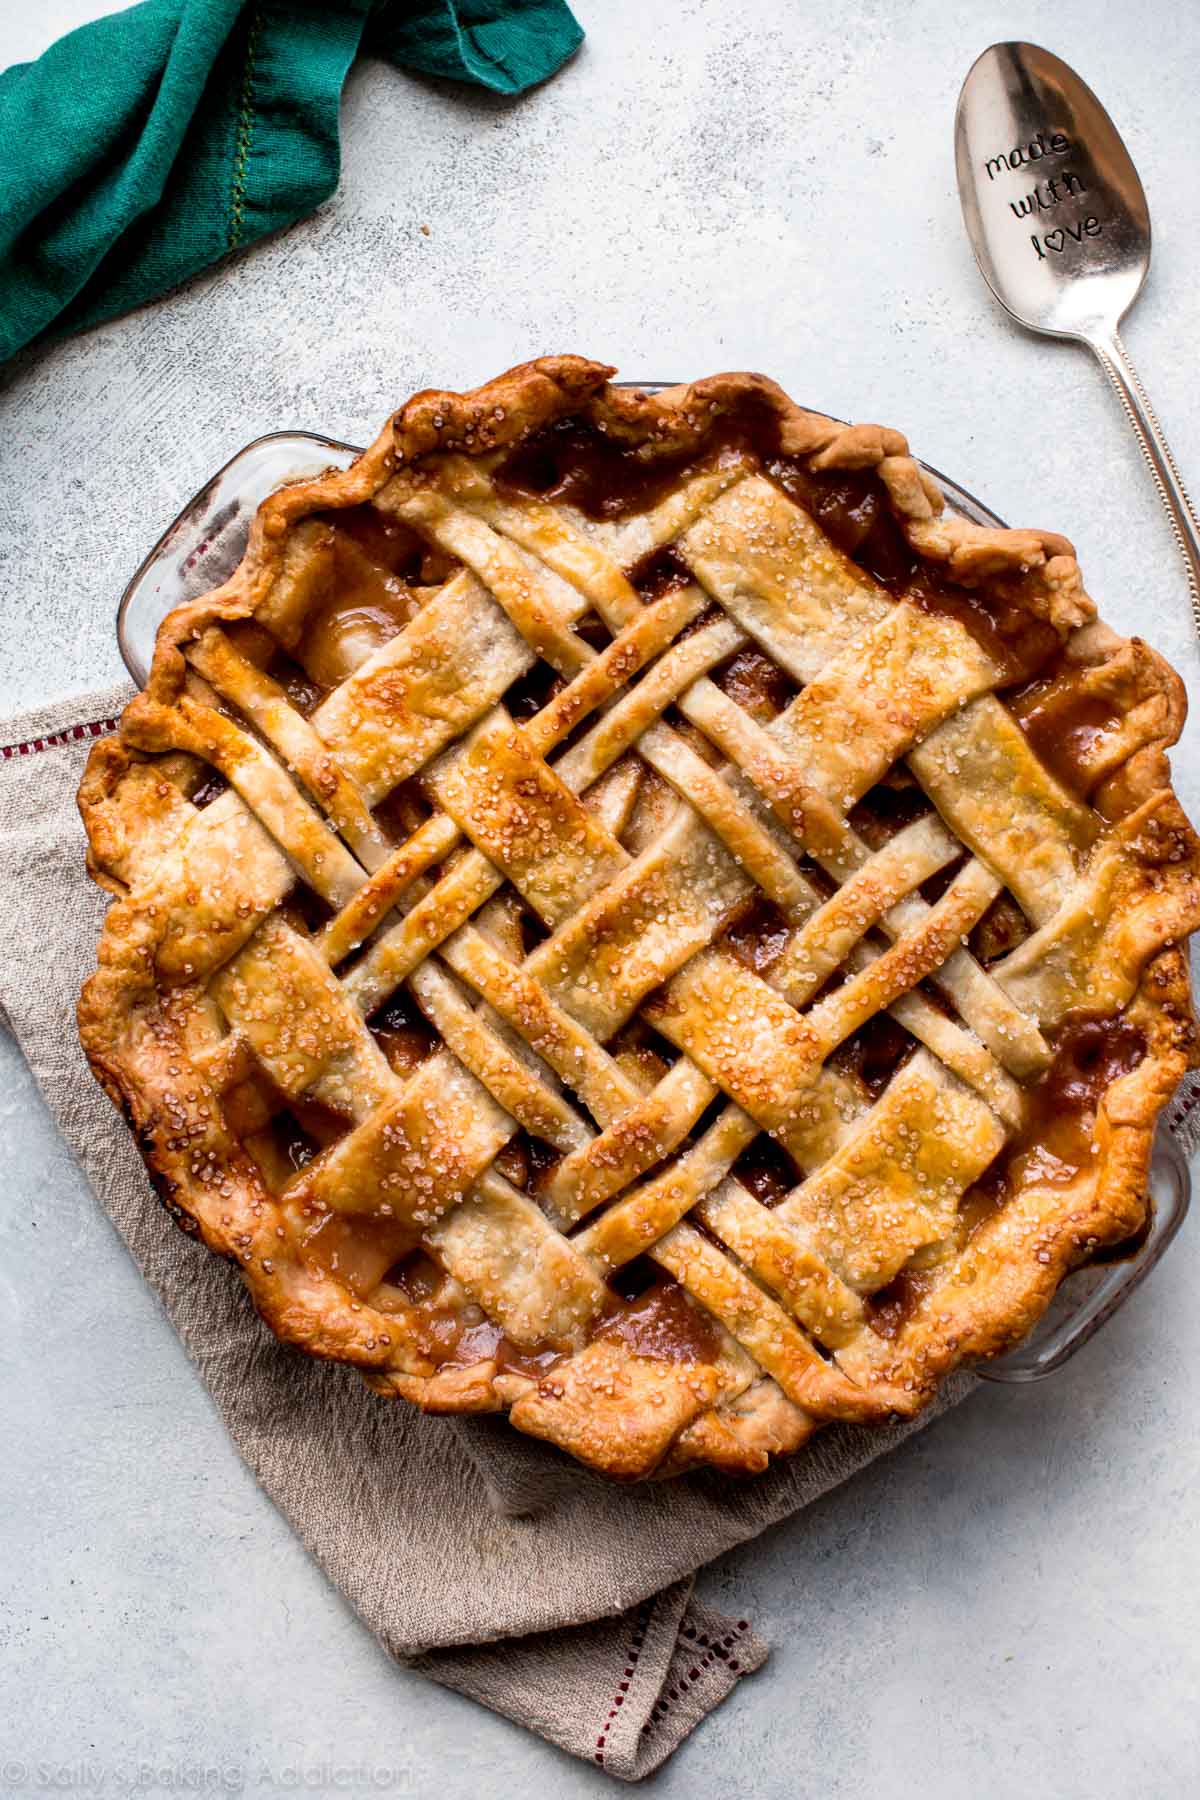
Well guess what, APPLES. Anything you can do, pears can do… better. Hard to believe, but this caramel pear pie shows apple pie who’s boss.
What’s So Great About Pear Pie!?
Pears have this incredible buttery/silky texture that contrasts beautifully with a crisp and flaky pie crust. After the pear pie bakes and cools down, the pears settle into a tender-crisp texture. They’re soft, yes, but not mush. Rather, they have a little bite—especially if you slice them on the thick side.
Plus anything’s delicious covered in cinnamon, sugar, and caramel.
The BEST Pears for Pie
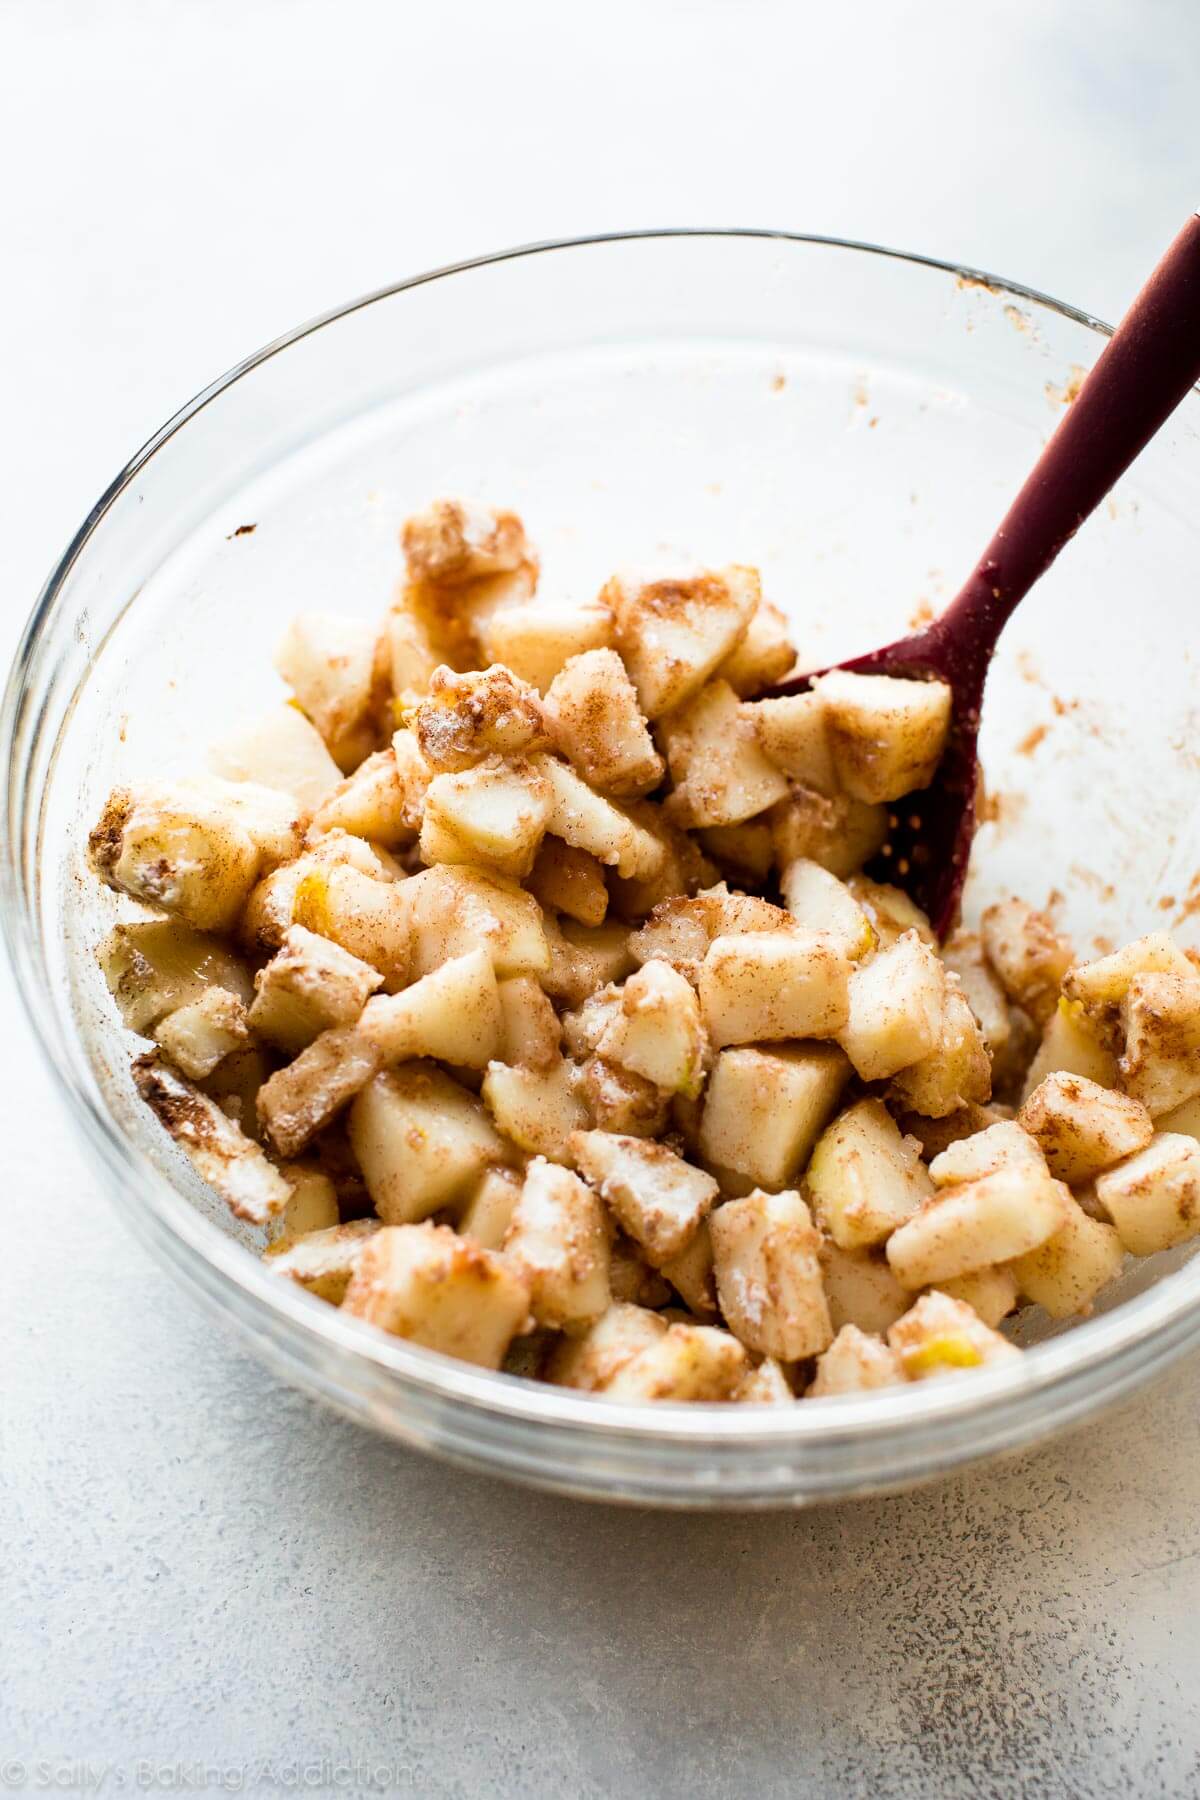
I like to use Anjou (red or green), Bartletts (red or green), or Bosc pears in pie. To avoid a mushy filling, look for pears that are slightly firm. Your best bet is to purchase about 6-7 pears, then let them sit in a paper bag for 1-2 days to slightly ripen. Much longer than this and they’ll be too soft. You’ll only need about 5 pears for the pie, but I suggest picking up an extra in case any develop soft spots. (And a few more to make maple baked pears, too!)
Peel the pears, then cut them into (about) 1/2-inch chunks. You’ll mix the pears with sugar + cinnamon, and flour to thicken. A pinch of ground ginger adds that little something special, while a waterfall of caramel adds a BIG SOMETHING SPECIAL.
By the way, if you love pears and ginger together, try this ginger pear galette next.
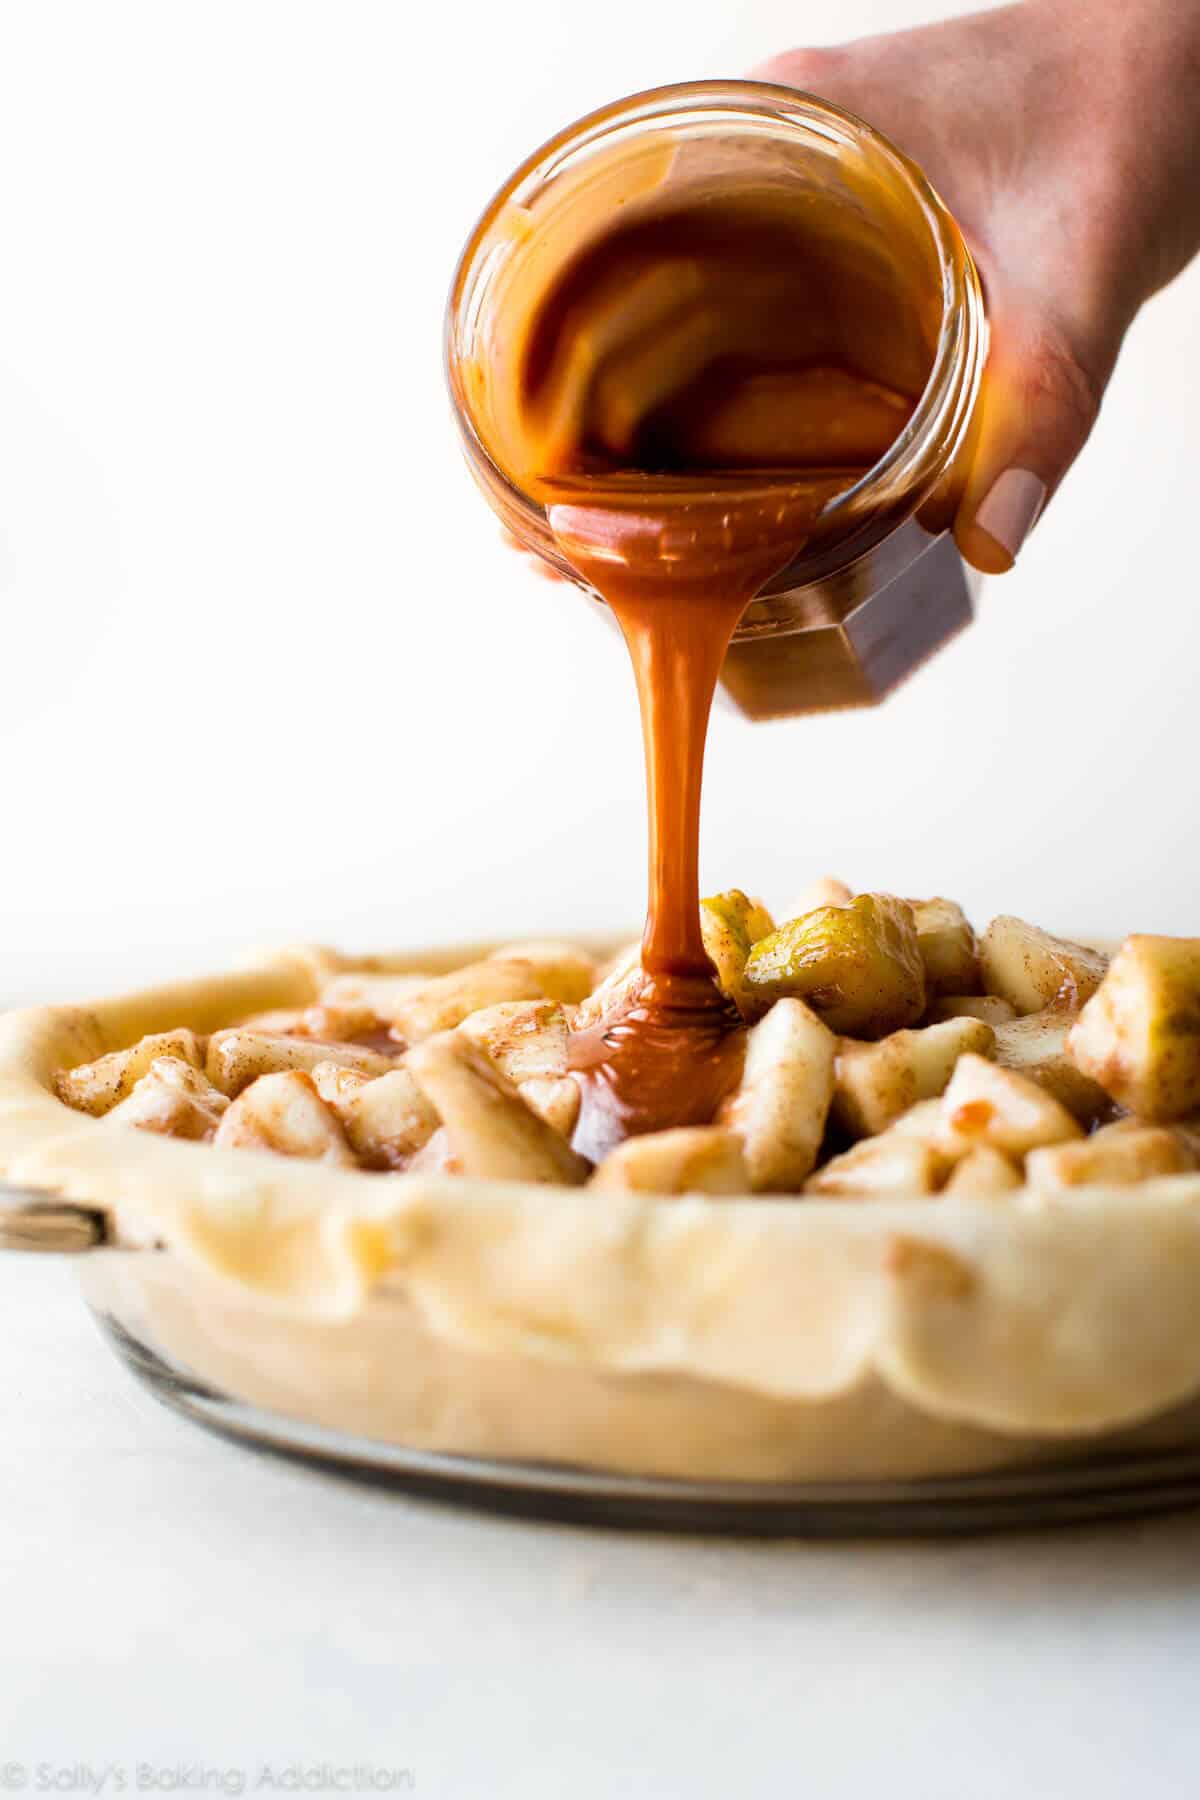
Because if caramel’s divine with apples, it’s gotta be great with pears—right? Add about 1/2 cup of homemade caramel to the pear filling. Just pour it right on top so it sinks into every crevice. I use my salted caramel, though I reduce the salt slightly. See my recipe note about the caramel.
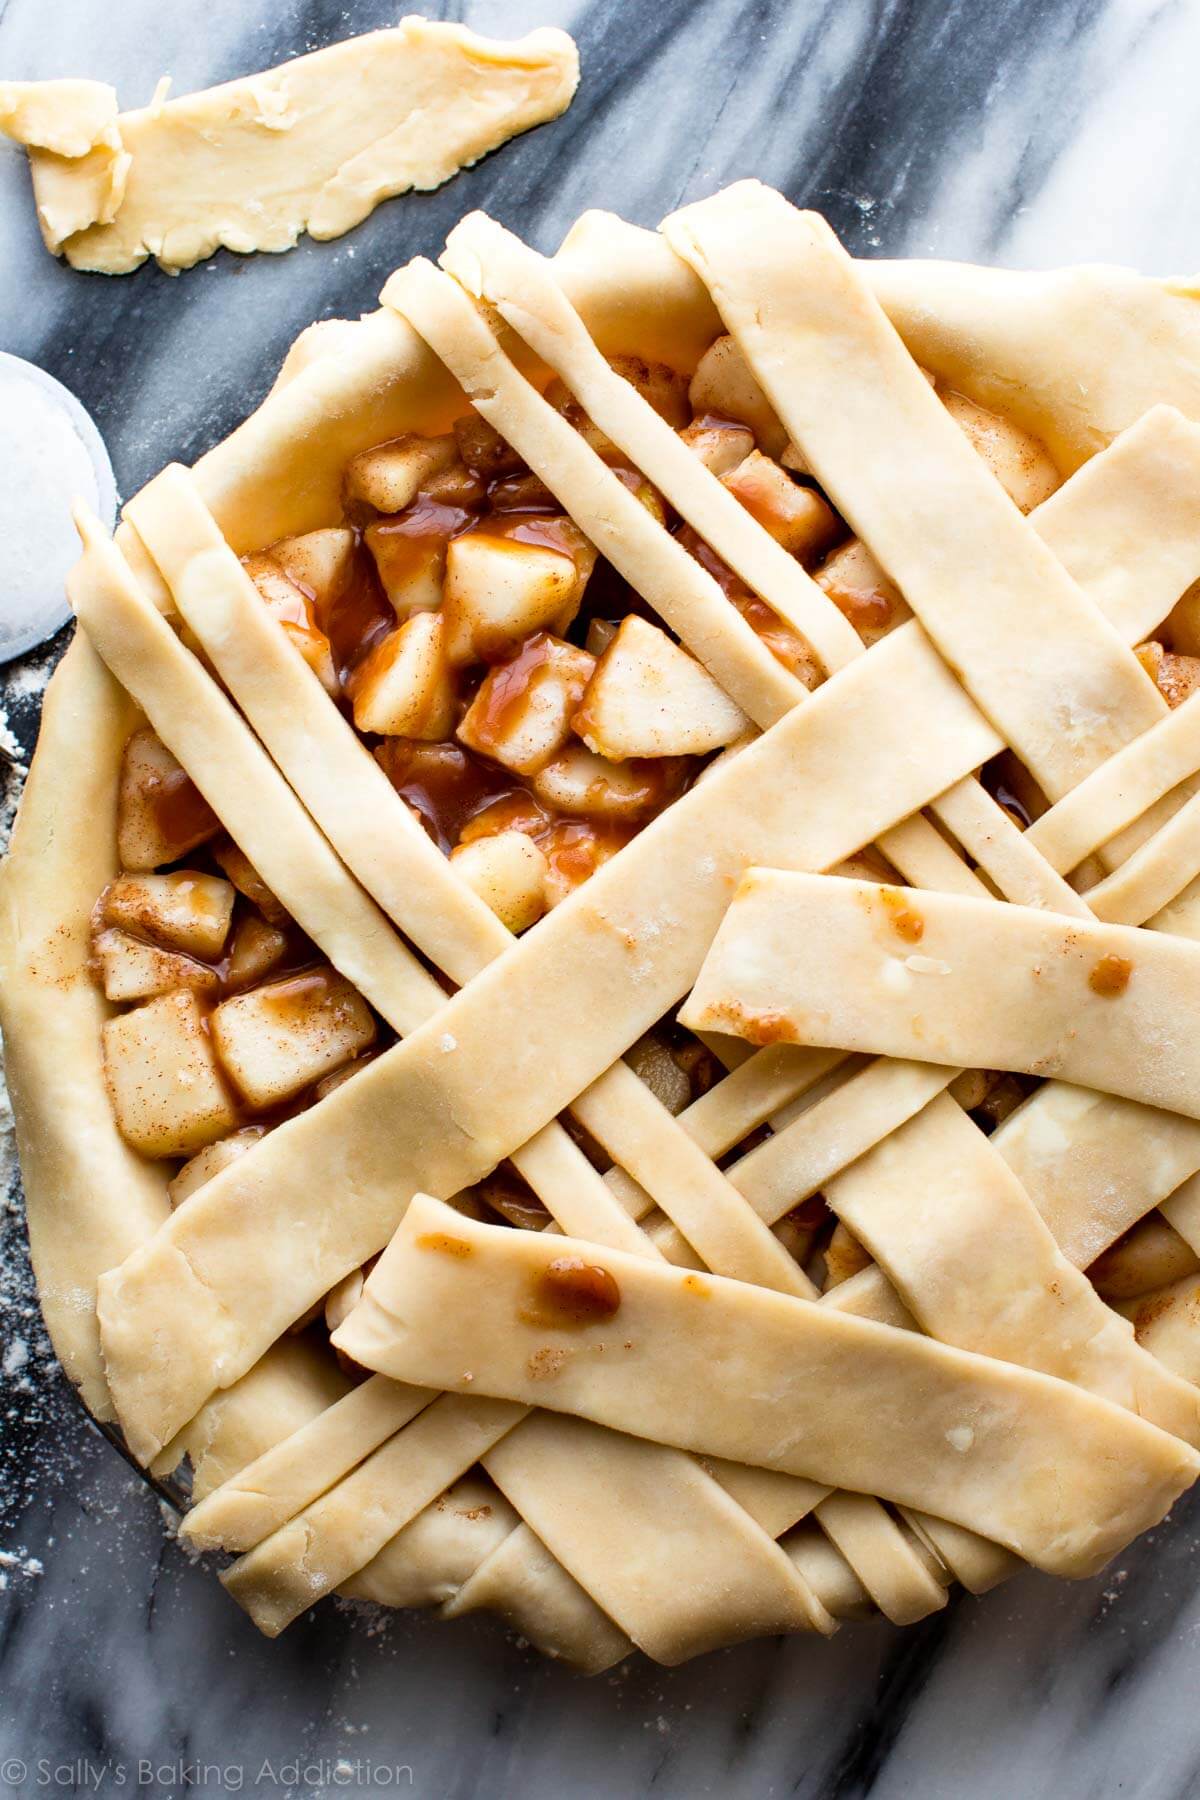
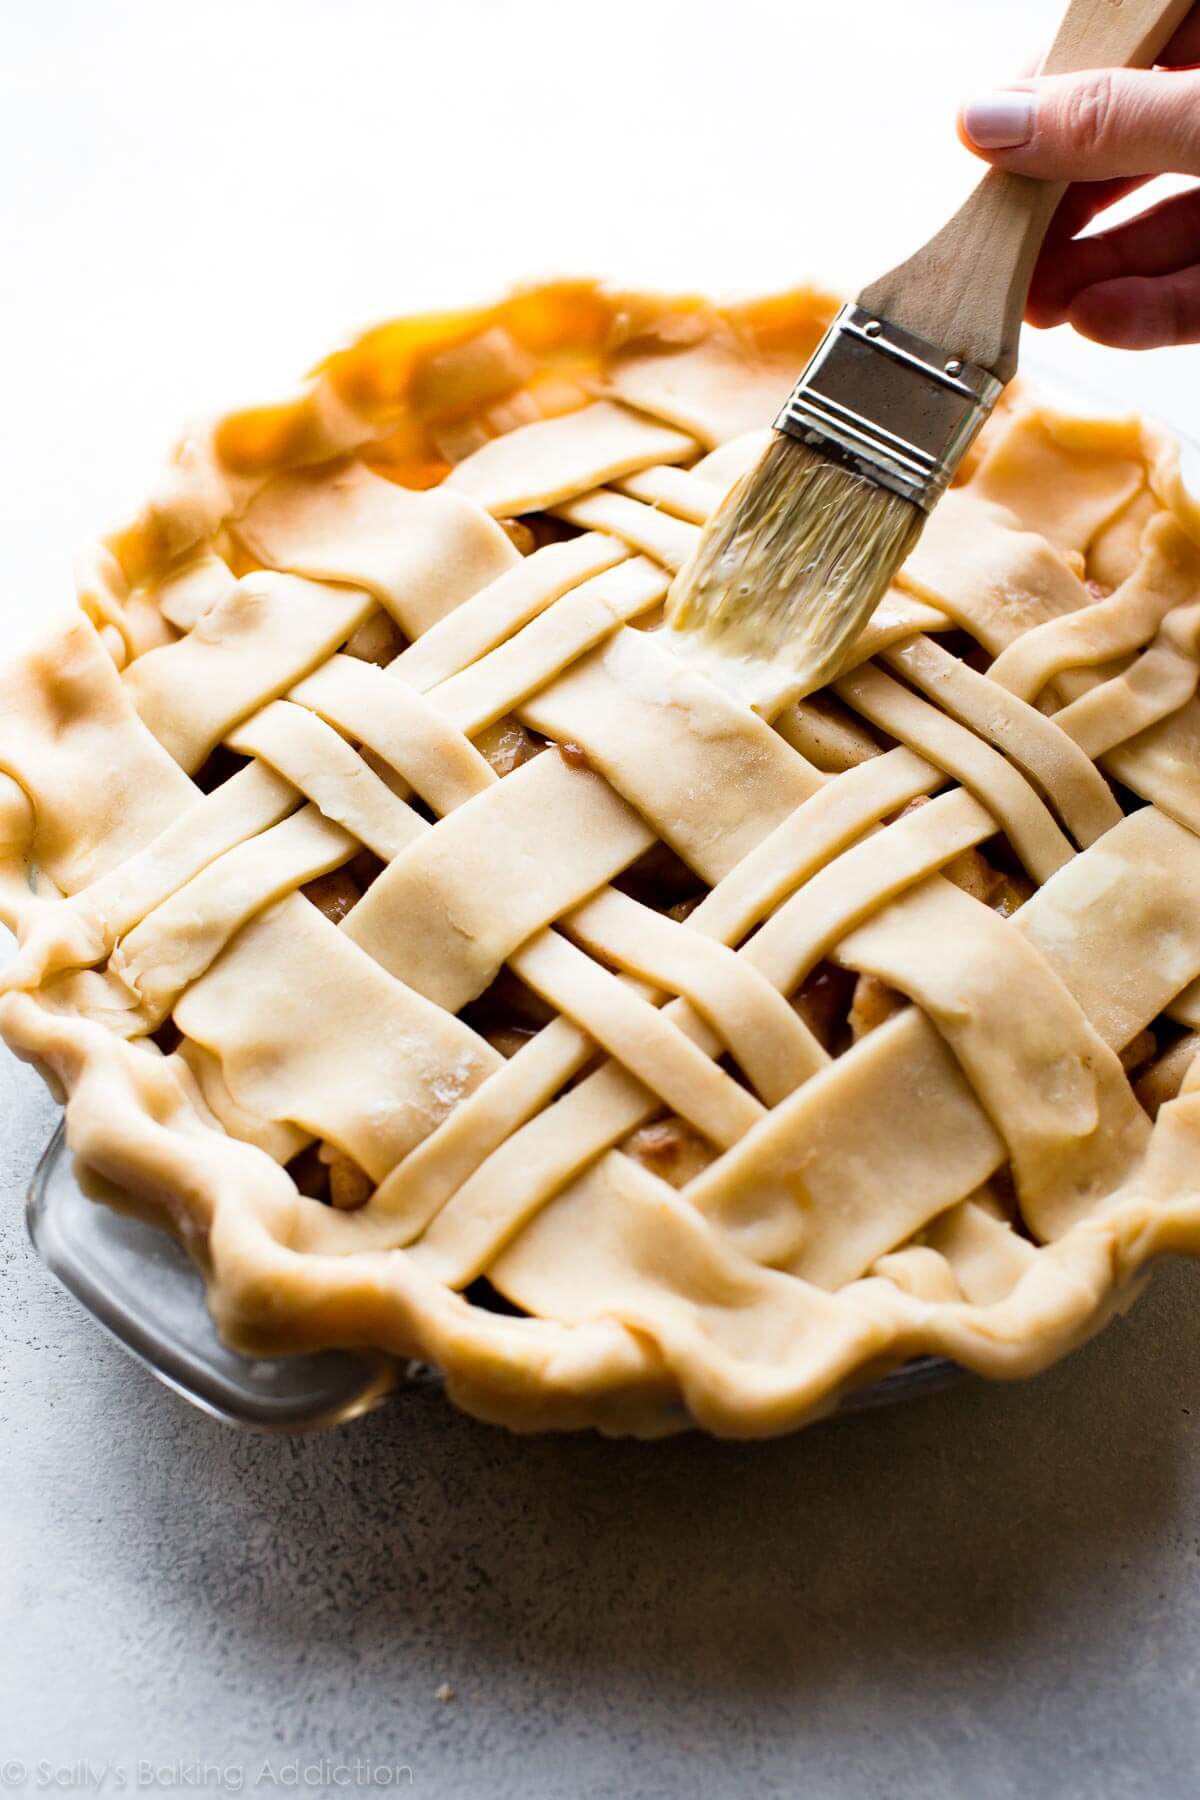
The caramel pear filling is nestled under a lattice pie crust topping. Top the pie with any pie crust design you’d like, but I prefer a lattice here. You can spy the gorgeous pears and caramel sauce bubbling up that way.
Here’s some pie crust design insPIEration. 😉 And here is my complete tutorial on how to crimp and flute pie crust. Everything you need for pie success!
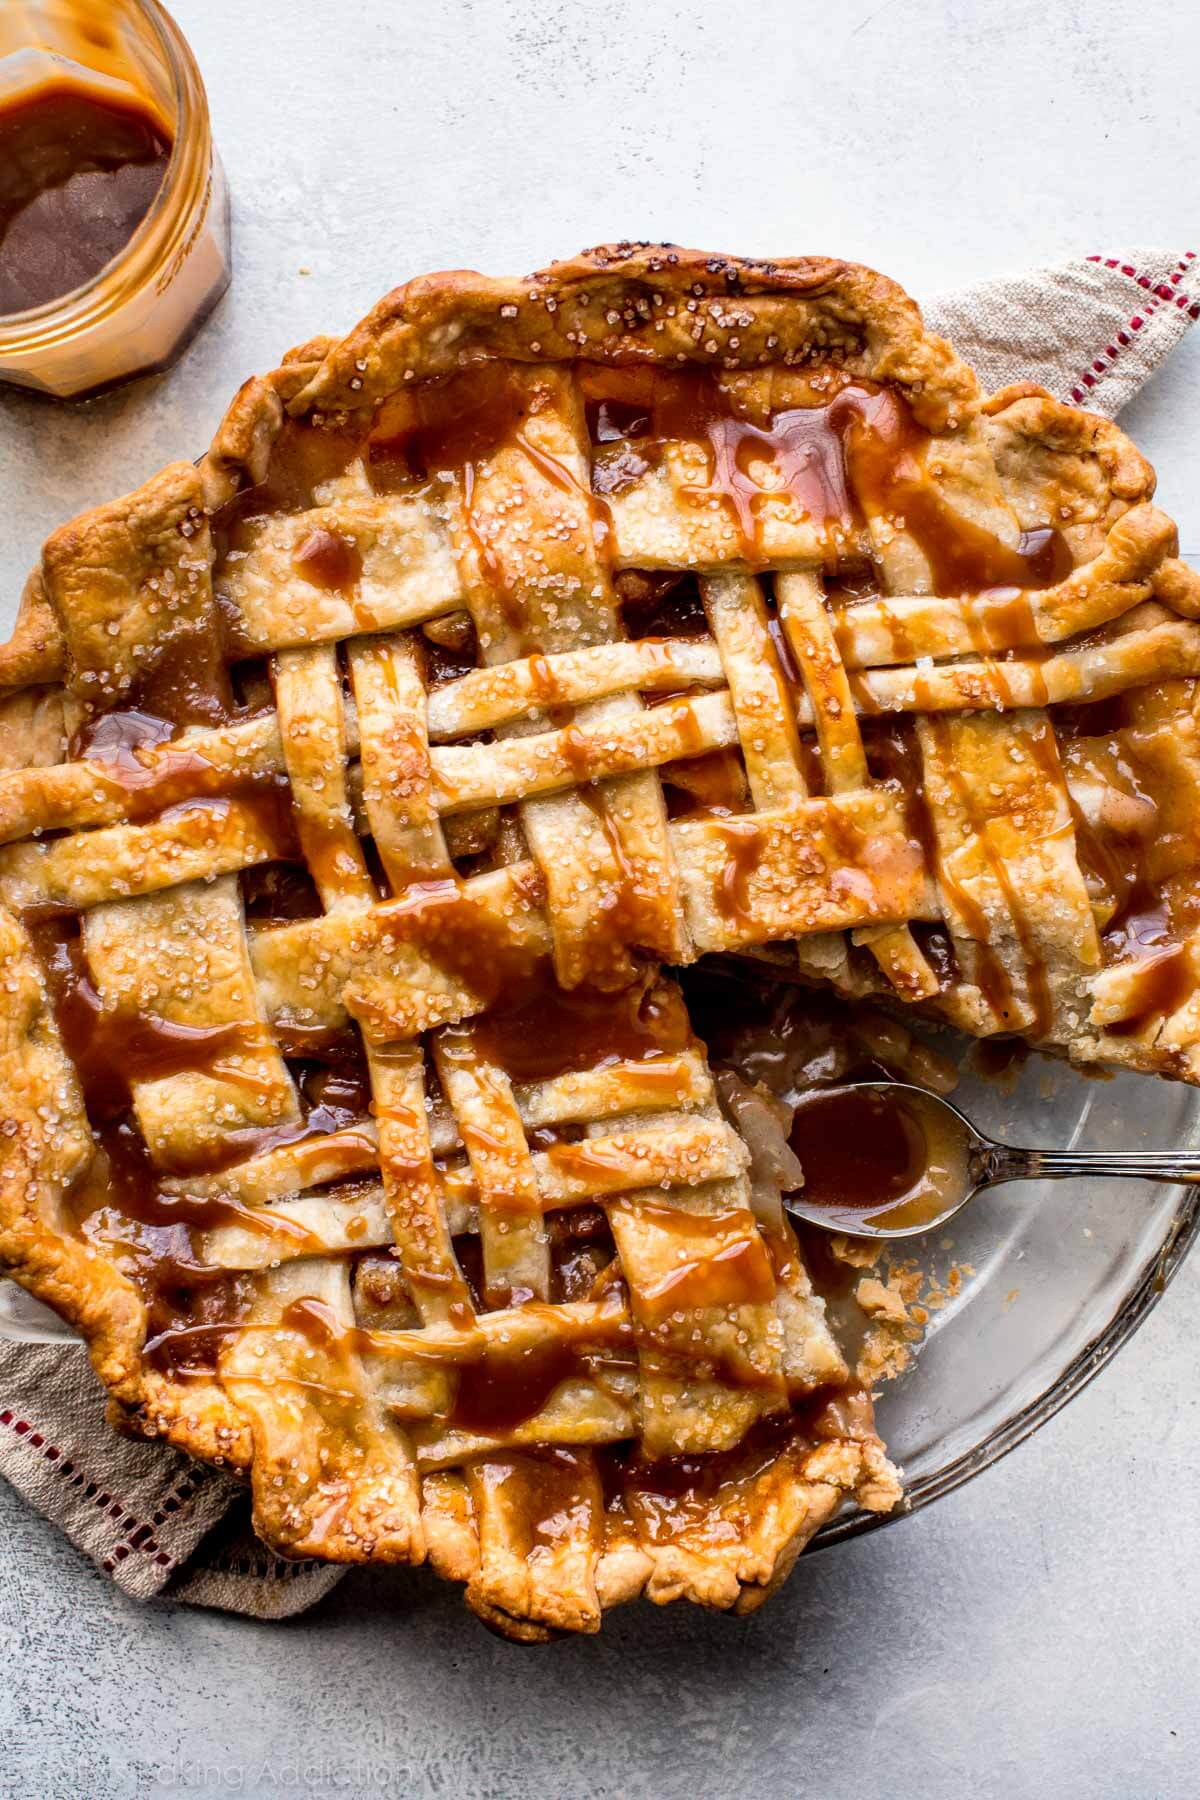
Some people are stuffing people, some are turkey people, some might be into cranberry sauce, and others just show up for the Thanksgiving pies. I know where we all stand.
This recipe is part of Sally’s Pie Week, an annual tradition where I share a handful of new recipes that fit into the pie/crisp/tart category. Join the community below!
Print
Caramel Pear Pie
- Prep Time: 3 hours
- Cook Time: 1 hour
- Total Time: 7 hours
- Yield: 8-10 servings
- Category: Pie
- Method: Baking
- Cuisine: American
Description
Sweet and succulent cinnamon pear pie with homemade caramel and a buttery pie crust.
Ingredients
- Homemade Pie Crust (my recipe makes 2 crusts; 1 for bottom 1 for top)
- 6 cups (1020g) 1/2-inch chunks of peeled pears (about 5 pears)
- 1/2 cup (100g) granulated sugar
- 1/4 cup (31g) all-purpose flour (spooned & leveled)
- 1 teaspoon ground cinnamon
- 1/4 teaspoon ground ginger
- 1 Tablespoon (15ml) lemon juice*
- 1 cup salted caramel (full recipe)*
- egg wash: 1 large egg beaten with 1 Tablespoon (15ml) milk
- optional: coarse sugar for sprinkling on crust
Instructions
- The crust: Prepare my pie crust recipe through step 5.
- Make the filling: Stir the pears, granulated sugar, flour, cinnamon, ginger, and lemon juice together in a large bowl. Set filling in the refrigerator as the oven preheats.
- Preheat oven to 400°F (204°C).
- Roll out the chilled pie dough: On a floured work surface, roll out one of the discs of chilled dough (keep the other one in the refrigerator). Turn the dough about a quarter turn after every few rolls until you have a circle 12 inches in diameter. Carefully place the dough into a 9-inch pie dish. Tuck it in with your fingers, making sure it is smooth.
- Spoon the filling into the crust, leaving any excess liquid in the bowl (you don’t want that in the filling—discard it). Drizzle 1/2 cup of salted caramel evenly on top. Stick the pie in the refrigerator as you work on the top crust.
- Arrange the lattice: Remove the other disc of chilled pie dough from the refrigerator. Roll the dough into a circle that is 12 inches diameter. Using a sharp knife or pizza cutter, cut ten 1-inch strips. (I cut four of the strips in half, as you can see above.) Remove the pie from the refrigerator and carefully thread the pie dough strips over and under one another to create the look in the pictures pie, pulling back strips as necessary to weave. Press the edges of the strips into the bottom pie crust edges to seal. Use a small knife to trim off excess dough. Flute the edges or crimp with a fork. (Alternatively, you can simply cover the filling with the 12-inch pie dough circle. Cut slits in the top to form steam vents. Trim and crimp the edges. See my how to crimp and flute pie crust tutorial for extra help with this step.)
- Lightly brush the top of the pie crust with the egg wash mixture and sprinkle with coarse sugar, if desired.
- Place the pie onto a large baking sheet and bake for 20 minutes. Keeping the pie in the oven, turn the temperature down to 350°F (177°C) and bake for an additional 30-35 minutes. After the first 20 minutes of bake time, I place a pie crust shield on top of the pie to prevent the edges from browning too quickly.
- Allow the pie to cool for 3 full hours at room temperature before serving. This time allows the filling to thicken up. Before serving, drizzle leftover caramel on top of pie or on each slice. Cover leftovers tightly and store in the refrigerator for up to 5 days.
Notes
- Make Ahead / Freezing Instructions: A couple ways to make ahead of time! Make 1 day in advance– after it cools, cover tightly and keep at room temperature. The pie crust dough can also be prepared ahead of time and stored in the refrigerator for up to 5 days or in the freezer for up to 3 months. Baked pie also freezes well for up to 3 months. Thaw overnight in the refrigerator and allow to come to room temperature before serving. Prepared filling can also be frozen up to 3 months, thaw overnight in the refrigerator before using.
- Special Tools (affiliate links): Glass Mixing Bowl | Rolling Pin | 9-inch Pie Dish | Pizza Cutter | Pastry Brush | Coarse Sprinkling Sugar | Baking Sheet | Pie Crust Shield
- Lemon Juice: A squeeze of fresh lemon brightens up the overall flavor of the filling. You won’t regret adding it!
- Caramel: I use my homemade salted caramel in this pie. I reduce the salt to 1/2 salt so that it’s a sweeter caramel. You can leave it as salted caramel if you prefer.


This was delicious!!!
The pie was really yummy, but like some other commenters said, mine did not set. I left out as much liquid from the filling as I could. I wonder if my pears were just a little too ripe. They weren’t soft, but they were juicy when I cut into them. Also, I made the caramel sauce the day before and warmed it up before adding it to the pie filling. Was it supposed to sit on top of the pear mixture? Mine did not incorporate much into the filling, which made topping with a lattice pie crust a bit difficult because the dough pieces kept sticking to the caramel sauce and tearing apart as I tried to weave the pieces. So, all that to say, flavor was 5 stars, but assembly and technicalities were about 3 stars.
Came out great i have a larger deep pie dish so did extra pears and a few apples(conference & gala).
I left the pear mixture in the fridge for two hours and was surprised by the amount of liquid produced but as instructed i discarded all the liquid so no mush also as i was using a larger dish i used all of the caramel in the filling.Served this with two options straight double/heavy cream or thick Greek ginger and honey yoghurt.
It was an absolute hit.
Could this pie be made with a mixture of apples and pears?
Yes! You can use half apples and half pears. We would slice them all up into chunks, as we instruct with these pears. You can make the apple chunks a bit smaller since larger chunks will take longer to cook.
the pears were ROCK hard – I would suggest a small amt of cooking time prior to adding to the pie – If the pears are too soft going into the pie they are mush – it is a definite balancing act – If you have the PERFECTLY just before ripe pear your good to go – that is a 24 hour window lol. otherwise pie was delicious!!!
Everything about this pie seemed great, but the pie did not set. For whatever reason, even though I baked it longer the the recommended time, the contents are a mix of perfectly
cooked pear and water brown liquid.
The recipe states prepared filling can be frozen up to 3 months, thaw overnight in the refrigerator before using. It also mentions in the instructions to spoon the filling into the crust, leaving any excess liquid in the bowl. Should you leave behind the excess liquid from the filling prior to freezing?
Hi Zoe, yes, we’d leave behind the excess liquid prior to freezing as well. Then be sure to leave behind any excess liquid that comes from thawing the filling, too. Hope this helps!
Sally, you’ve done it again! Whenever I am looking to try a new pie I always look at your website first. Your recipe’s are consistently good and turn out perfect every time. This pear pie was no different. First time trying a pear pie and it was delicious. Not too sweet, which my family loves. Thank you and keep the pie recipes coming!
Thank you for making and trusting our recipes, Michelle!
The recipe is working very well. Thanks :-).
This turned out so good! Everyone loved it!
Not a baker and it was my first take at baking a pie. I brought a bunch of pears from the Okanagan region of BC and this was definitely the best way to utilize them. The pie was DELICIOUS. Followed the recipe step by step, including the crust. It was the flakiest crust I’ve ever come across. Caramel was surprisingly easy to make and even on it’s own it was outstanding. I’ve doubled the amount of fresh ground ginger as I’m a spice lover, and it worked really well. The only thing that I had to alter is I kept it in the oven for about 20 mins longer than specified in the recipe as the top crust was not browning at all. The bottom crust was not sturdy, wondering if I still underbaked it a bit. Everyone’s oven is different, I will keep practicing but definitely saving this one.
Made it today for my kids and girlfriend today.
This looks so wonderful! I was wondering if I could used canned pears instead? I have several jars that I need to use up and have no clue what else to make! Thanks!!
Hi Madi! It’s really best to use fresh fruit for this pie.
It was delicious! Best pie ever
Love this pie so much but was wondering how it taste after being frozen and thawed. Planning on making it again for a big family dinner but i only have time to make it about four days in advance. Does freezing making the filling more watery when thawed?
Hi Cassidy! We’ve had great experience freezing and thawing pies in the past, that should work just fine. Hope the pie is a hit!
I have made a pear pie before and the pears were so hard it was not enjoyable too eat. I haven’t made one since, but I love pears. What kind of pears should I use for this pie. Is there such a thing as a baking pear like with apples?
Hi JJ! See the blog post above for details on the best pears to use: I like to use Anjou (red or green), Bartletts (red or green), or Bosc pears in pie. To avoid a mushy filling, look for pears that are slightly firm. Your best bet is to purchase about 6-7 pears, then let them sit in a paper bag for 1-2 days to slightly ripen. Much longer than this and they’ll be too soft. You’ll only need about 5 pears for the pie, but I suggest picking up an extra in case any develop soft spots. Make sure they aren’t too hard before beginning!