Starting with a simple homemade dough, these cheesy pretzel twists are the ultimate comfort food snack or football food!
This recipe is brought to you in partnership with Red Star Yeast.

These cheesy pretzel twists are a snacktime sensation from their hot, buttery, golden exterior to all that glorious coarse salt and the moment you break it apart or take that huge giant bite… I think you know where I’m going with this…
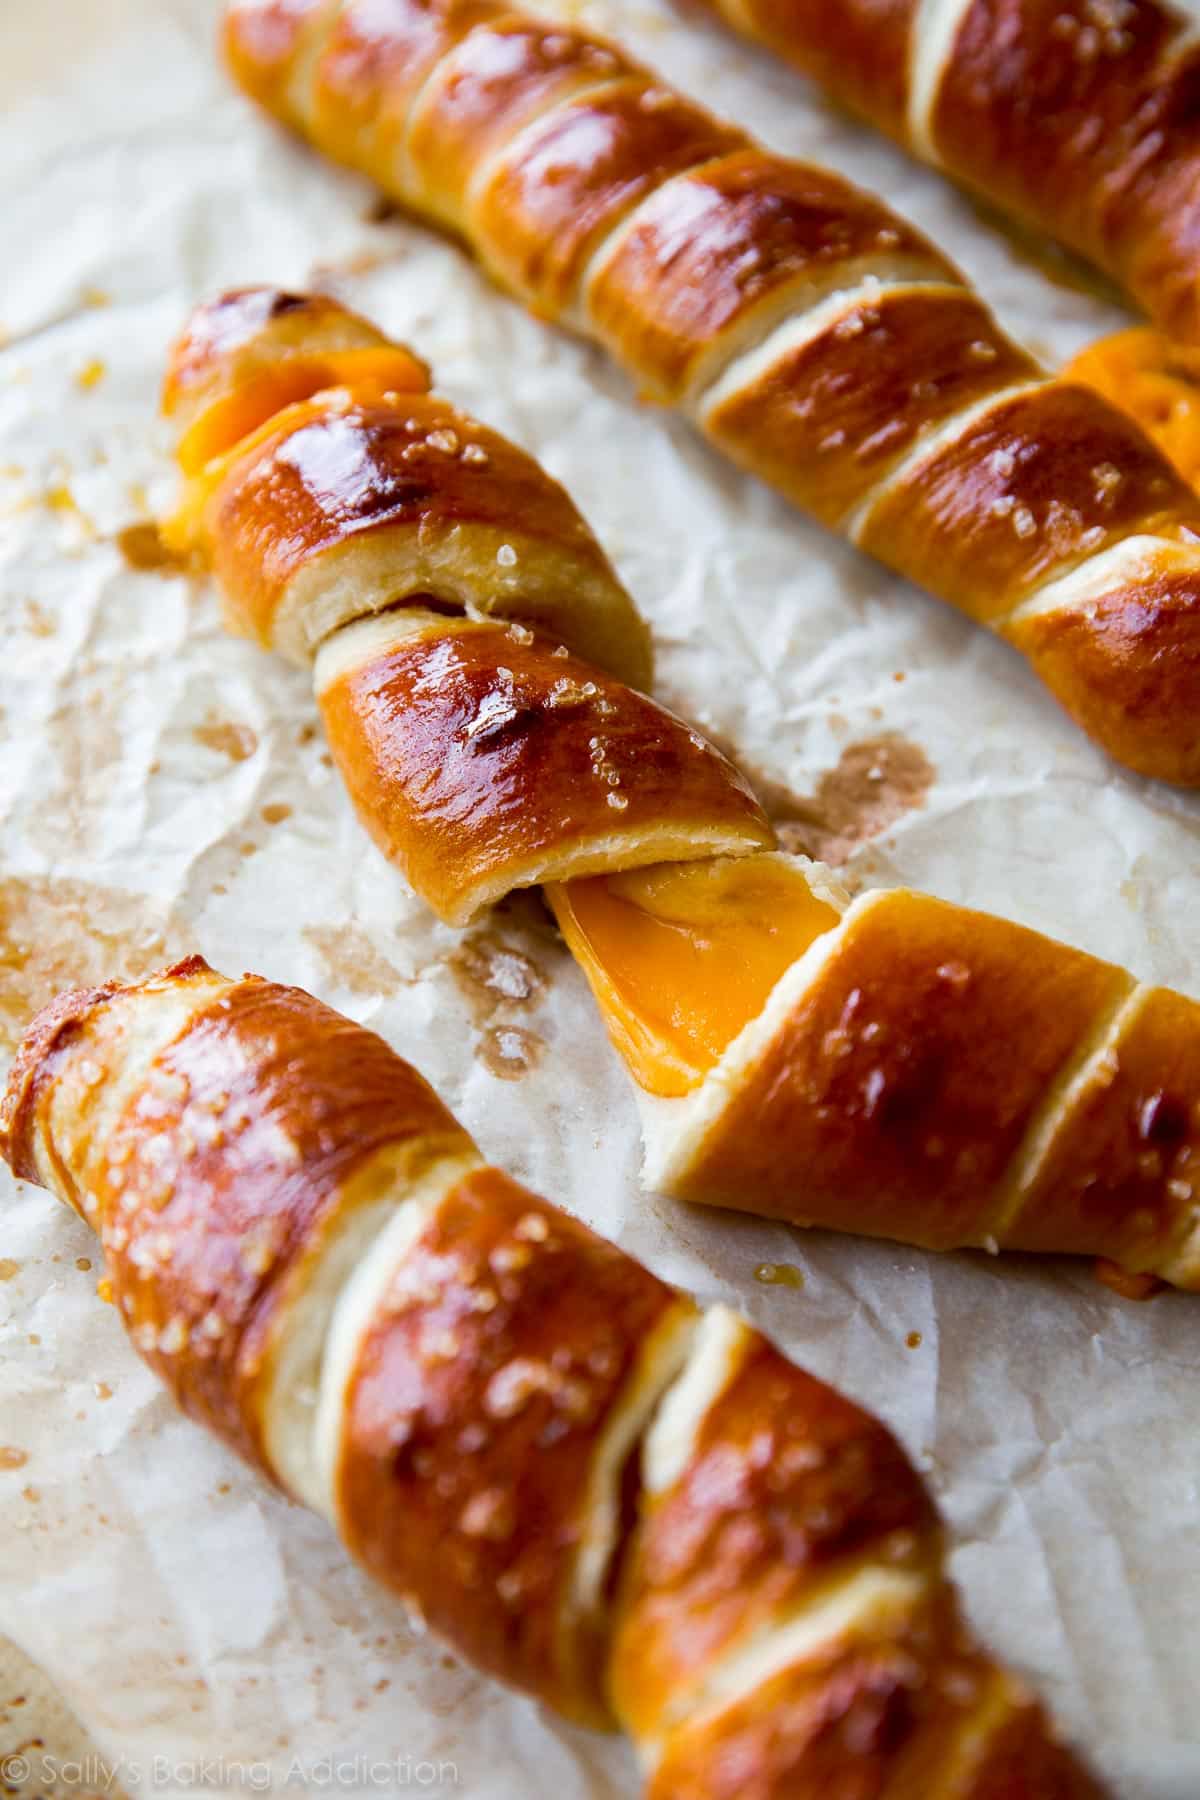
ALL THAT CHEESE! The best of surprises.
Have you ever made my recipe for regular homemade soft pretzels? It was one of the first recipes I ever published, only to be republished with step-by-step photos a few years later. It’s become one of the most reader-loved recipes on this website because the pretzels are delicious, relatively quick, and extremely easy. I even turned this dough into soft pretzel knots, soft pretzel bites, jalapeño cheddar soft pretzels, and soft pretzel rolls. Lots of ways to shape this wonderful dough, including twisted around cheese!
Baking with Yeast Guide
Reference this Baking with Yeast Guide whenever you work with baker’s yeast. I include practical answers to all of your common yeast questions.
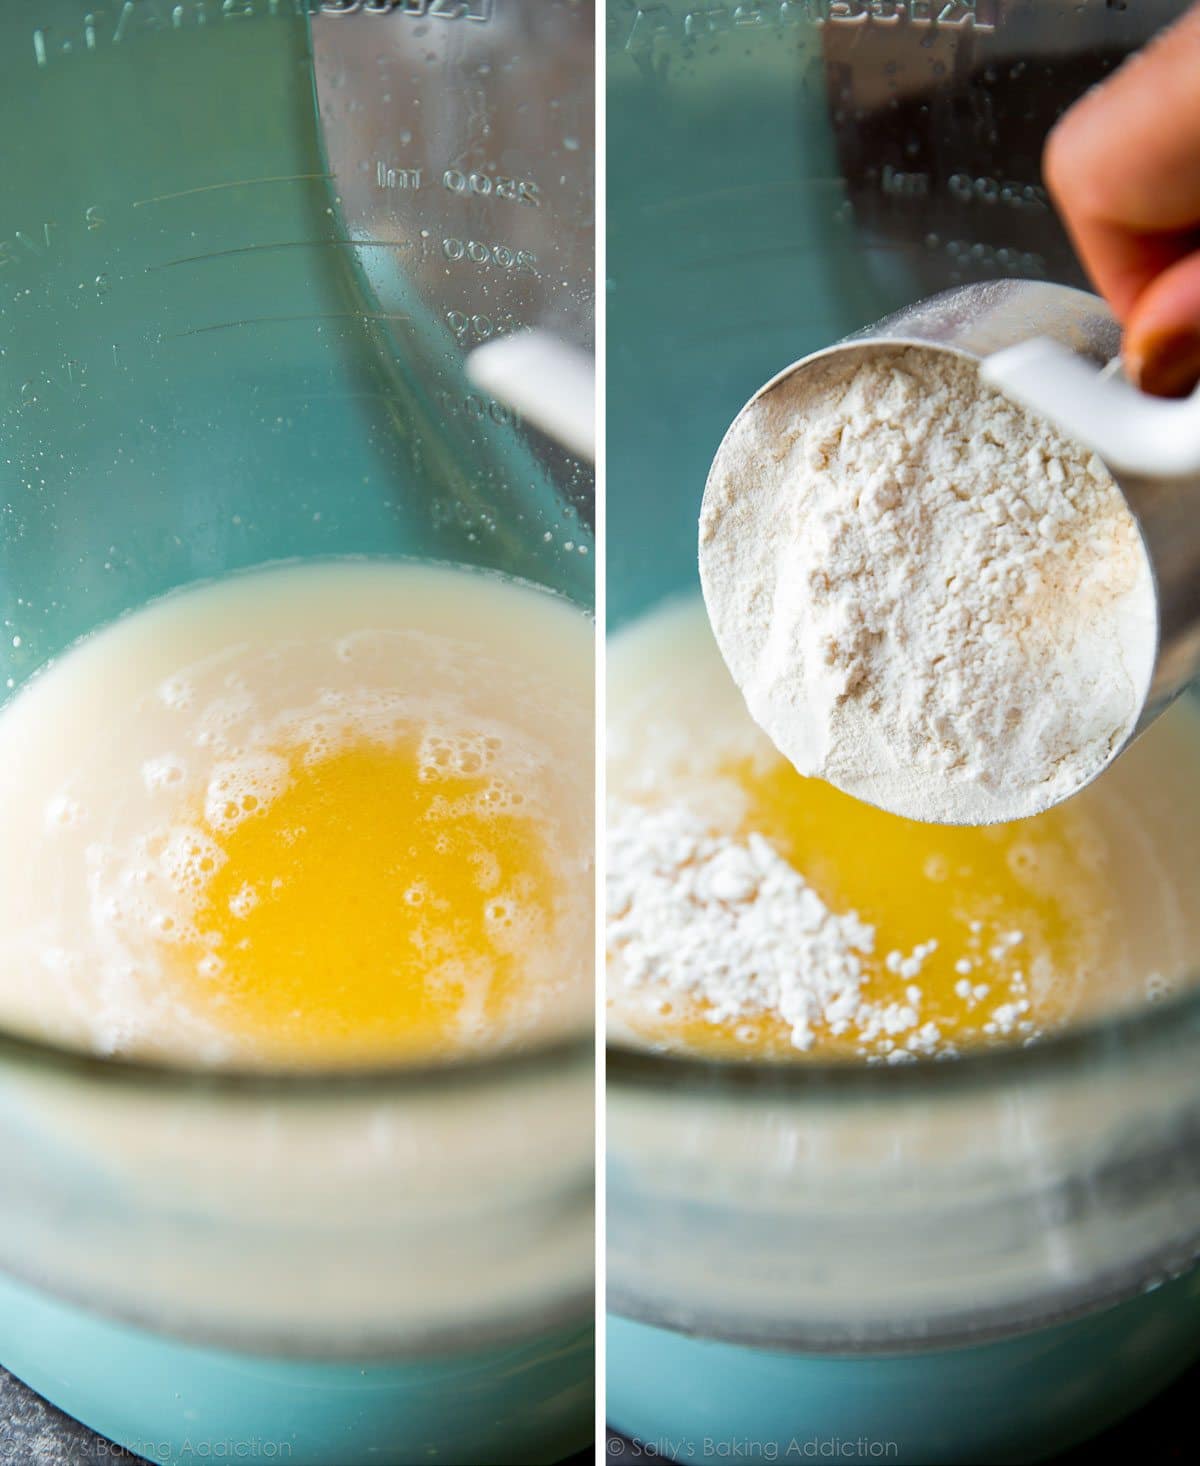
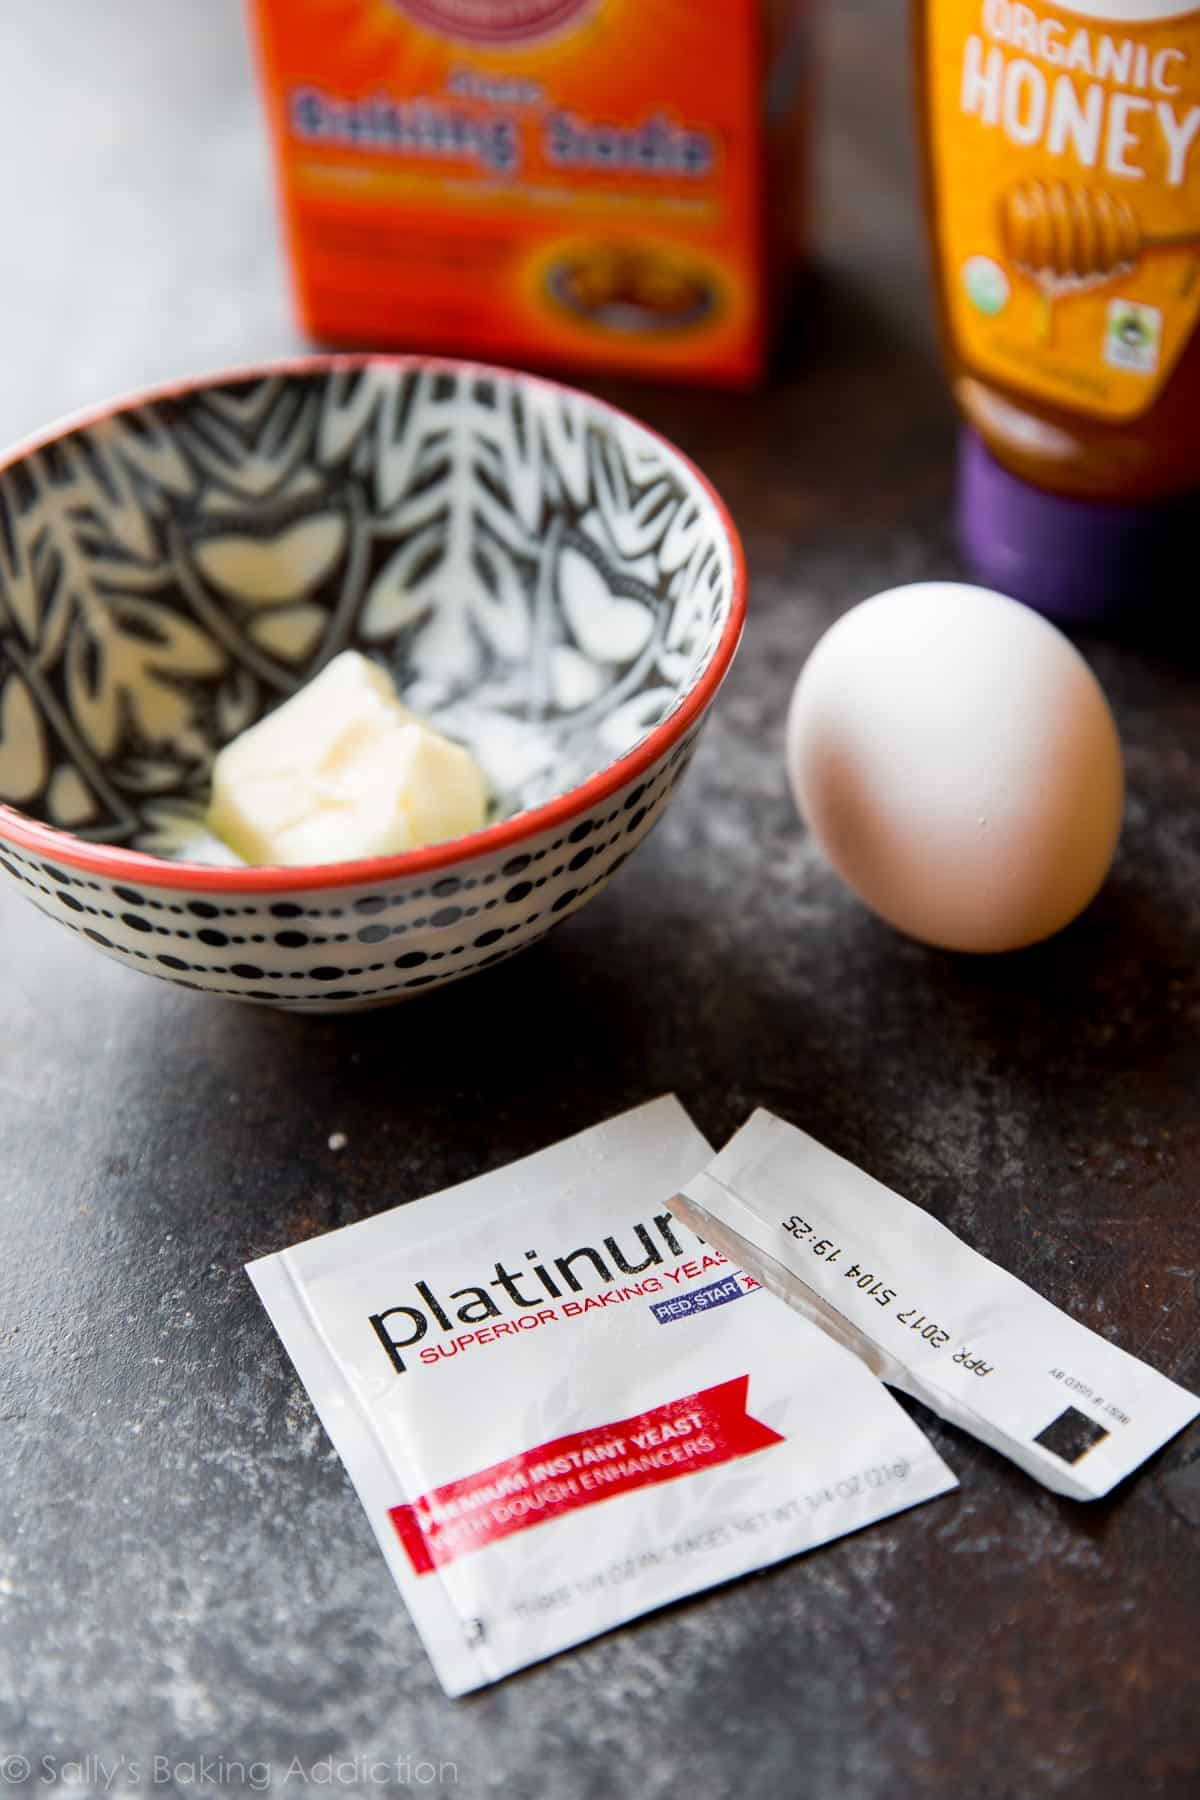
The dough is a basic and straightforward recipe. You’ll only need 6 ingredients to get things going. Start with warm water + yeast. I always use Platinum Yeast from Red Star in my bread recipes and the reason I always recommend it is because it’s a premium instant yeast with a difference that not only you can taste, you can see as well. Your pretzels, your rolls, your breads, your pizza dough—will puff up more. It makes working with yeast easy and your finished product absolutely fabulous.
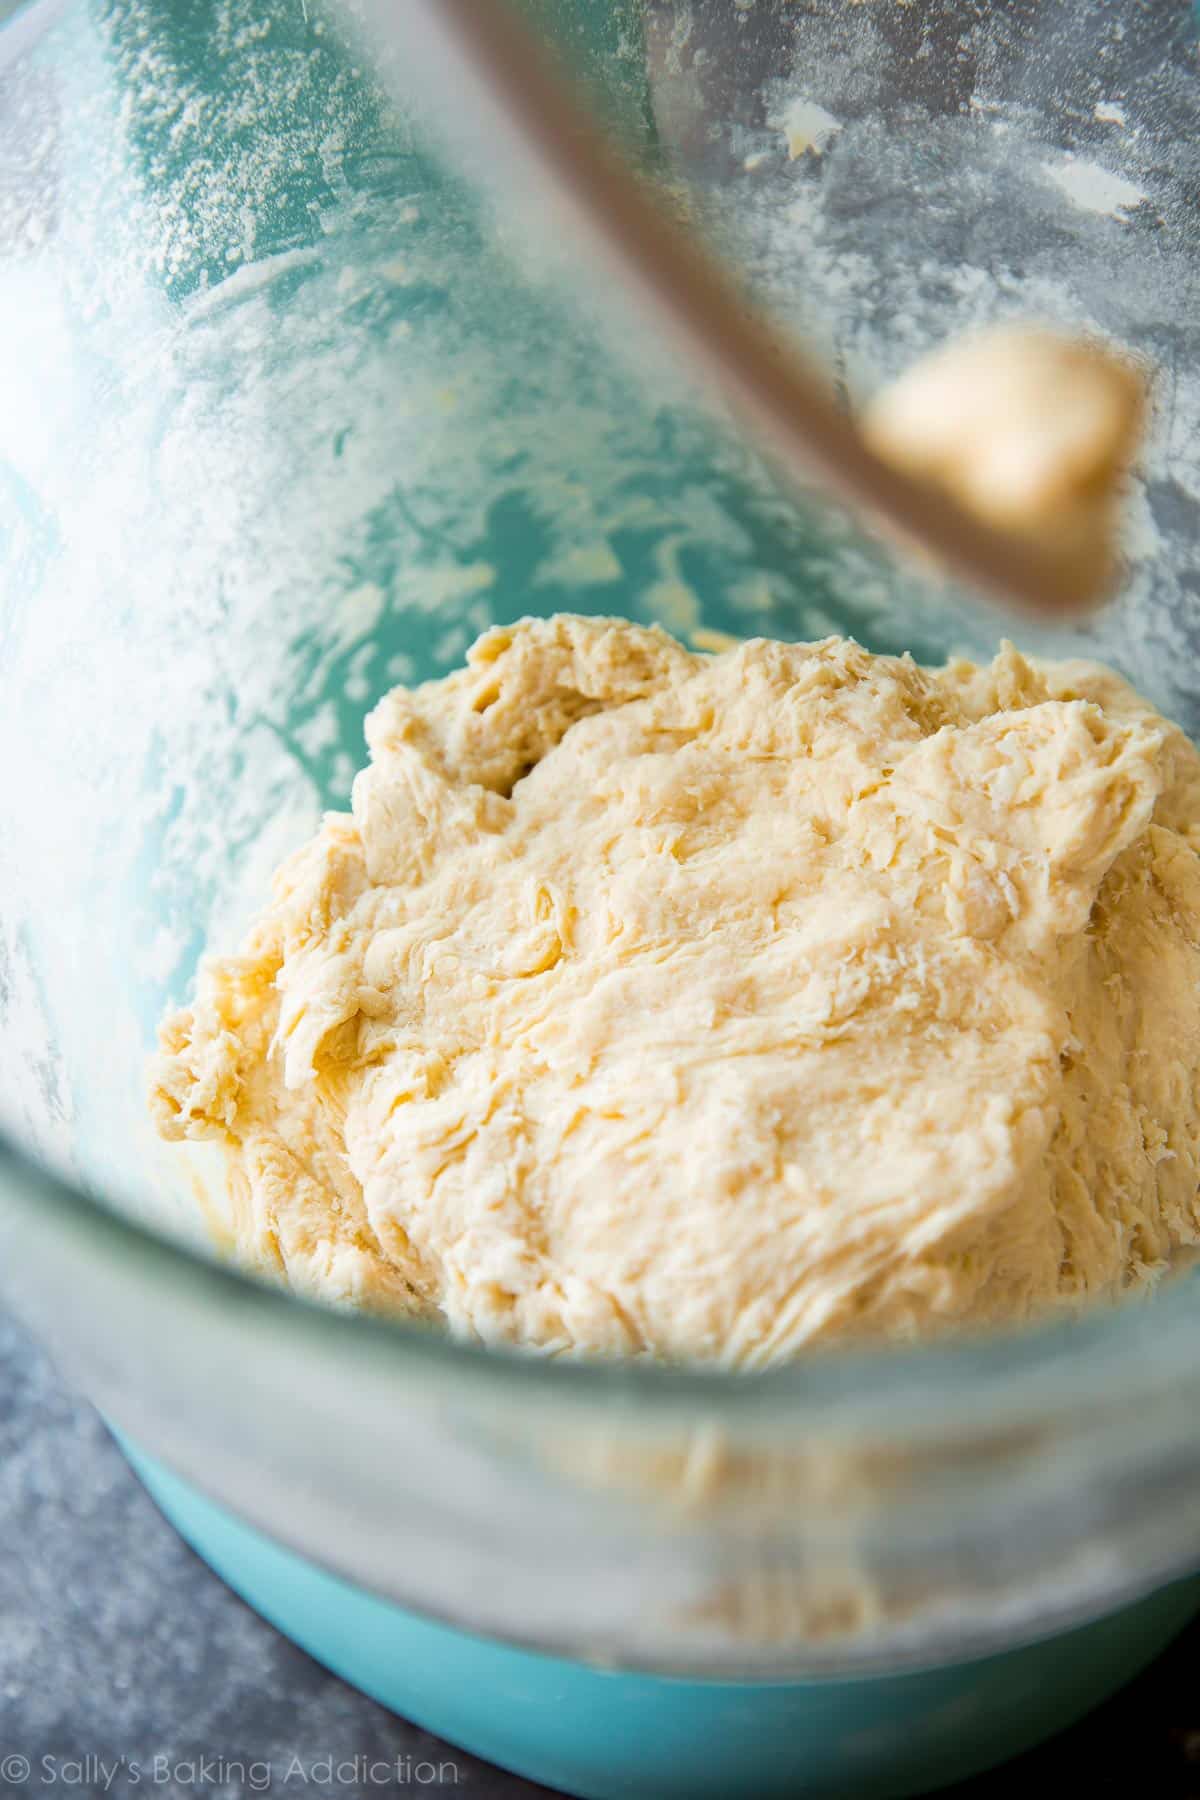
You can use a stand mixer to make and knead the dough, or you can use a mixing bowl with a wooden spoon and knead the dough by hand. If doing so by hand, my How to Knead Dough video tutorial will be a helpful resource.
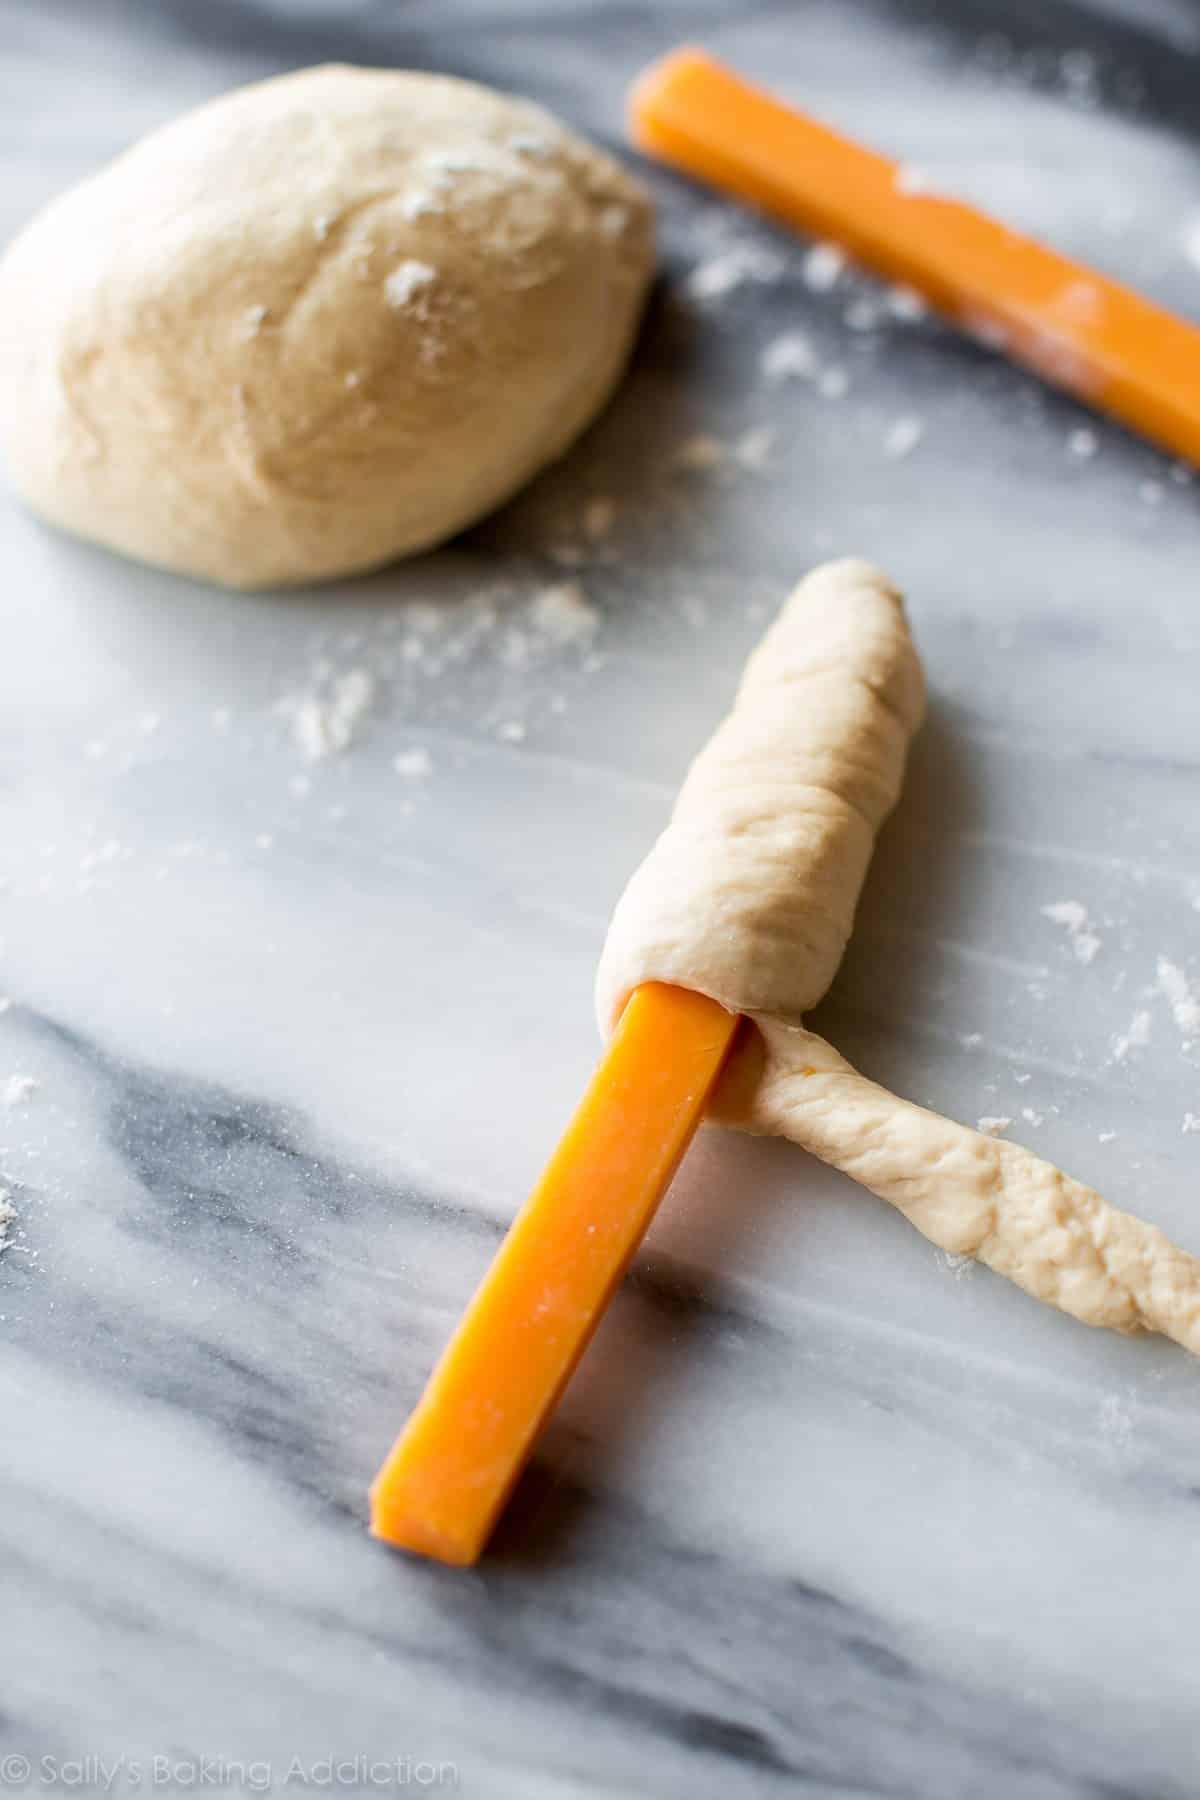
Once the dough is made, pull a little apart at a time, roll it into a log, then coil around a long piece of cheese. I usually use Sargento brand cheddar cheese sticks. String cheese works too, but you might need a little more dough because they’re a little fatter. You can make the pretzels as large or as small as you want—they’ll be the size of the cheese inside. So if you’re not using pre-cut cheese sticks or string cheese, you can slice the cheese however large you want. Keep in mind, though, the more cheese inside, the more likely the cheese will seep out in the oven.
The baking soda/alkaline bath is next. The difference between pretzel-shaped (or knot-shaped) bread and soft pretzels/soft pretzel knots is this baking soda bath. This is when shaped soft pretzel dough takes a dip in boiling water and baking soda, a surprisingly easy step that provides the iconic chewy pretzel texture and adds a deeper, richer color to the baked pretzels. The boiling water also locks in the shape so pretzels (or today’s pretzel twists) don’t over-puff in the oven. Without the baking soda bath, you lose texture, that deep brown color, and flavor. So, basically, you will have bread instead of a pretzel.
Another reason behind those crisp, shiny, chewy, golden brown pretzel exteriors? Add an egg wash. Just a simple brush of beaten egg after the baking soda bath and before baking will really make a difference. (Feel free to skip if desired.)
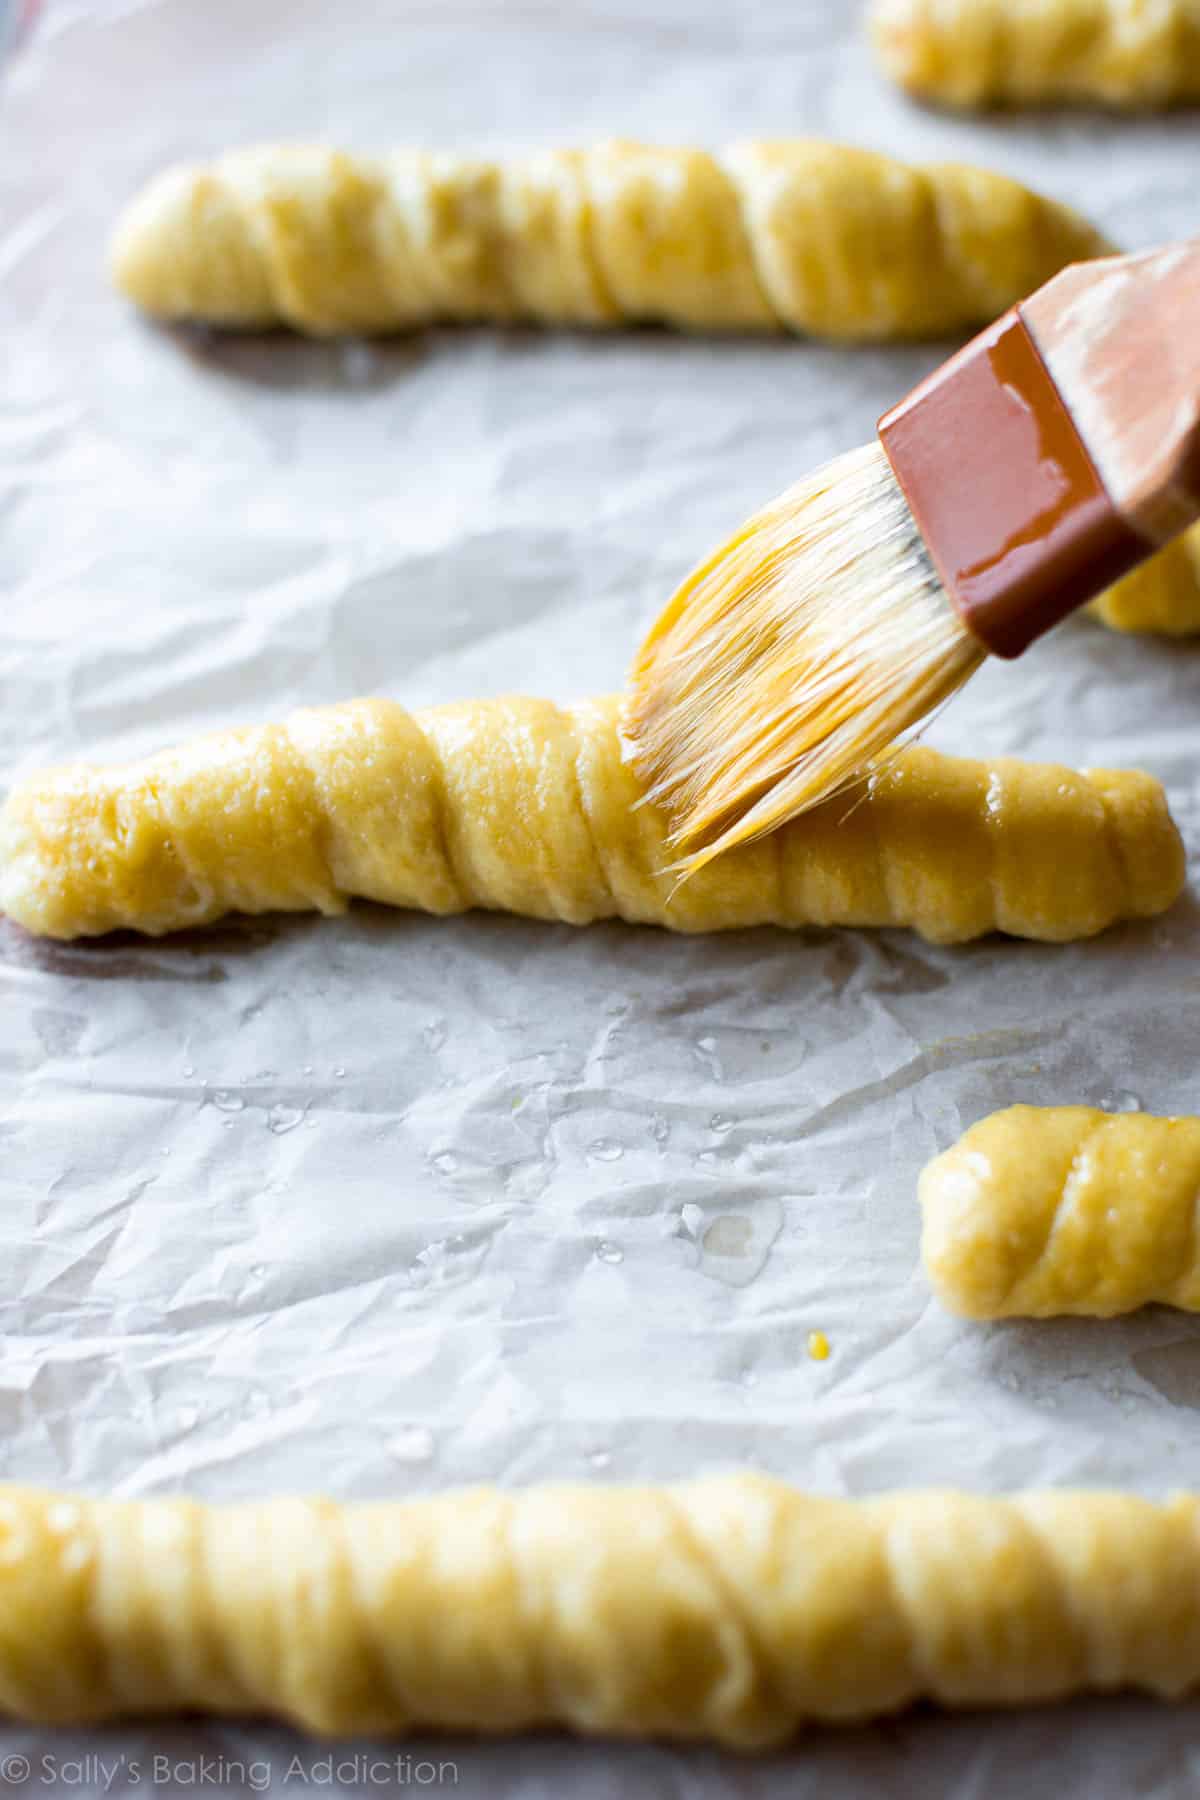

And OK, since we’re already breaking the diet rules today, let’s brush a little melted butter on the pretzels after they come out of the oven. The melted butter will seep inside the hot cheesy pretzels.

Try my other favorite cheesy breads, like asiago-crusted skillet bread, homemade cheese bread, and cheddar biscuits!
Print
Cheesy Pretzel Twists
- Prep Time: 1 hour
- Total Time: 1 hour, 20 minutes
- Yield: 18-20 twists
- Category: Bread
- Method: Baking
- Cuisine: American
Description
Starting with a simple homemade dough, these cheesy pretzel twists are the ultimate comfort food snack or football food!
Ingredients
- 1 and 1/2 cups (300ml) warm water
- 1 packet Platinum Yeast from Red Star instant yeast (2 and 1/4 teaspoons)
- 1 Tablespoon (21g) honey
- 1 Tablespoon (14g) unsalted butter, melted
- 1 teaspoon salt
- 3.75 – 4.25 cups (469g-531g) all-purpose flour + more for work surface (spooned & leveled)
- 18–20 cheddar cheese sticks (about 4.5 inches each)*
- 1/3 cup baking soda
- 1 large egg, beaten
- coarse sea salt for sprinkling
- optional for topping: 4 Tablespoons (56g) melted unsalted butter
Instructions
- Whisk yeast into the warm water. Allow to sit for 1 minute. Some clusters of yeast may remain. Add honey, melted butter, and salt. Whisk until fairly combined. Slowly add 3 cups of flour, 1 cup at a time. Mix with a wooden spoon (or dough hook attached to stand mixer) until dough is thick. Add 3/4 cup more flour until the dough is no longer sticky. If it is still sticky, add up to 1/4 cup more. Poke the dough with your finger—if it bounces back, it is ready to knead.
- Knead the dough: Keep the dough in the mixer and beat for an additional 5 full minutes, or knead by hand on a lightly floured surface for 5 full minutes. (If you’re new to bread-baking, my How to Knead Dough video tutorial can help here.) If the dough becomes too sticky during the kneading process, sprinkle 1 teaspoon of flour at a time on the dough or on the work surface/in the bowl to make a soft, slightly tacky dough. Do not add more flour than you need because you do not want a dry dough. After kneading, the dough should still feel a little soft. Poke it with your finger—if it slowly bounces back, your dough is ready to rise. You can also do a “windowpane test” to see if your dough has been kneaded long enough: tear off a small (roughly golfball-size) piece of dough and gently stretch it out until it’s thin enough for light to pass through it. Hold it up to a window or light. Does light pass through the stretched dough without the dough tearing first? If so, your dough has been kneaded long enough and is ready to rise. If not, keep kneading until it passes the windowpane test.
- Shape the dough into a ball and place in a large greased mixing bowl. I usually use nonstick spray to grease it, but olive oil works too. Cover and let the dough rest in a warm area for about 10 minutes.
- Preheat oven to 425°F (218°C). Line two large baking sheets with parchment paper or silicone baking mats. Set aside.
- Use a sharp knife to cut off a piece of dough. Roll into an 18-inch log, about 3/4 inch thick. Coil extremely tightly around a cheese stick. You do not want any cheese to be exposed. Pinch to seal the edges. Repeat with the remaining cheese and dough.
- Combine 9 cups of water with the baking soda in a large pot or Dutch oven. Bring to a rapid boil. Drop 2–3 pretzel twists into the boiling water for 20 seconds. Using a slotted spatula, lift the pretzel twist out of the water and allow excess water to drip off. Place onto the prepared baking sheet. Make sure the pretzels aren’t touching.
- Brush beaten egg over each pretzel. Sprinkle with coarse salt. Bake for 15–20 minutes or until golden brown.
- Remove from the oven and brush each pretzel with melted butter. Serve warm.
Notes
- Make Ahead & Freezing Instructions: The prepared pretzel dough can be refrigerated for up to one day or frozen in an airtight container for up to 3 months. Thaw frozen dough in the refrigerator overnight. Refrigerated dough can be shaped into pretzel twists while still cold, but allow some extra time for the pretzels to puff up before continuing with the baking soda bath and baking. Baked pretzel twists freeze well for up to 3 months. Thaw and reheat in the oven at 300°F (149°C) until warm.
- Special Tools (affiliate links): Stand Mixer or Large Mixing Bowl | Wooden Spoon | Baking Sheets | Silicone Baking Mats or Parchment Paper | Large Pot such as a Dutch Oven | Slotted Spatula | Pastry Brush | Coarse Sea Salt
- Wrap Tightly: Cheese is bound to seep out a little, but to avoid a total cheese explosion, make sure you wrap the cheese up extremely tight. No cheese peeking out from under the dough! If the unused ball of dough rises a lot while you’re working on coiling the pretzels, make sure you punch it down to remove any air bubbles.
- Cheese Sticks: I used these cheese sticks, which are about 4–4.5 inches long. You can also use string cheese or slice your own.
- Reference my Baking with Yeast Guide for answers to common yeast FAQs.


hi sally. do you think i could use this dough for balls instead of sticks?
That should be just fine, or you can follow our recipes for pretzel knots or pretzel buns instead. Let us know if you try it!
Another great recipe! If I wanted to make a sweet version (e.g., topped with cinnamon sugar instead of coarse salt), what do you think might work for a filling?
Hi Vrinda, we haven’t tested this, but I’m thinking almond paste would make a great filling for a sweet version! Let us know if you try it!
I made this for the first time tonight with hot dogs in half and cheese in the other half. They came out awesome and were super easy to make (I say that having made pretzel knots once before). They went great with beer cheese!
Hi Sally. I made these today and they were a big hit! Any more tips to stop the cheese leaking? Would you suggest popping it in the freezer before wrapping it in the dough?Thanks!
Hi Simone! That could definitely help. Also, the more cheese inside, the more likely the cheese will seep out – you could also try using a smaller piece of cheese to start with. Happy baking!
These were the perfect addition to our snowy day! I swapped the cheddar or mozzarella cheese and pepperoni ❤️ DEF a keeper!
Another amazing recipe—the dough was so easy to work with and the instructions were perfect as usual. I made mini pretzel dogs, which were delicious. The only change I’d make next time would be to skip the coarse salt on the outside. They were a little too salty for me with a hot dog in the middle.
Hi so I haven’t made the pretzel yet but I have a question before I do. Would I be able to boil them and wait before I cook them because I would like to serve them warm?
Hi Felicia, that should work! Let the boiled pretzels cool down, then wrap them up and place in a freezer-friendly container. Freeze for up to 3 months.
I had a couple cheese explosions but that was just a personal error. These were easy and delicious and I will definitely be making them again.
Just made these to take for a thanksgiving get together and I had what you have correctly termed above as “total cheese explosion”. Not sure where I went wrong, coiled the dough pretty tightly around the cheese and pinched all sides as well. My dough did rise quite a bit, so not sure if that’s what caused it, perhaps I didn’t punch down enough?
With that said, the pretzel sticks still taste amazing and I am super happy with it! And I think I will pull it off by just saying I made “pretzel sticks with a hint of cheese”, what say? 😉
Do you have a recipe for the cheese dip?
Yep! https://sallysbakingaddiction.com/2014/03/20/kicked-up-cheddar-cheese-sauce/
These look AMAZIIINNGG!!!!!!! Can you add some sausage inside too? Just like Auntie Anne’s.
I can’t see why not!
These look amazing! One question, though. Do you need to use a cheese stick, or can you take a square piece of cheese, roll it up, and wrap the dough around it?
A cheese stick is best! You could use a large square or rectangle piece of cheese and wrap dough around either– the pretzels would be smaller though.
Hi Sally,
Just tried these and they were literally heaven! I only made a few for the hubby and I and stashed the rest of the dough in the freezer…and now a crazy idea crept into my mind – do you think I could use the rest of this dough for a deep dish pizza???
I can’t see why not!!
I just made these- and they turned out AMAZING!!!! Will definitely try with hot dogs too!! Thanks so much!!
I tried these today for a football treat and while they didn’t look quite as pretty as yours, they were delicious! Thanks for another great recipe!
This was fun and relatively easy to make. My six year old son loved these and he’s at this stage where he’s hard to please. I added hotdogs to some and others with mozerella sticks. Thank you for such a fun recipe. I’m trying the chocolate chip recipe tomorrow. xx