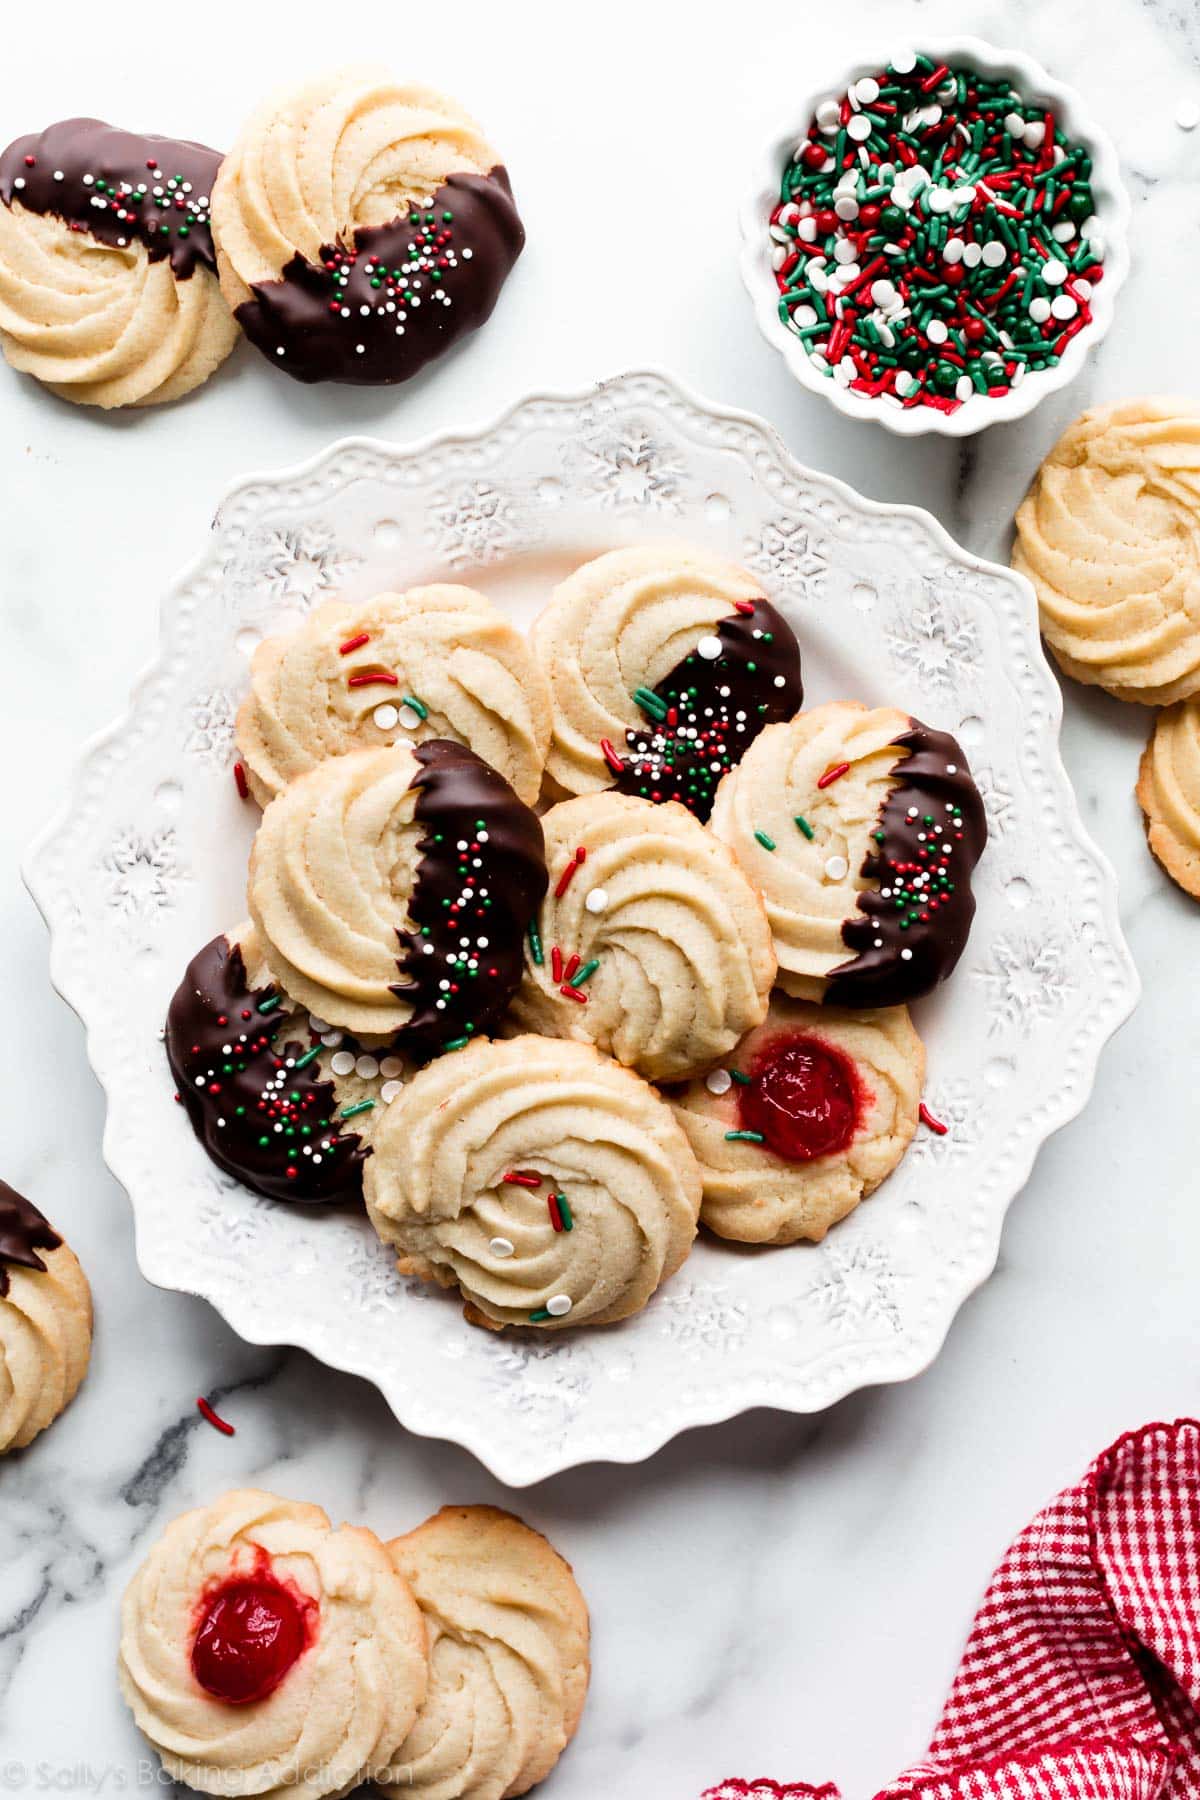
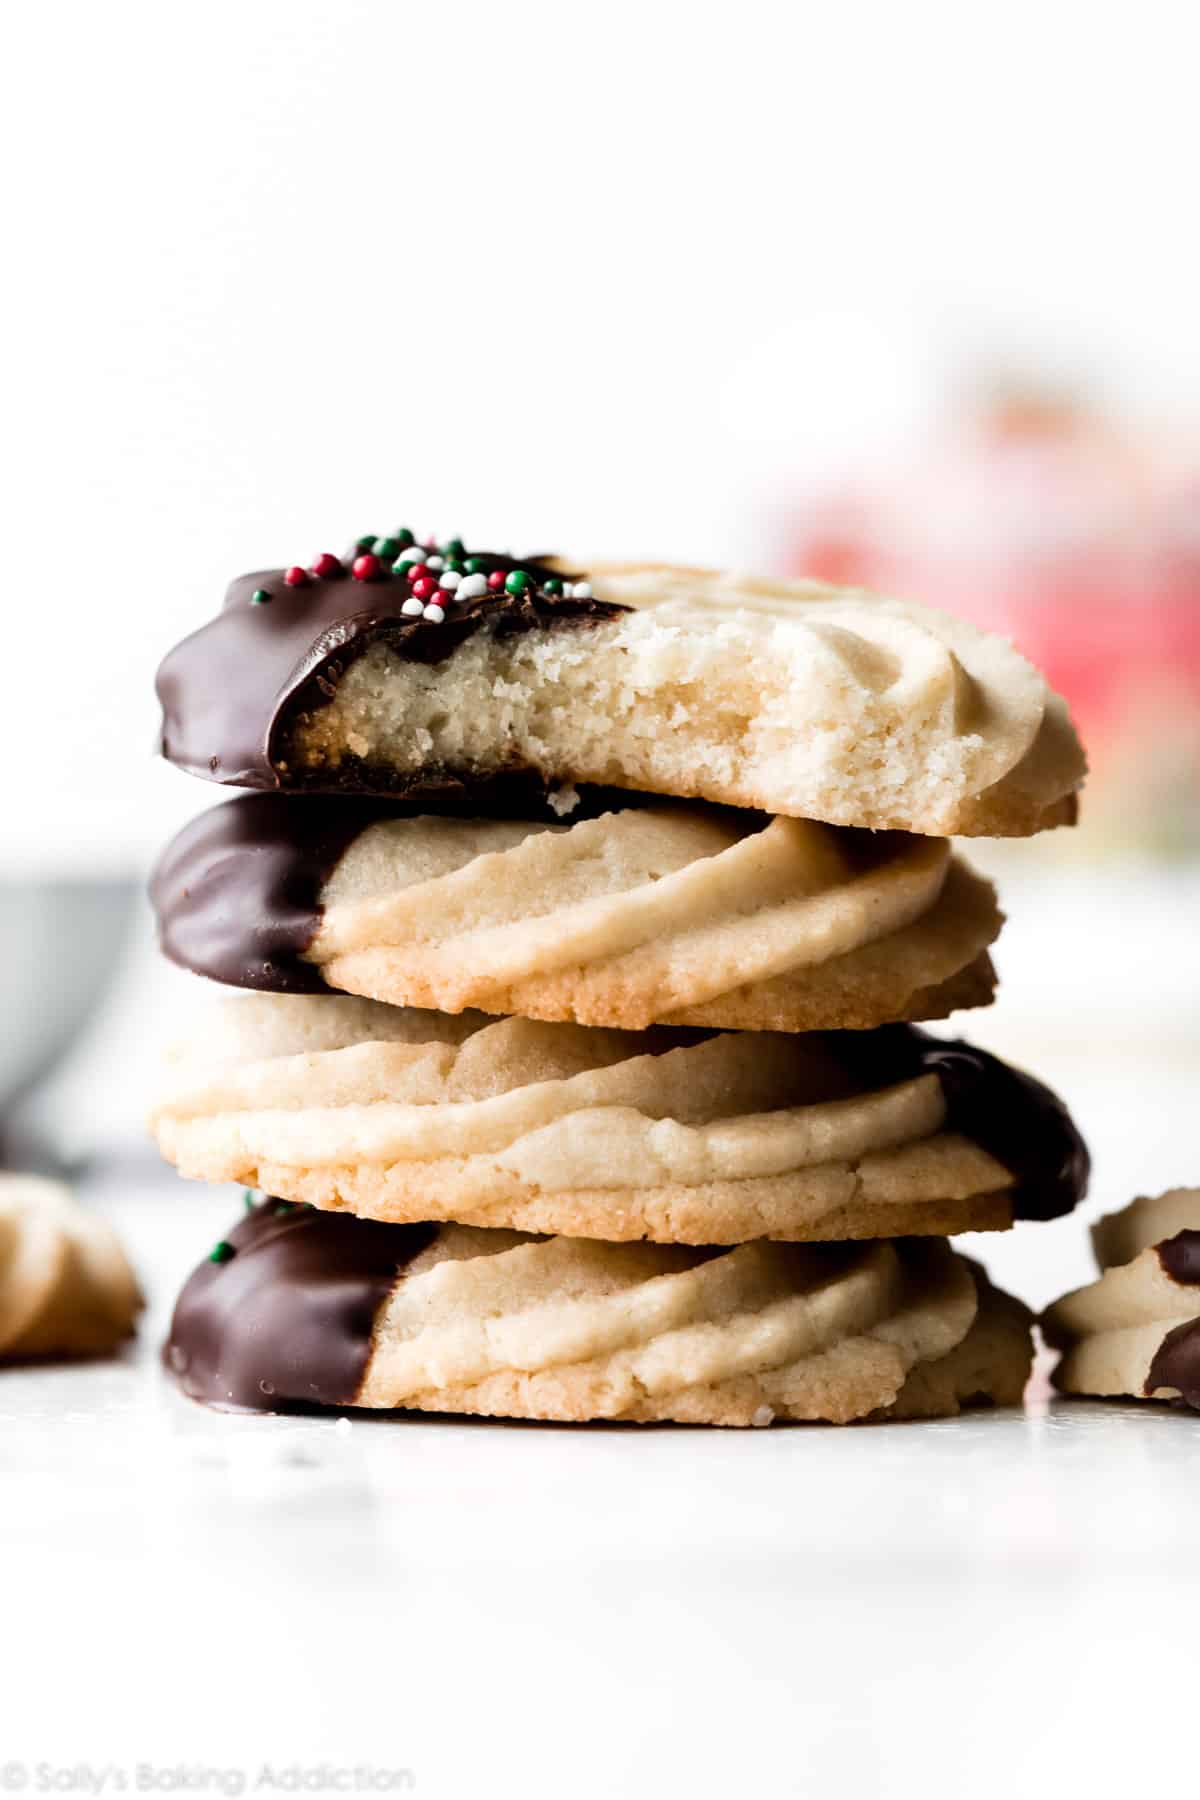
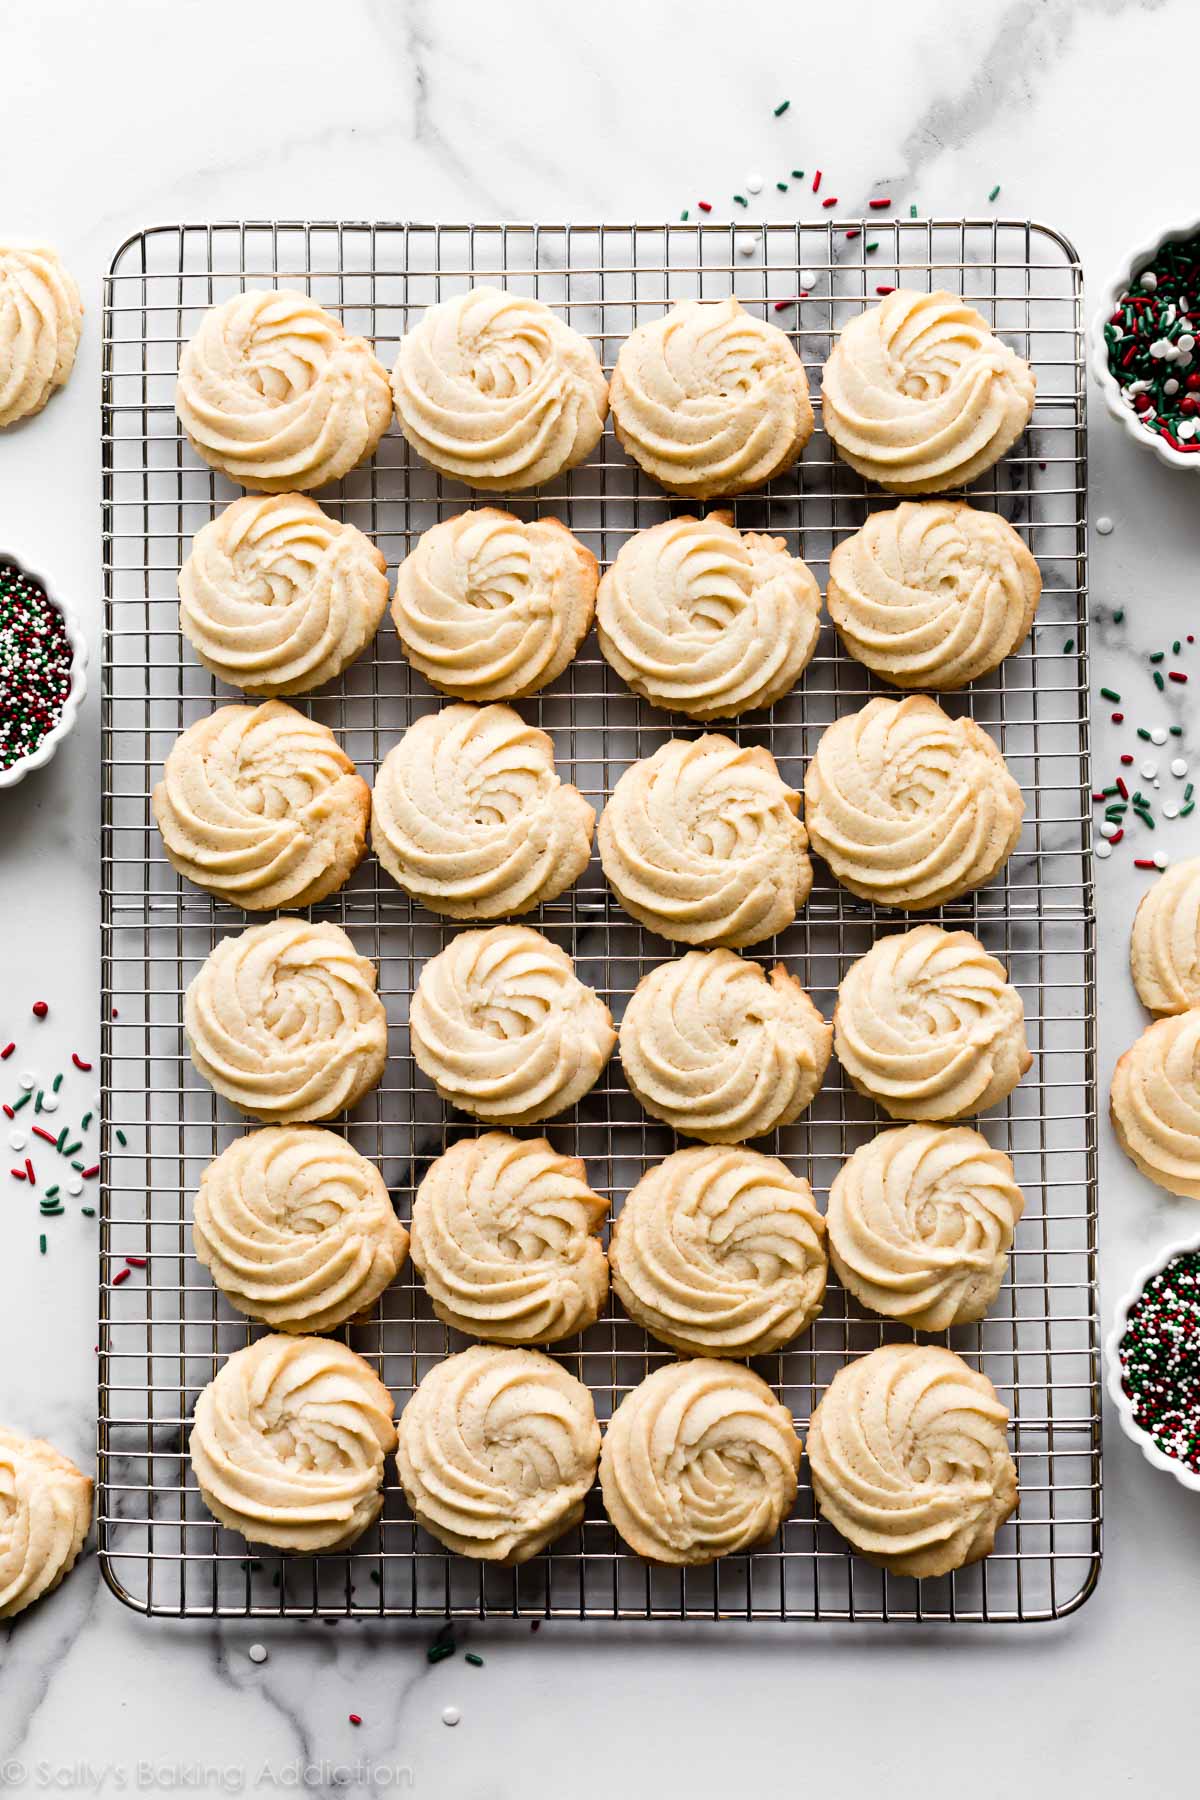
These homemade Danish butter cookies are festive Christmas cookies! Unlike the store-bought version you may be used to, these are soft in the center with irresistible buttery vanilla and almond flavors. Make lovely designs with a large piping tip and dip in chocolate and sprinkles for a festive touch!
Welcome to Sally’s Cookie Palooza, my annual Christmas cookie countdown tradition. Tuck away your pie crust recipe and break out all your cookie baking tools!
These Butter Cookies Are:
- Not your regular butter cookies
- Mega flavorful with almond and vanilla
- Super buttery and soft like snowball cookies
- Crisp on the edges
- Piped with a piping tip like chocolate swirled meringue cookies
- Quick—only 30 minutes of chill time
- Extra festive with chocolate, cherries, and/or sprinkles
This butter cookie recipe is adapted from my spritz cookies and sugar cookies, both well-loved recipes on my website. You already know you’re in for something incredible!
Butter Cookies Video Tutorial
Let’s watch and learn how to make butter cookies. You’ll notice that this cookie dough comes together easily with only 8 ingredients. You need a mixer for the dough, plus a piping bag and large tip to pipe the cookie dough.
Aren’t they pretty?
Ingredients in Butter Cookies
This is a 1-bowl cookie recipe! There’s no leavening, so the texture is closer to a shortbread cookie. The dough is like my spritz cookies, but with a little milk to make it pipe-able.
- Butter: 1 cup of butter adds flavor, structure, and buttery goodness in each bite. Make sure it’s properly softened to room temperature before beginning.
- Sugar: Like many cookie recipes including these dreamy shortbread cookies, creamed butter and sugar is the base of today’s dough.
- Vanilla & Almond Extract: Flavor and more flavor! Almond extract is a welcome addition. If you’re not a fan of almond, see my recipe notes below.
- Egg: 1 egg adds structure, stability, and flavor.
- All-Purpose Flour: Add the flour directly to the wet ingredients. No need to mix it up in a separate bowl.
- Salt: By offsetting the sugar, salt adds flavor.
- Milk: I don’t usually add milk to cookies like this, but we need to thin out this cookie dough so it flows through the piping tip. You don’t need much, about 1–2 Tablespoons.
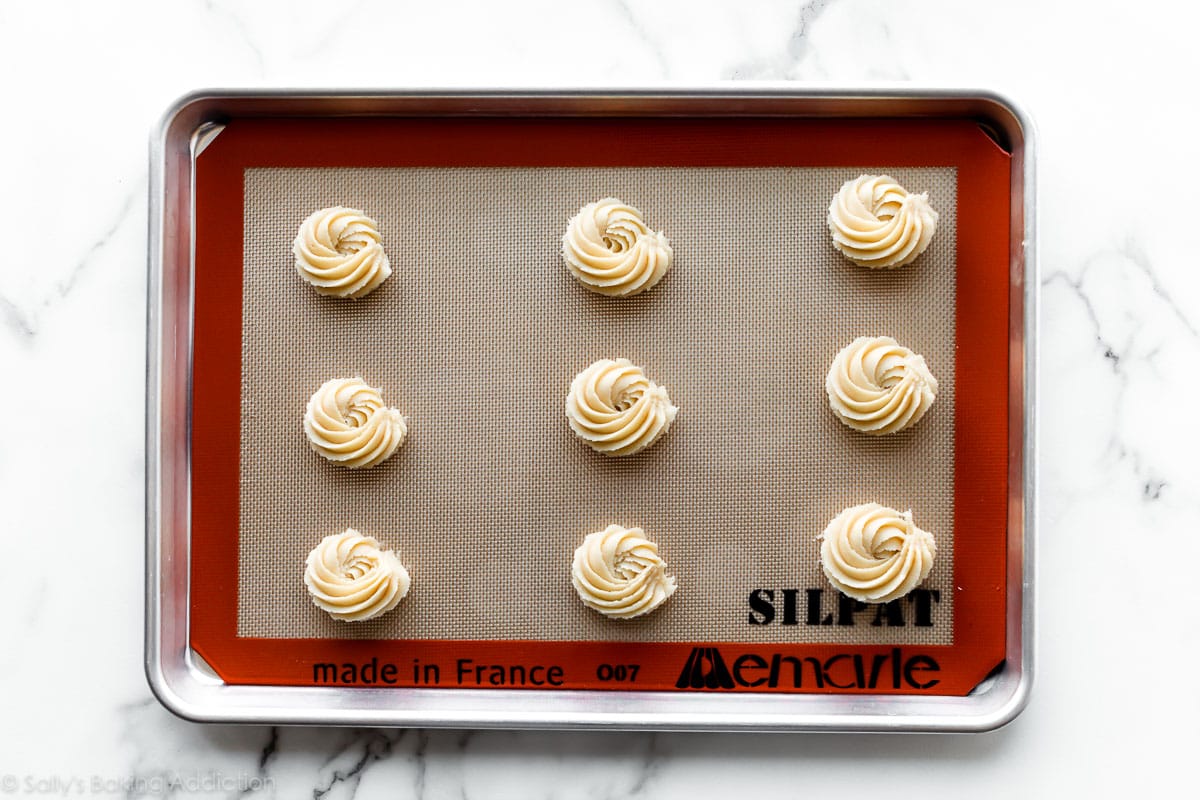
How to Pipe Butter Cookies
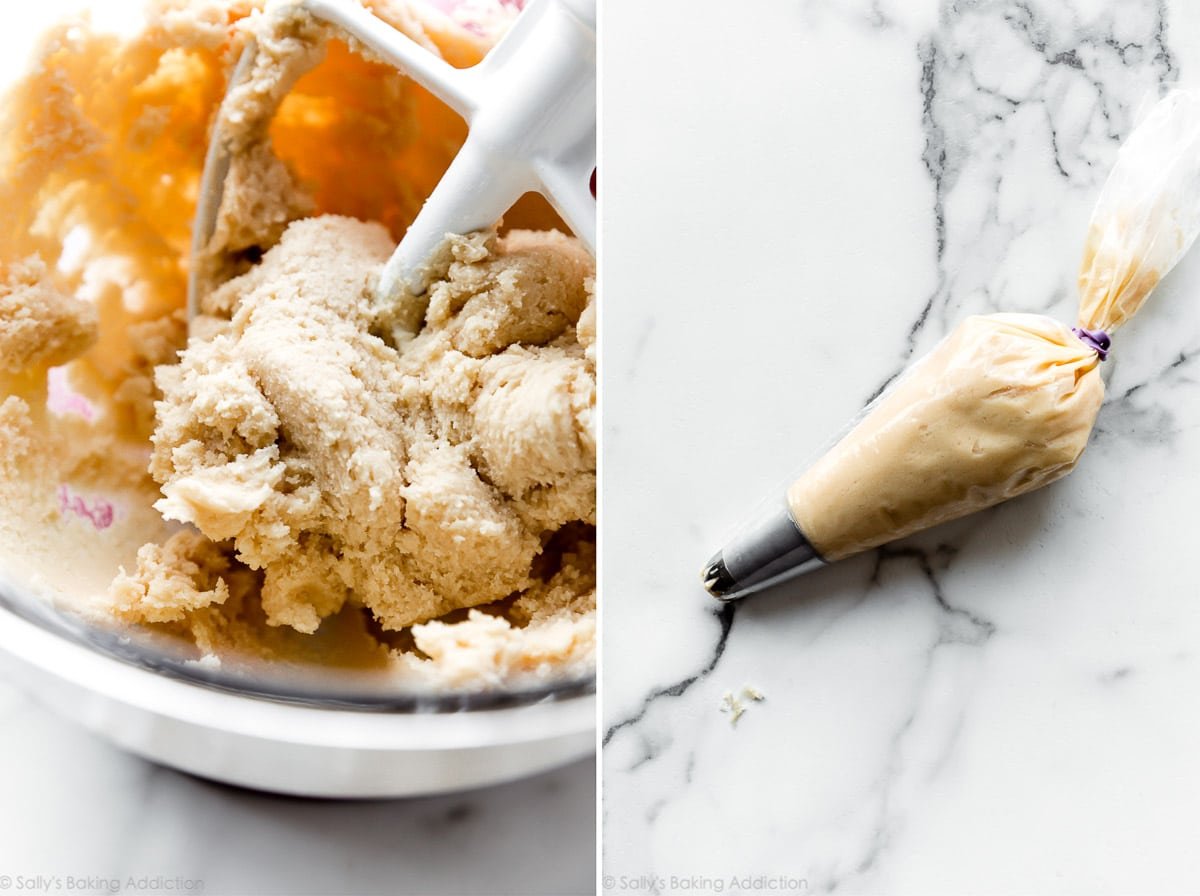
As you saw in this video tutorial above, this cookie dough is piped onto the baking sheet. That’s how the butter cookies get their lovely shape.
Line the cookie sheet? Some swear by using a PLAIN cookie sheet, but lining with parchment paper or a silicone baking mat is fine. (I use silicone baking mats for all my cookies and these are no different.) If you don’t line the pan, don’t grease it either.
2 Success Tips:
- Start Small: Place the cookie dough in the piping bag. Start with a little bit of dough so you can determine if it’s creamy enough to pipe. If it’s too thick, it’s impossible to pipe and you’ll have to put the dough back in the bowl and add a little more milk.
- Chill: I find it’s easiest to stick with simple designs like a swirl or even just a line. Whatever design you pipe, I highly recommend chilling the piped cookies on the baking sheet for at least 20–30 minutes before baking. Without this chill time, the cookies will likely lose their piped shape.
Best Piping Tips to Use
The cookie dough is thick, so it’s imperative to use a large piping tip with about a 1/2-inch opening. (That’s big!) The smaller the size, the harder it will be to pipe. I highly recommend an open star piping tip, but I actually use Ateco 849 which is a closed star tip. The opening is so large that it still works wonderfully!
Here are some options:
The popular Wilton 1M works too, but you may need to add more milk to the cookie dough to thin it out since the piping tip is smaller. Remember, the more milk you add, the longer you need to chill the shaped cookies or else they will over-spread in the oven.
Don’t forget your piping bags, too! (Disposable or Reusable)
By the way, these piping tips and a set of bags would be a great holiday gift for any baker. I always include them in my complete guide of Holiday Gifts for Bakers!
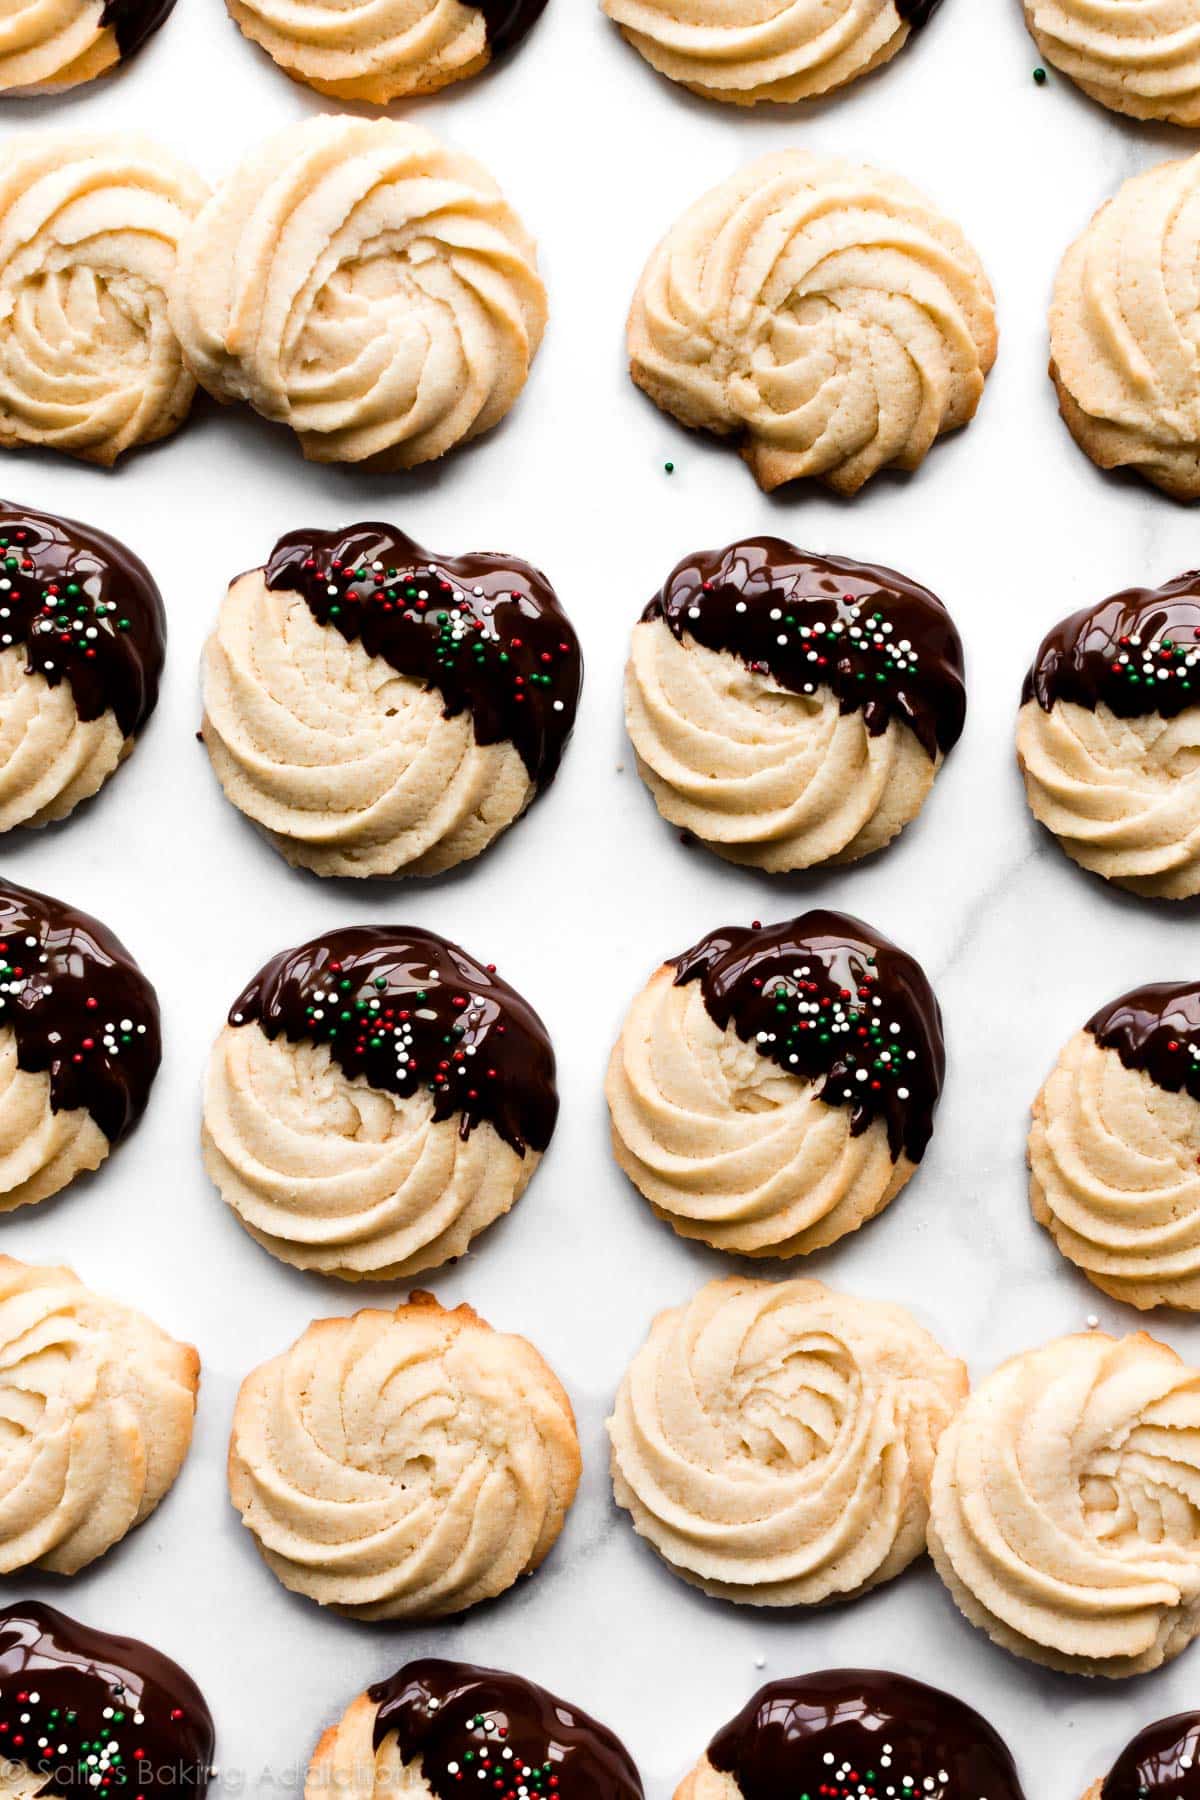
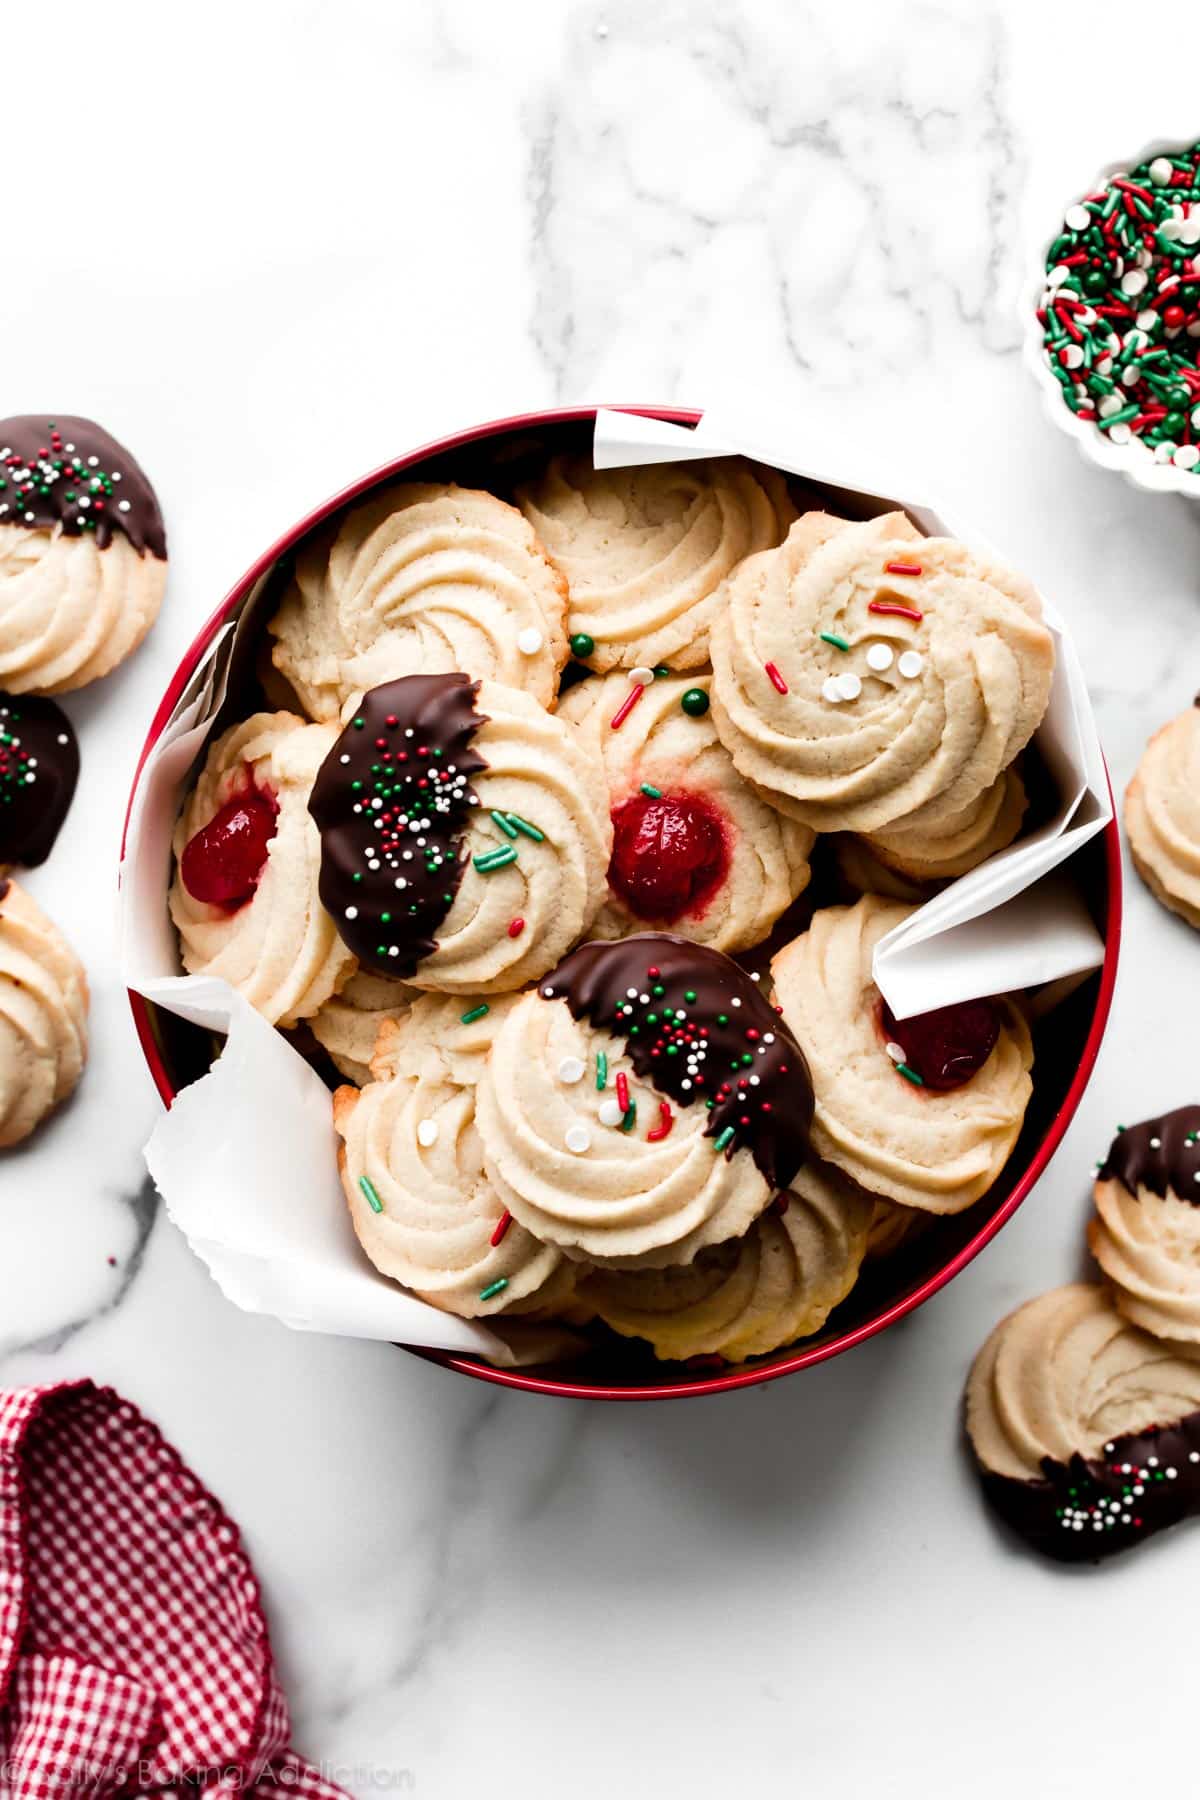
3 Butter Cookie Varieties!
Make 3 varieties from 1 batch. 🙂
- Dip baked cookies into melted chocolate and add sprinkles.
- Stick a maraschino cherry in the center before baking.
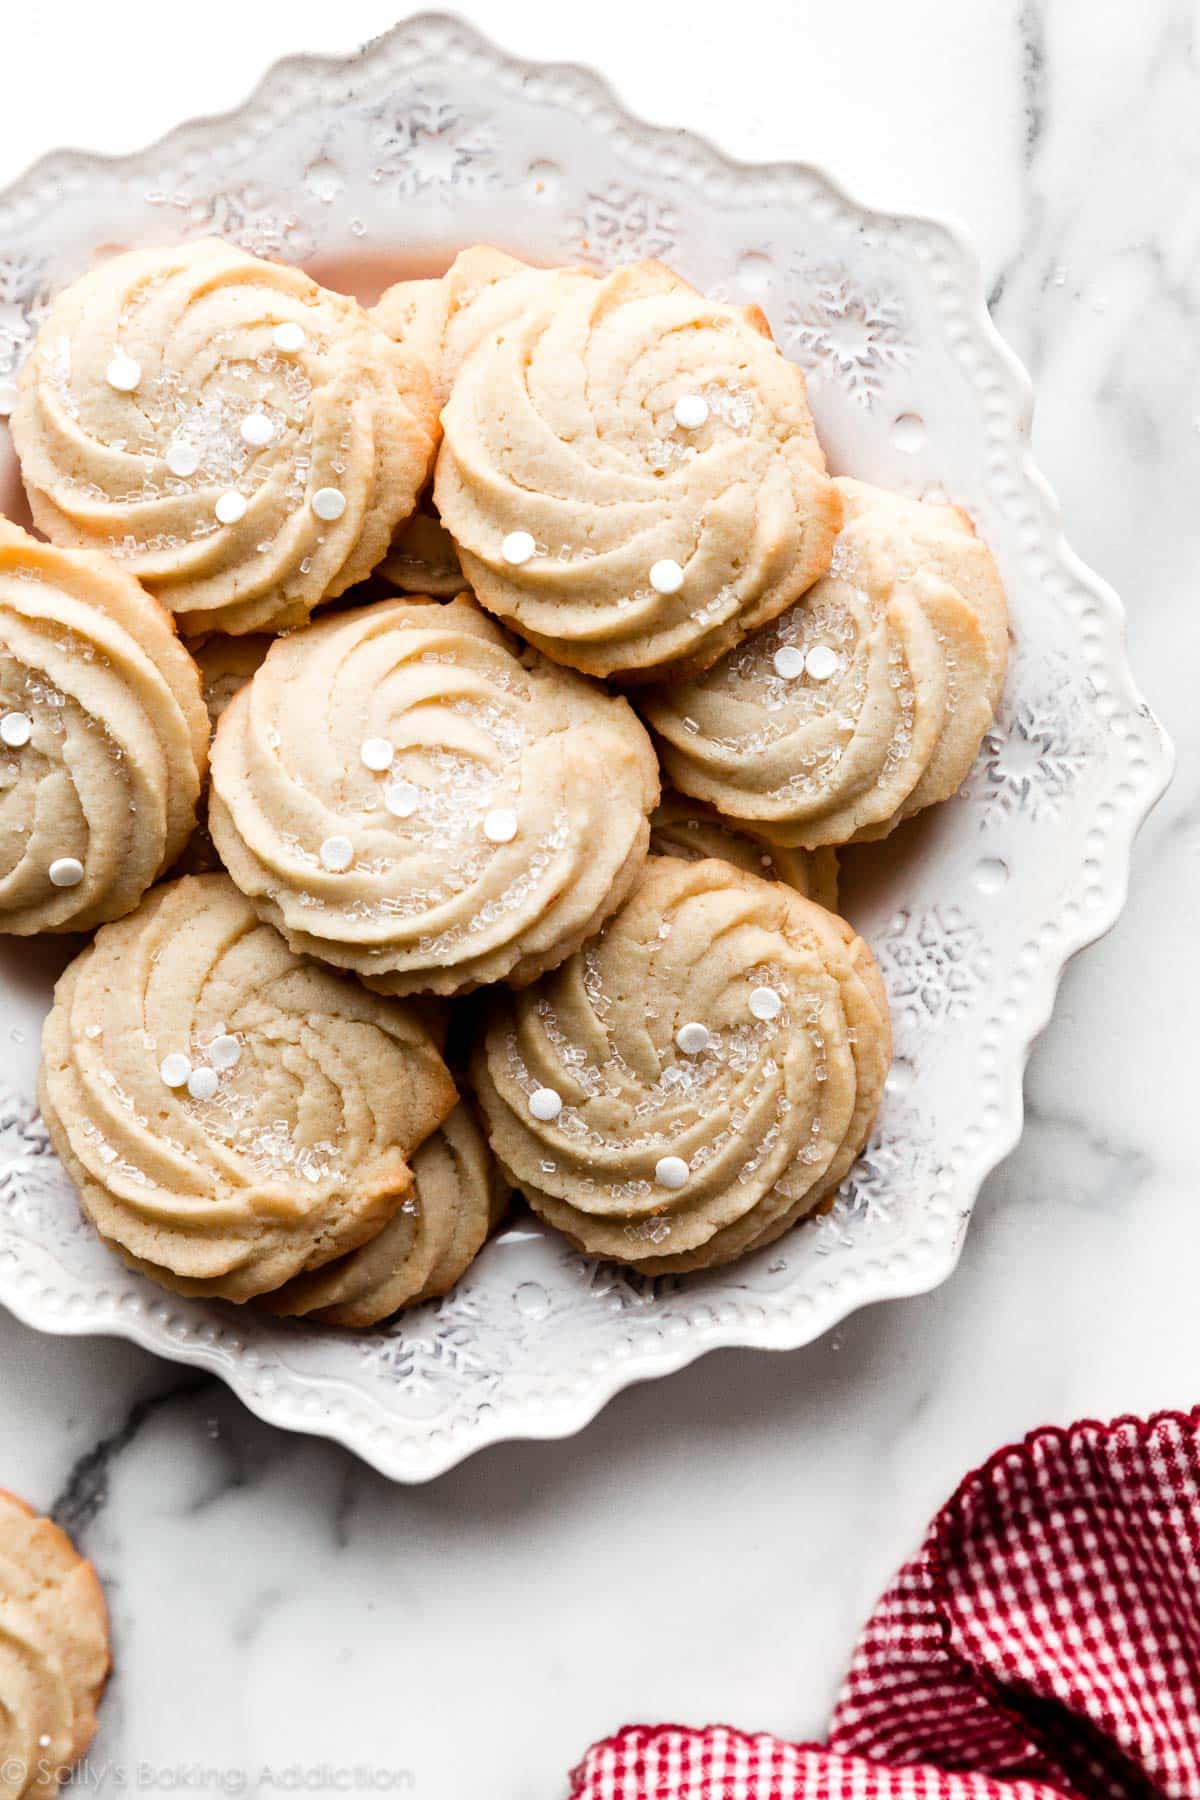
- Add sprinkles or coarse sugar before baking.
If you love chocolate, don’t miss these chocolate butter cookies. And for even more flavors of butter cookie dough, you’ll love these mint chocolate checkerboard cookies, pinwheel cookies, and neapolitan cookies.
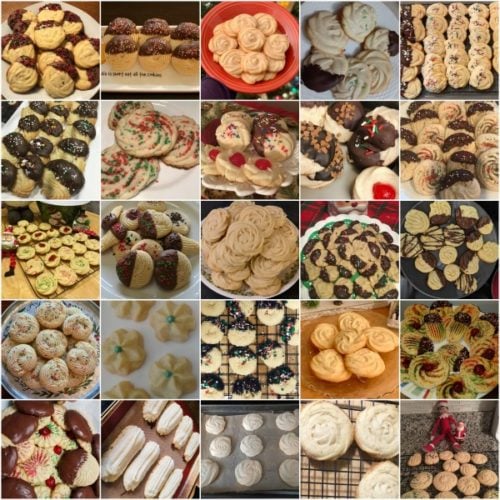
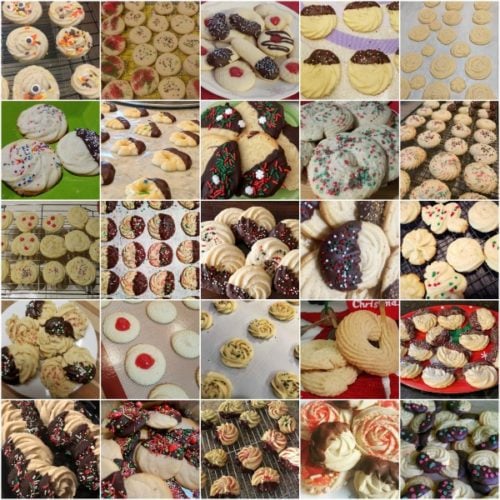
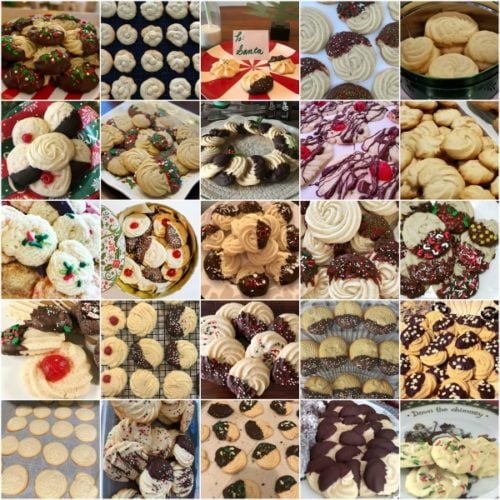
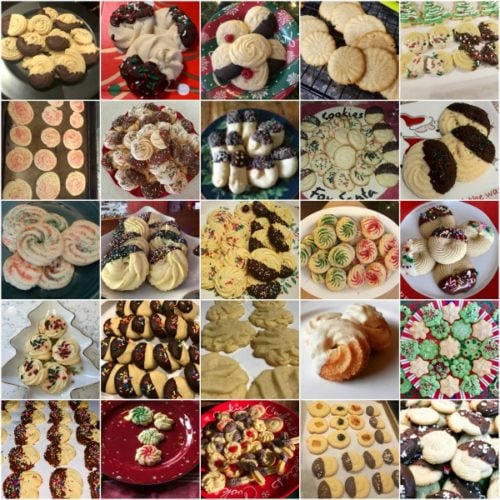
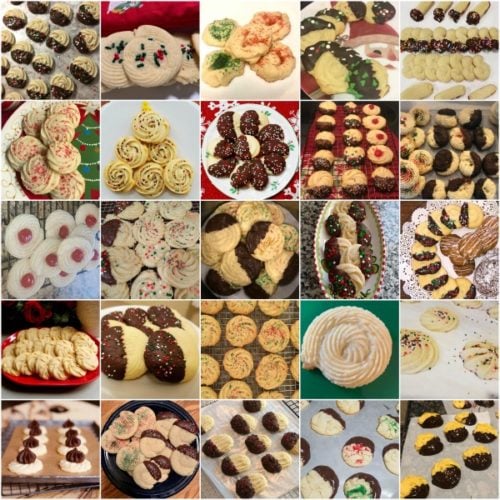
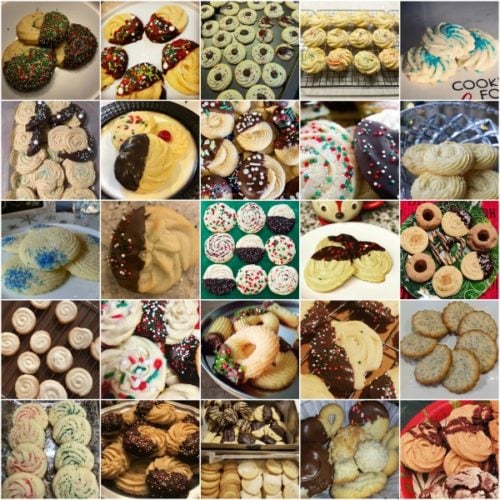
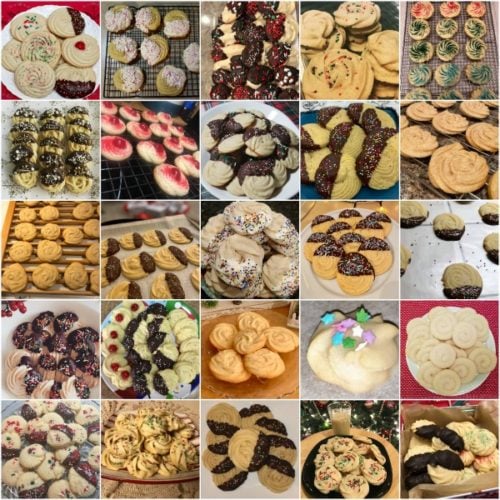
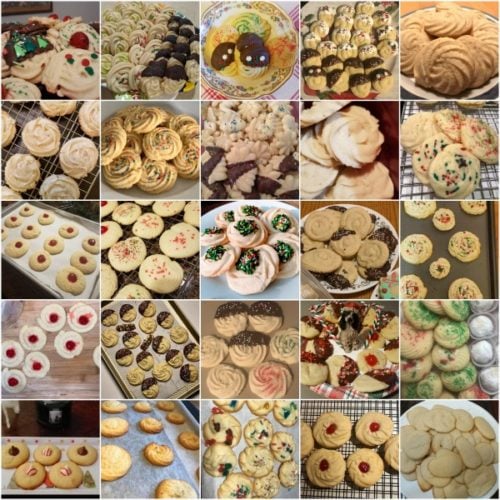
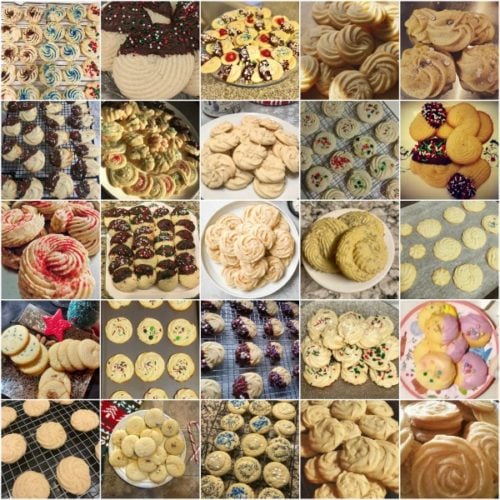
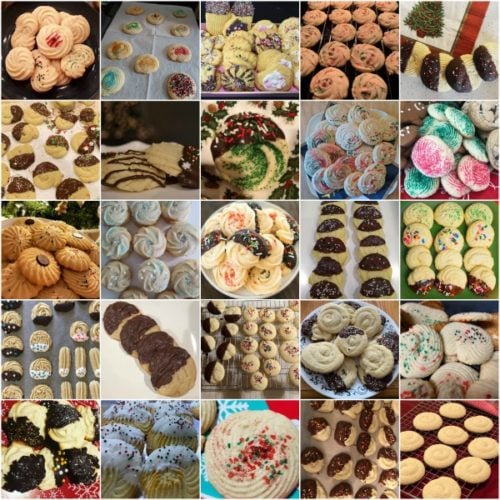
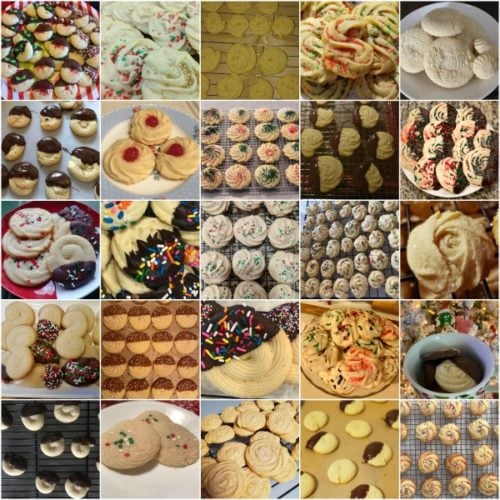
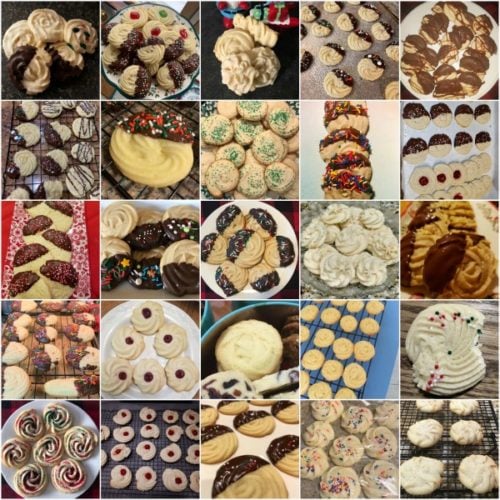
See Your Homemade Butter Cookies!
Many readers tried this recipe as part of a baking challenge! Feel free to share your recipe photos with us on social media. 🙂
Print
Butter Cookies
- Prep Time: 30 minutes
- Cook Time: 14 minutes
- Total Time: 1 hour, 15 minutes
- Yield: 30 cookies
- Category: Desserts
- Method: Baking
- Cuisine: Danish
Description
Using just 8 basic ingredients and a large piping tip, make these soft vanilla-almond-flavored butter cookies. There’s no leavening, so the texture is similar to shortbread cookies. I recommend chilling the piped cookies for at least 20–30 minutes before baking.
Ingredients
- 1 cup (16 Tbsp; 226g) unsalted butter, softened to room temperature
- 3/4 cup (150g) granulated sugar
- 1 and 1/2 teaspoons pure vanilla extract
- 1 teaspoon almond extract
- 1 large egg, at room temperature
- 2 and 1/4 cups (281g) all-purpose flour (spooned & leveled)
- 1/2 teaspoon salt
- 1–2 Tablespoons (15–30ml) milk
Optional Toppings
- 4 ounces (113) semi-sweet chocolate, finely chopped*
- maraschino cherries
- sprinkles or coarse sugar
Instructions
- Read through the recipe and recipe Notes before beginning. Make room in your refrigerator for a baking sheet so the shaped cookies can chill for 20–30 minutes. Without chilling, the piped cookies will over-spread. If you chill the dough prior to shaping, the dough will be too cold/stiff to pipe.
- Line 2–3 large baking sheets with parchment paper or silicone baking mats, or leave unlined. If unlined, do not grease the pan.
- In a large bowl, using a handheld mixer or a stand mixer fitted with a paddle attachment, beat the butter and granulated sugar together on medium-high speed until smooth, about 2 minutes. Add the egg, vanilla extract, and almond extract, and beat on high speed until combined, about 1 minute. Scrape down the sides and up the bottom of the bowl and beat again as needed to combine.
- On low speed, beat in the flour and salt. Turn up to high speed and beat until completely combined. On medium speed, beat in 1.5 Tablespoons of milk. You want a dough that’s creamy and pipe-able (but still thick), so you may need up to 2–2.5 Tablespoons of milk. The more milk you add, the more the cookies will spread, so chilling in step 6 is imperative. I recommend keeping the amount of milk small and using a large enough piping tip, like the ones I suggest in the post above.
- Add your large piping tip to the piping bag. Spoon a little bit of dough into the piping bag and pipe a 1–2-inch swirl or line on the prepared baking sheet. The reason I suggest only a little bit of dough to start is because the dough may still be too thick to pipe. If it’s too thick, transfer that dough back to the mixing bowl and add another 1/2 Tablespoon of milk. If the dough is creamy enough to pipe, continue piping the dough in 1–2-inch swirls or lines, 3 inches apart on the baking sheet. See video for a visual if needed. If desired, place a maraschino cherry in the center of the swirl or sprinkle the dough with sprinkles and/or coarse sugar.
- Transfer the baking sheet to the refrigerator and chill the shaped cookies for 20–30 minutes.
- Meanwhile, preheat oven to 350°F (177°C).
- Bake the chilled cookies for 12–15 minutes or until lightly browned on the sides. The cookies will spread like all cookies do, but not completely lose their shape, especially if you chilled the shaped dough. If the cookies are smaller, they will take closer to 12 minutes. Keep your eye on them. They’re done when the edges lightly brown.
- Remove from the oven and allow to cool on the baking sheet for 5 minutes before transferring to a wire rack to cool completely.
- Optional Chocolate: You can melt the chocolate in a double boiler or the microwave. If using the microwave: place the chopped chocolate in a medium heatproof bowl. Melt in 20-second increments in the microwave, stirring after each increment until completely melted and smooth. Dip the cookies in chocolate and top with sprinkles, if desired. Allow the chocolate to set completely at room temperature for about 1 hour or in the refrigerator for 20 minutes.
- Plain cookies stay fresh in an airtight container at room temperature for up to 1 week. Cookies with chocolate or cherries stay fresh in an airtight container at room temperature for 4 days or in the refrigerator for 1 week.
Notes
- Make Ahead Instructions: You can chill the shaped cookies on the baking sheet in the refrigerator for up to 2 days before baking. If chilling for longer than 30 minutes, cover with plastic wrap or aluminum foil. Sometimes I pipe all the swirls close together on 1 baking sheet, then refrigerate for up to 2 days. (Since my refrigerator can’t fit 2-3 sheets at once.) After chilling, the shaped dough is cold, so you can use a flat spatula to pick up the cold shaped dough and arrange on 2-3 baking sheets. You can also freeze the un-baked shaped dough for up to 2-3 months. Bake the frozen shaped dough (no need to thaw) for an extra couple minutes. Baked cookies, with or without chocolate/cherries/sprinkles, freeze well for up to 3 months.
- Special Tools (affiliate links): Baking Sheets | Silicone Baking Mats or Parchment Paper | Electric Mixer (Handheld or Stand) | Piping Bag (Reusable or Disposable) | Large Piping Tip (such as Ateco 849 (pictured), Wilton 8B, Ateco 826, or Ateco 827) | Cooling Rack | Double Boiler (optional for melting chocolate)
- Almond Extract: Almond extract adds such a wonderful flavor and I don’t recommend skipping it. If desired, you can leave it out completely or add another 1/2 teaspoon of pure vanilla extract in its place. You can also substitute with 3/4 teaspoon peppermint extract, 1 teaspoon lemon extract, or another flavor extract you enjoy. (Some are more potent than others.) Adding 1/4 teaspoon of ground cinnamon is delicious too!
- No Piping Tip & Using a Cookie Press: This recipe is similar to my spritz cookies where I use a cookie press. If you don’t have a large piping tip and/or you want to use a cookie press, make the spritz cookies (they do not need the milk). If you don’t have a cookie press or large piping tip, snip a 1/2 inch corner off the end of a plastic bag and pipe lines/flat swirls.
- Optional Chocolate: For the best results, use a 4 ounce “baking chocolate” bar found in the baking aisle. I prefer Bakers or Ghirardelli brands. You can use semi-sweet, milk chocolate, or even white chocolate. Candy melts or almond bark work too. Do not use chocolate chips, as they contain stabilizers preventing them from melting into the proper consistency. After you melt it, if the chocolate is too thick for dipping, stir in 1 teaspoon of canola oil to help thin it out.














This is one of the best cookies I’ve ever had. So simple and tender and buttery. Perfect texture.
First time making them, they are really soft and tasty! Everyone loved them, thank you!
These are my favorite cookies to make for any occasion. The key is the wide piping tip and it took a few tries to get that right. I get compliments all the time especially that it a softer cookie. I was just wondering if I freeze the cookies will they become crispy or keep the softer consistency?
Hi Deb, freezing shouldn’t affect the consistency of the cookies too much. Seal them tightly and don’t freeze for longer than 3 months. Hope this helps!
This is one of the best cookies I have ever made, if not the best. I cannot BELIEVE how fantastic they have turned out both times I made them! The refrigeration step definitely makes a difference in ensuring these don’t spread and hold their beautiful shape! I cannot wait to make these again. They freeze very well, plain or dipped in chocolate. And I am planning to make a non-holiday version for an engagement party by dipping in semisweet chocolate and sprinkling with white and gold shimmer sugar! These are delightful and sweet with the perfect amount of almond. I was genuinely floored that I made these and that they turned out so well.
I love this recipe, but, what if you can’t get almond extract.
Hi Susan, you can just leave it out or replace with another flavored extract.
I typically love everything by Sally, but this recipe was a bust. It broke my cookie press and blew out two piping bags, despite maximum amounts of milk and room temp ingredients. Then, when I checked them after 8 minutes, the few I got out before my cookie press cracked were all burned. They did, however, hold their shape, and taste okay-ish (I don’t mind the taste of an overbaked cookie). I’ll just have to make something else to gift.
I hope that these piped out cookies will turn out well. I really look forward to making a huge batch.
It’s a good recipe but I couldn’t get the consistency right for the piping, so instead I opted to roll the dough into balls and press with a fork, decorating as I saw fit, then placing in the freezer for 1hr and I also decided to bake at 300 degrees F for 20 minutes. This limited the spreading and resulted in perfectly sized and shaped cookies. My reasoning for all the changes was because after my efforts adding milk to improve the piping consistency, I noticed the dough seemed to be a little bit greasy because the butter had gotten a little too warm from being slightly overworked. The trick I used works for shortbread so I thought I’d give it a whirl and it worked out.
These cookies are tasty, but if — like me — you are wanting cookies that keep a beautiful shape, this isn’t the recipe. I’ve now tested this recipe three times over the holiday season. The first time, I followed instructions exactly. The second time, I combed through the comments and cut the milk down to 1 TBSP. I just made the recipe a third time, and this time, I cut the milk AND kept the cookies in the freezer for an hour prior to baking.
Each time, they basically melt into puddles.
I am very careful to let my butter come to cool room temp (I leave it out for 50 minutes prior to baking). I think given my repeated failures and all the similar comments here, this recipe needs work.
Usually love your recipes, though — this site is still my go to!
I followed the recipe but the cookies melted into a pile of nothingness. Unfortunately it was not a success for me.
I have loved almost every recipe I’ve tried with you, but this one … I had the cookies in the fridge for an hour, but they spread wickedly.
Yes, same for me
Mine also just completely flattened out. Left in fridge overnight. Still flat.
Could you use a cookie press with this recipe?
Hi Amy, you can use this spritz cookie recipe instead. It’s nearly identical, just without the use of milk so that the cookie dough keeps its shape. Enjoy!
i made these and i couldn’t get the dough to pipe, any tips ?
Hi Savannah, we’re happy to help troubleshoot. Was the dough too thick to pipe? If it’s too thick, you’ll have to put the dough back in the bowl and add a little more milk. You’ll also want to make sure you’re using a large piping tip. Hope this helps for your next batch!
Could I use this dough for cutouts? I’m looking for the taste of a butter cookie or spritz but need to make cutouts… any recommendations?
Hi Elizabeth! We use and love our buttery sugar cookies for cut outs. This dough wouldn’t be ideal.
This recipe was definitely a flop for me, I’ll stick to my old recipe for butter cookies the ratios seem to be better.
This is my 3rd year making these cookies because they are so delicious and pretty and I make them to give away in christmas cookie boxes. The first year they were a success but the following year they collapsed but this year was the best! I added the exact amount of milk and chilled them in the freezer for an hour and they kept their shape. Thanks Sally they one of my favorites!
I have had great success with Sally’s recipes but this one was a fail. I added the minimum amount of milk, chilled for an hour, and the cookies spread like crazy. Fortunately they taste good but don’t look anything like I was hoping!
can you let me know what size tip you used? the first batch i made came good and the shape for the most part was good. when i went to pipe the 2nd batch, it was a bit hard so, i put the dough back into the mixer thinking it stiffened up a bit and added a couple more T’s of milk. my bad, of course they spread but the flavor of these cookies are delicious. so, after watching the video again, it looked like you used a bigger tip but could just be an illusion. after reading the comments below, it’s not my imagination that it’s a tougher batter to pipe and needs a bit of muscle but, I thought I’d ask anyway.
Hi Ginny! You want to use a large piping tip with about a 1/2-inch opening. We used an Ateco 849 in these photos, which is a closed star tip. See section titled “Best Piping Tips to Use” for a few more recommendations!